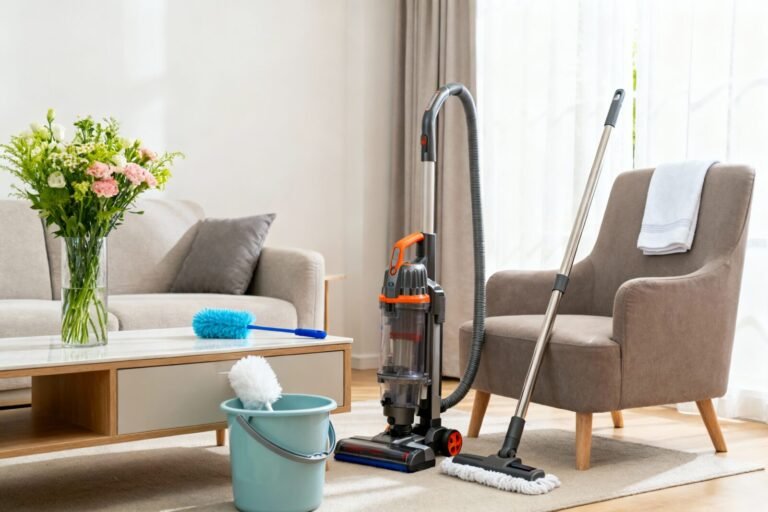
The Best Floor Cleaner Recipe for Hardwood Laminate and Vinyl Floors That Shines
You want floors that gleam like a boutique hotel lobby. You hate the streaks, smudges, and sticky residue that show up five minutes after you mop. We’re fixing that today with the best floor cleaner recipe for hardwood, laminate, and vinyl floors — a single mix that costs under $2 a batch and leaves a clean, velvety finish without dulling your floors. The method is simple, photogenic, and wildly practical for real life.
What’s Inside
The Why Behind a Multi-Surface Recipe
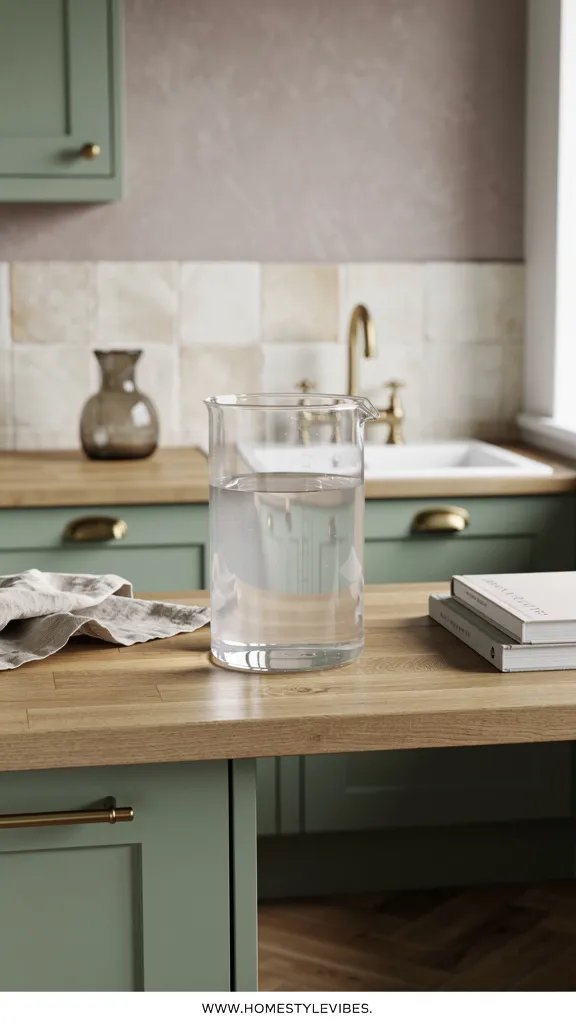
If your cleaning shelf looks like a crowded drugstore aisle, this will feel like a deep exhale.
We’ve all been there: a bottle for hardwood, another for laminate, a third for vinyl, and none of them deliver that crisp, clear finish you saw on Instagram. The truth is, your floors don’t want a cocktail of heavy soaps and polymers. They want a light, balanced cleaner that lifts grime without leaving a film. That’s why a single, thoughtfully built recipe can serve all three surfaces beautifully.
Here’s why this actually works: hardwood, laminate, and vinyl are all finished surfaces. Even hardwood is typically sealed with polyurethane, which means you’re cleaning the finish, not the raw wood. So when you reduce soap content and control pH, you get a clean that feels dry underfoot, looks satin-not-sticky, and lets natural light glide across the surface instead of catching on residue. Imagine late-afternoon sun pooling across your living room, and no hazy swipe marks in sight.
Worried about budget? You’ll mix this with drugstore staples or a quick Amazon/Target run. Renter? No problem. This is gentle on baseboards and safe around most floor transitions.
- Budget-friendly swap: Use generic isopropyl alcohol and dish soap from Walmart; skip specialty cleaners
- Renter-friendly move: Mix small batches in a spray bottle to avoid spills and store under the sink
This isn’t about perfection. It’s about a formula that simplifies your day and still looks photo-ready when a friend drops by unannounced.
The Best Floor Cleaner Recipe: Streak-Free And Safe
Let’s make the exact solution I trust on my own floors and recommend to clients.
You’ve tried vinegar and water and ended up with a dull, tired look. Or you used a “gloss restore” and got draggy residue. This is the balance point. The secret isn’t vinegar — it’s dilution plus evaporation speed. A tiny touch of alcohol helps the floor dry quickly without streaks, while a drop of gentle soap lifts oily footprints and kitchen splatters. The finish? Clean, satin, no buildup.
My Best Overall Floor Cleaner Recipe
For a 24-oz spray bottle:
- 2 cups (16 oz) warm water
- 1/2 cup (4 oz) isopropyl alcohol (70% is perfect)
- 1/4 cup (2 oz) distilled white vinegar
- 1/2 teaspoon gentle dish soap (like Seventh Generation Free & Clear or Dawn Free & Clear)
Swirl gently to combine. Spray lightly on the floor and mop with a damp (not wet) microfiber pad.
Why this ratio wins: the alcohol speeds dry time, the vinegar breaks down mineral film without overpowering the finish, and the micro-dose of soap loosens grime without creating suds. The scent is soft and clean — a whisper, not a perfume cloud. If your space runs small or you’re sensitive to smell, leave the bottle open for 2 minutes while you prep your mop; the sharpness mellows fast.
- Budget pick: Use Target Up & Up isopropyl alcohol and white vinegar; both under $2
- Renter-friendly: Mix half-batches so you can store it in a tiny caddy under a pedestal sink
If you skip a week, nothing breaks. You just pick it back up. Floors forgive faster than you think.
How To Mop: Pro Steps For Hardwood, Laminate, And Vinyl
The method matters more than the mop price tag — here’s a sequence that never streaks.
This is the part most people get wrong: they start mopping on a dusty floor, use way too much solution, then chase clouds with more passes. Instead, think like a pro. Clean the dry stuff first, then erase the stubborn spots with precision, and finish with feather-light sweeps. You’ll hear the pad glide with a slight whisper rather than that dragging, rubbery squeak, and the floor will look calm and uniform as it dries.
Step-by-Step Method
- Dry sweep or vacuum. Use a soft-bristle broom or a vacuum with a hard-floor setting. You’re removing grit that scratches finish and creates gray streaks.
- Spot treat. Sticky drips (OJ, coffee) get one extra spritz and a 10-second sit before wiping. Use a folded microfiber towel for small zones.
- Light spray, damp mop. Work in 3×3 foot sections. Two sprays are plenty. Keep the mop pad damp, not dripping.
- Rinse the pad as needed. If it feels grabby or leaves swirls, it’s dirty. Rinse in warm water, wring hard, keep moving.
- Final pass. One dry, clean pad gives that polished, streak-free finish — especially in front of windows where light reveals everything.
Tool hierarchy, ranked with receipts: Best overall is a flat microfiber mop with washable pads (Bona, O-Cedar ProMist MAX). Budget pick? A basic microfiber pad and a spray bottle. Skip string mops — they hold too much water and push grime into joints. If you love gadgets, a cordless hard-floor vacuum like the Tineco S3 is worth the splurge for busy kitchens, but the recipe above still shines with a simple mop.
- Budget-friendly swap: Use a $10 spray bottle and two microfiber cloths if you don’t own a mop
- Renter-friendly move: Hang pads on Command hooks to air dry and save cabinet space
Quick mindset reset: Clean as you live, not as you “should.” A 5-minute refresh is better than a once-a-month marathon. Your home will thank you with a consistent, low-lift glow.
Customize It: Hardwood vs. Laminate vs. Vinyl
Fine-tune the recipe so each surface gets exactly what it needs — no guesswork.
It sounds obvious, but here’s where it usually falls apart: we treat everything the same. While the base formula is safe across the board, tiny tweaks make your floors look intentionally cared for. Hardwood loves less moisture and slightly less vinegar. Laminate prefers faster dry time. Vinyl appreciates a tad more degreasing for kitchen splatters. You’ll feel the difference underfoot — that crisp, clean glide.
For Sealed Hardwood (Polyurethane Finish)
- Use the original recipe but reduce vinegar to 2 tablespoons if you’re cleaning daily or if your floors are older and matte.
- Best mop: flat microfiber, lightly damp.
- Frequency: 1-2 times per week in living spaces; daily quick spots in kitchens.
Why: Hardwood finish can dull with frequent acidic exposure. Less vinegar keeps the sheen even and warm, like candlelight on a cozy evening.
For Laminate Plank
- Keep the original recipe; consider increasing alcohol to 2/3 cup in humid climates for faster evaporation.
- Best mop: flat microfiber with extra pad changes.
- Frequency: 2-3 times per week in high-traffic halls; it hides less dirt than you think.
Why: Laminate hates standing moisture, and quick dry = no seam swell. You’ll see a smooth, glassy reflection without waves or blushing.
For Luxury Vinyl Plank/Tile (LVP/LVT)
- Keep the recipe; add a pinch (1/8 teaspoon) more soap if you cook often and get oily overspray near the stove.
- Best mop: microfiber; you can be slightly more generous with spray since vinyl is water-tolerant.
- Frequency: as needed; vinyl is forgiving and responds well to targeted cleaning.
Why: Vinyl can get a stubborn kitchen film that normal vinegar alone can’t cut. The extra soap breaks it without streaking, especially when paired with warm water and a final dry pass.
- Budget-friendly: Buy one set of pads and label them with a Sharpie (H, L, V) so you don’t transfer grit
- Renter-friendly: If you’re unsure of your floor type, start with the base recipe and spot test near a closet
Your home doesn’t need to look like a showroom. It needs to feel like yours — clean enough to relax, pretty enough to make you smile when the sun hits just right.
Eco vs. Store-Bought: When To DIY, When To Buy
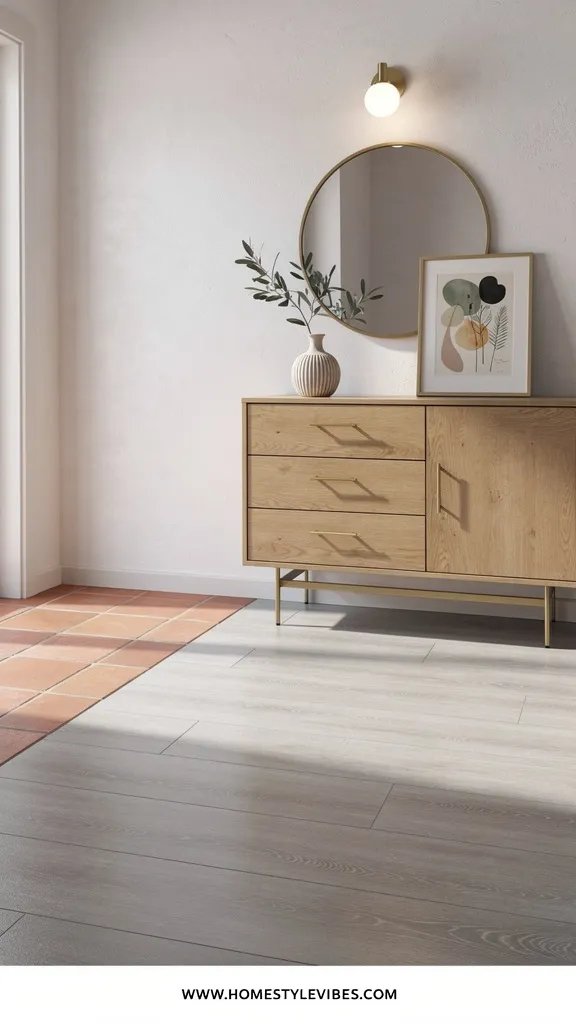
Sometimes you want a mix-it-yourself moment. Sometimes you want click, ship, done.
You’ve seen all the takes online: “DIY everything” vs. “only trust pro formulas.” Here’s my take after testing dozens: the DIY recipe above is best overall for control, cost, and consistency. But there are moments where a pre-made cleaner is the smoother path — especially if you have a specialty matte finish or a warranty to protect. The key is knowing when to lean on each, not turning it into a personality test.
When DIY Wins
- Budget: under $2 per 24-oz batch
- Sensitivity: you choose the soap and scent level
- Control: you can tweak for seasons and humidity
When Store-Bought Wins
- Warranty: some flooring brands specify products; check your paperwork
- Specialty finishes: ultra-matte or oil-rubbed wood may prefer brand-matched cleaners
- Convenience: you want refill pods or a spray bottle with zero mixing
Ranked picks with honest notes:
- Best overall store-bought: Bona Hardwood Floor Cleaner (for hardwood and laminate). Balanced, low residue, widely available at Target and Home Depot.
- Budget pick: Great Value (Walmart) Multi-Surface Floor Cleaner, diluted in a spray bottle. Works on vinyl; skip on hardwood if you notice fragrance streaks.
- Worth the splurge: Branch Basics concentrate, diluted per hard floor instructions. Gentle and fragrance-free; excellent for families with sensitivities.
- Skip this one: Anything labeled “shine” or “restore gloss” for everyday use — it’s usually acrylic that builds up and looks cloudy near baseboards.
- Budget-friendly: Reuse an old glass kombucha bottle as a tiny refill decanter to reduce plastic
- Renter-friendly: Keep a single caddy for floors plus bathroom cleaner so moving is easier
Small steps compound. Even a minor upgrade — like swapping to a microfiber pad — can change how your whole home feels by Saturday afternoon.
Troubleshooting Streaks, Film, And Cloudiness
If your floors still look foggy, don’t panic — this is solvable in one or two passes.
You’ve tried everything and the film won’t quit. The culprit is usually one of three things: too much soap or fragrance in past cleaners, mineral deposits from hard water, or a dirty mop pad smearing grime. The fix is not more scrubbing; it’s a smarter reset. Think of this like clarifying shampoo for your floors — remove buildup, then return to a light, balanced routine.
Fix A Hazy Film
- Mix a “reset rinse”: 1 gallon warm water + 1 cup white vinegar. Lightly damp-mop, changing water often. This chelates minerals and softens polymer films.
- Follow with a clean water pass. Wring your pad so it’s almost dry, then do a final sweep to lift loosened residue.
- Return to the core recipe with half the soap for the next two cleans, then resume normal.
Eliminate Streaks Near Windows
- Work in smaller sections and use one extra dry pad for a last pass.
- Increase alcohol to 2/3 cup in humid climates; dry time matters for optical clarity.
Remove Sticky Spots
- Spray the core recipe directly and give it 30 seconds. The warmth plus surfactant will melt the sticky edges so they wipe clean.
- For grease, add a single drop of dish soap on your cloth, wipe, then do one water-only pass to finish.
- Budget-friendly: If your water is hard, fill your bottle with distilled water from Walmart (about $1 per gallon)
- Renter-friendly: Keep a compact “reset kit” — one bottle vinegar, one soft pad — in a small tote
Quick Checklist
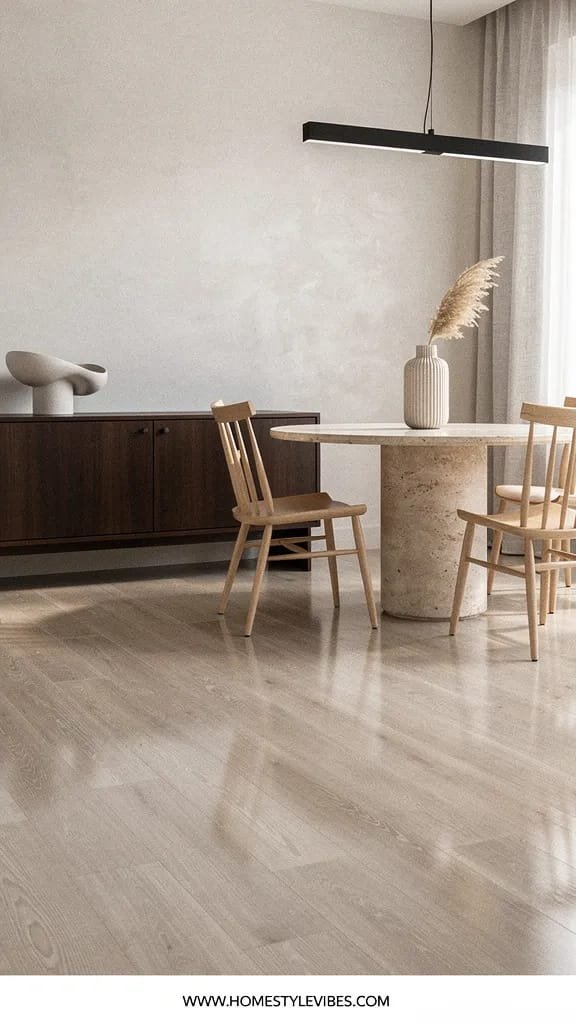
- Soft-bristle broom or hard-floor vacuum
- Flat microfiber mop with 2-4 washable pads
- 24-oz spray bottle, labeled with the recipe
- Isopropyl alcohol (70%)
- Distilled white vinegar
- Gentle, dye-free dish soap
- Warm water (distilled if you have hard water)
- Optional: Distilled water for mixing
- Clean towels for spot treatments
- Command hooks or a small caddy for storage
Frequently Asked Questions
Will vinegar ruin my hardwood finish?
Used in this low ratio and wiped with a damp, not wet, microfiber pad, it won’t harm a typical polyurethane finish. If your hardwood is oil-finished or waxed, skip vinegar and use the brand’s recommended cleaner.
Can I use this on high-gloss floors without streaks?
Yes — increase the alcohol to 2/3 cup for faster evaporation and use an extra dry pass with a clean pad, especially near big windows or glass doors where light exposes lines.
I have pets and kids. Is this safe?
Yes, when used as directed and allowed to dry. The ingredients are common household staples. Keep bottles out of reach, and avoid puddling to prevent slips.
What if my laminate edges are already swollen?
Stop all wet mopping for a week. Vacuum daily, then do light spot-cleaning with a barely damp cloth. When you resume, spray the mop pad instead of the floor to avoid seam exposure.
How do I keep my mop pads from smelling funky?
Rinse pads in warm water after use, wring well, and air dry. Wash weekly with hot water and a tablespoon of oxygen booster; skip fabric softener so fibers stay grippy.
Conclusion: Your Clean-Floor Routine, Simplified
You don’t need a closet of bottles or a weekend blocked off to get floors you’re proud of. You need one balanced recipe, a microfiber pad, and a rhythm that fits real life. The result feels calm under bare feet, looks clear in the late-afternoon sun, and smells lightly fresh as the air shifts through your space.
Start small: mix one bottle today and clean just the path from your front door to the kitchen. Notice how fast it dries. Notice the soft, streak-free sheen. That’s momentum. Keep the bottle under the sink, grab it after dinner, and let clean become the default — not the event.
Homes aren’t made perfect by big gestures. They’re shaped by little habits that honor how you actually live. Mix the cleaner, take the first swipe, and enjoy that satisfying, whisper-quiet glide. You’ve got this — and your floors are about to prove it.

About the Author

Krisztina P.Rendes, Founder of Home Style Vibes
Founder of Home Style Vibes
Krisztina Puskásné Rendes created Home Style Vibes as a cozy-modern lifestyle space where homemaking meets inspiration. Her goal is to help women create beautiful, organized, and peaceful homes they truly love — without overwhelm. You’ll find here heart-driven content on home decor, cleaning tips, easy family recipes, organization and decluttering, DIY home projects, plants, and seasonal ideas — all designed to bring more calm, comfort, and style into everyday life.