How to Clean Toilet: a Step-by-Step Guide for Homeowners Quickly
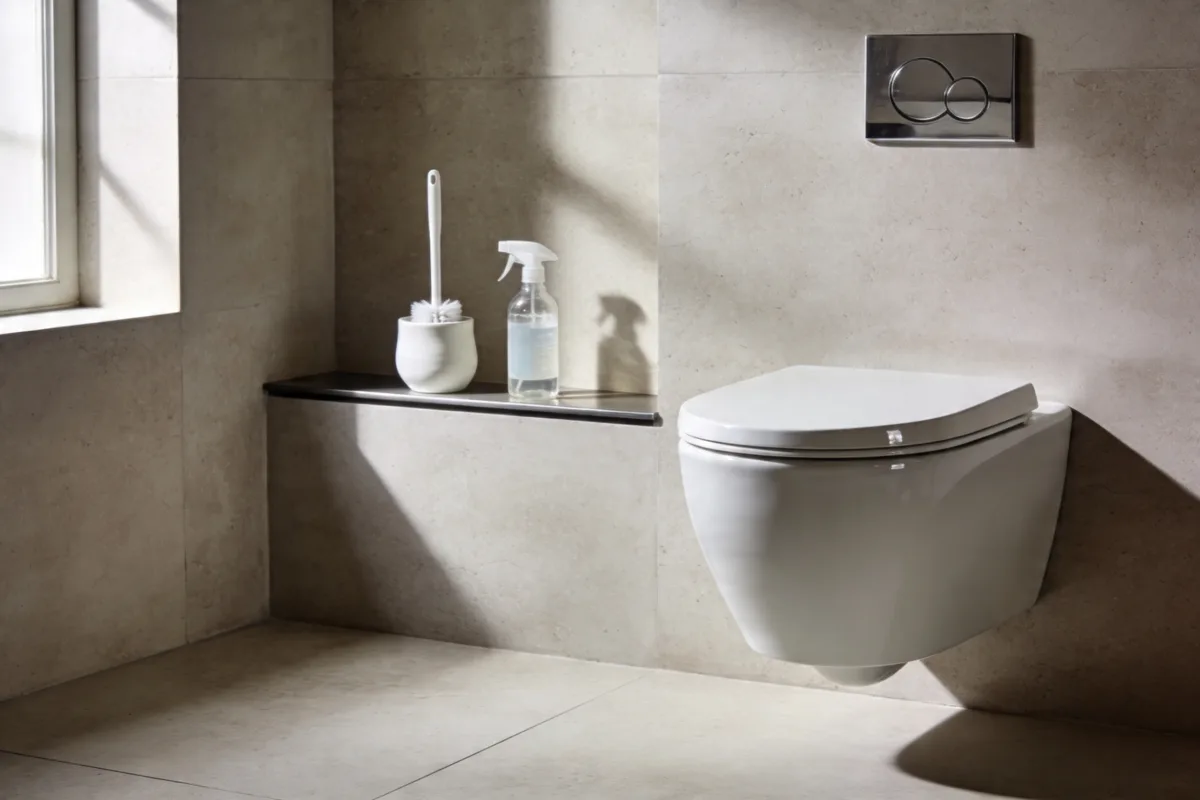
You want a bathroom that feels fresh, calm, and guest-ready. You hate scrubbing for ages, only to see rings come back in a week. The good news: with the right order, products, and a few insider tricks, you can deep clean a toilet in 10–12 minutes and keep it sparkling for longer. Consider this your practical, Pinterest-worthy roadmap to a bathroom that actually feels clean — not just sprayed with fragrance.
What’s Inside
Supplies That Actually Work (And What to Skip)
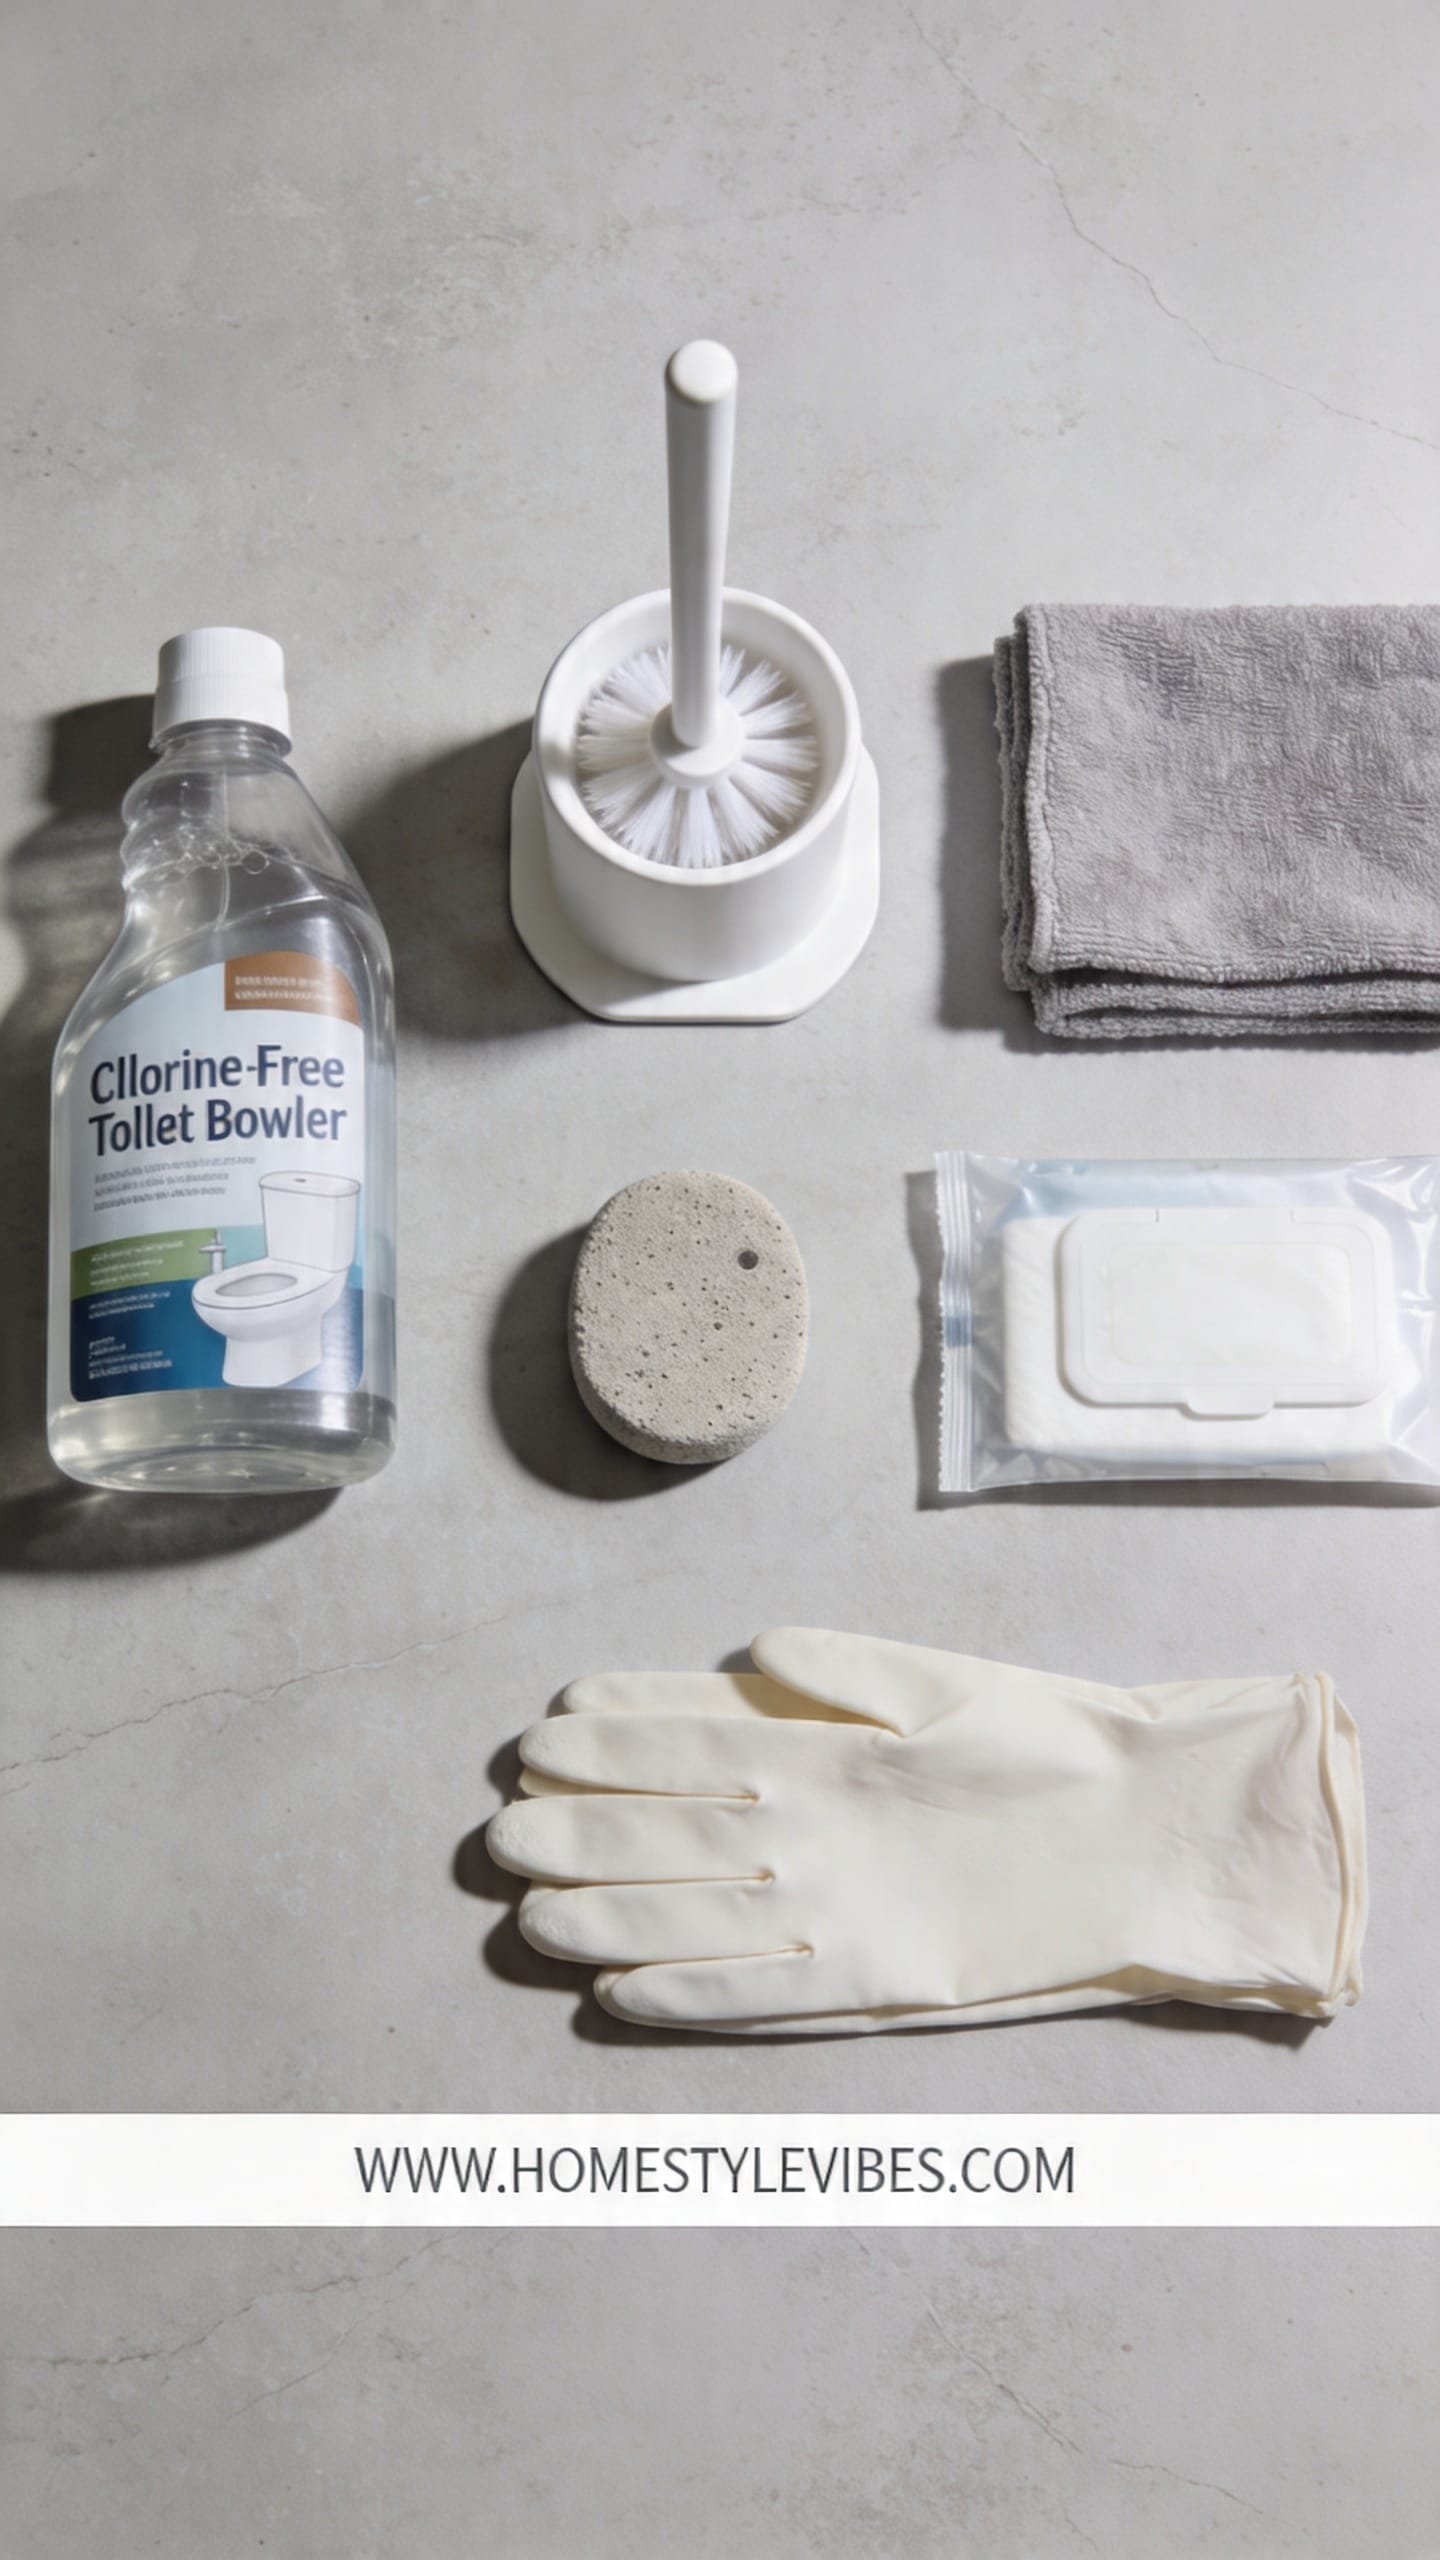
Gather the right tools once, and you’ll cut your cleaning time in half every single week.
We’ve all been there: grabbing whatever spray is under the sink, hoping for a miracle. This is the part most people get wrong — using too many “multi-purpose” products that smell clean but don’t actually disinfect or lift mineral buildup. The secret isn’t cleaning harder. It’s choosing targeted tools that do the science for you.
Here’s why this works: toilets deal with three categories — germs, mineral deposits (hard water), and organic stains. You want one product targeted for each, plus tools that reach tight seams where grime hides. The right set turns a wet, soapy slog into a quick, methodical routine. Think crisp lemon-clean scent, smooth porcelain sheen, and a dry, squeak-clean seat — not sticky residue.
Budget-conscious or renting? You don’t need a cart of supplies. Start lean, then upgrade with one “worth it” product each season. If you hate visual clutter, store everything in a small lidded caddy under the sink.
- Best overall disinfectant: EPA-registered disinfecting spray or wipes (Lysol, Clorox). Quick, proven kill times.
- Best for hard water rings: Pumice scouring stick (like Pumie) used wet, or a dedicated descaler (Lime-A-Way). Pumice is unbeatable on ceramic.
- Best for weekly bowl clean: Clorox Toilet Bowl Cleaner with bleach or Seventh Generation Toilet Bowl Cleaner (bleach-free).
- Best brush: A silicone-bristle toilet brush with a ventilated holder. Dries faster, less odor.
- Must-have detail tool: Old toothbrush or detail brush for hinges and bolt caps.
- Optional, but worth it: Microfiber cloths (2–3), paper towels for final dry/buff, and disposable gloves.
- Budget pick: White vinegar and baking soda handle deodorizing and light mineral softening; pair with elbow grease.
- Skip this one: Blue in-tank tablets — they corrode parts and void many manufacturer warranties.
Prep and Safety: Set Yourself Up for a Faster Clean
This is the 90 seconds that saves you nine minutes later — and keeps your bathroom smelling like crisp air, not harsh fumes.
We all want to be in and out, but splashing chemicals on dusty porcelain just makes paste. A simple reset — clear the floor, open a window, pull on gloves — turns chaos into flow. You’ll hear the soft clang of the lid, feel warm water on the pumice stick, and watch grime release like it’s surrendering.
Here’s why this sequence matters: dust and lint trap moisture and cleaner, making streaks and sticky edges. Dry surfaces first, then wet strategically. Also, ventilation keeps the air fresh and helps surfaces dry faster so nothing smells swampy. IMO, a quick set-up makes you feel in control before the first spray.
- Remove items around the toilet: trash can, plunger, bath mats. Give yourself room to move.
- Crack a window or flip on the exhaust fan for airflow.
- Put on disposable or reusable cleaning gloves.
- Flush once to wet the bowl. This primes stains for lifting.
- Apply toilet bowl cleaner under the rim so it drips down evenly. Let it sit while you tackle the exterior.
- Dust or dry-wipe the tank, lid, and sides with a dry microfiber first. Then disinfect.
Inside the Bowl: Remove Stains, Rings, and Hard Water Mineral Lines
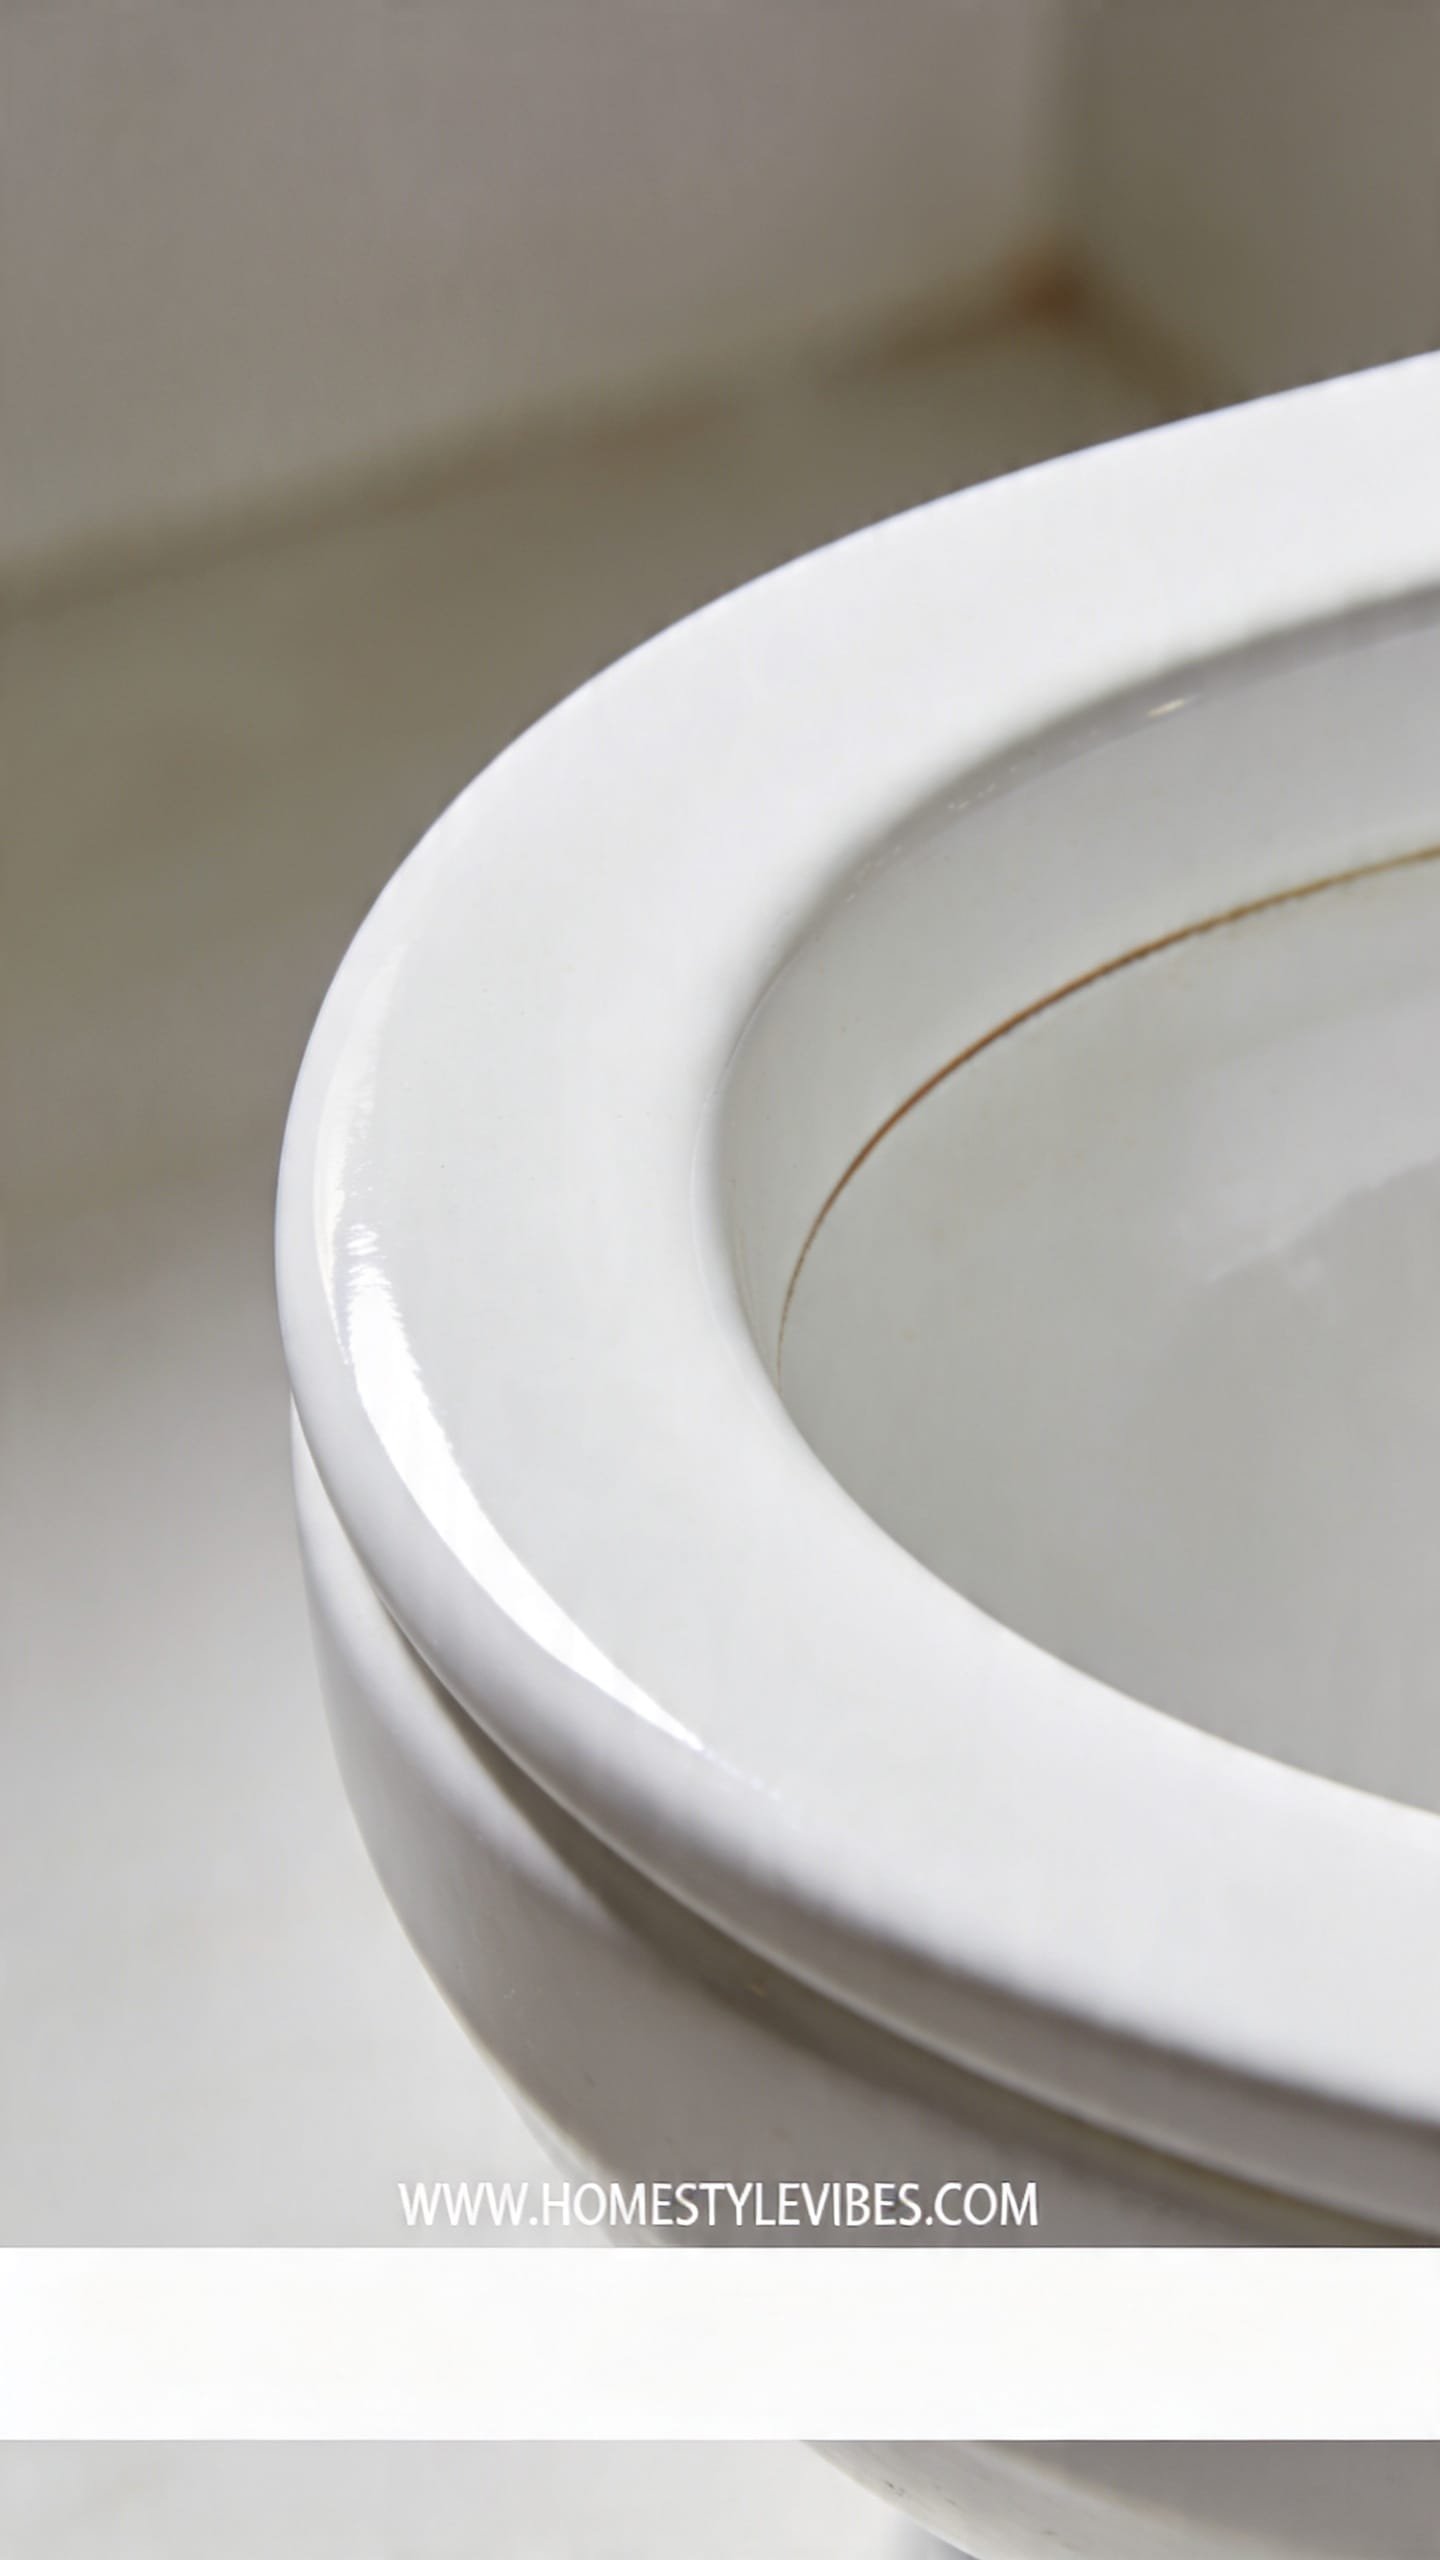
If you’ve tried scrubbing for ages and the gray ring laughs back, this is your fix — in the right order.
It sounds obvious, but here’s where it usually falls apart: people scrub the waterline first, then move up to the rim, which rains grime back down. Instead, work top-to-bottom. Start under the rim (where the water jets are), then the sides, then the bottom bend. You’ll hear the brush skim with a squeak once it’s truly clean — that smooth, glassy sound is your victory bell.
Why this works: under-rim minerals feed the ring you see later. Clear those jets and the water flows clean, preventing new lines. For stubborn deposits that feel like chalk or sand under your brush, use a wet pumice stone — it’s hard enough to remove mineral scars but safe for ceramic when kept soaked. For rust tints, choose a rust-specific cleaner and rinse thoroughly. Budget-friendly? Vinegar soak and a nylon brush can soften lighter scale with patience.
Step-by-Step Bowl Routine
- Lift the seat. Squeeze cleaner under the entire rim so it coats as it drips.
- Let it sit 5–7 minutes for disinfecting action. Use this time to clean the exterior (next section).
- Scrub under the rim first using upward strokes. Then spiral down the sides to the waterline, finishing at the S-bend.
- For a persistent ring: hold water level lower by swishing most of it out with the brush, then gently rub a soaked pumice stone over the ring until it fades. Keep the stone and porcelain wet at all times.
- Flush while continuing to brush to rinse debris. Inspect. Repeat pumice on any lingering shadows until completely gone.
- Best overall method: Bleach-based bowl cleaner weekly + pumice for rings. Fast and reliable.
- Best for beginners: Gel cleaner with angled nozzle — easier control under the rim.
- Worth the splurge: Silicone brush with replaceable head; dries faster and stays odor-free.
- Budget pick: 1 cup white vinegar + 1 cup baking soda; let fizz 10–15 minutes, then scrub. Good for maintenance, not heavy scale.
- Skip this one: Steel wool or abrasive pads — they scratch the glaze and make stains return faster.
This isn’t about achieving a magazine-perfect home — it’s about building routines that work on weeknights when you’re tired and your kids are asking for snacks. If you skip a detail one week, nothing falls apart. You just pick up where you left off.
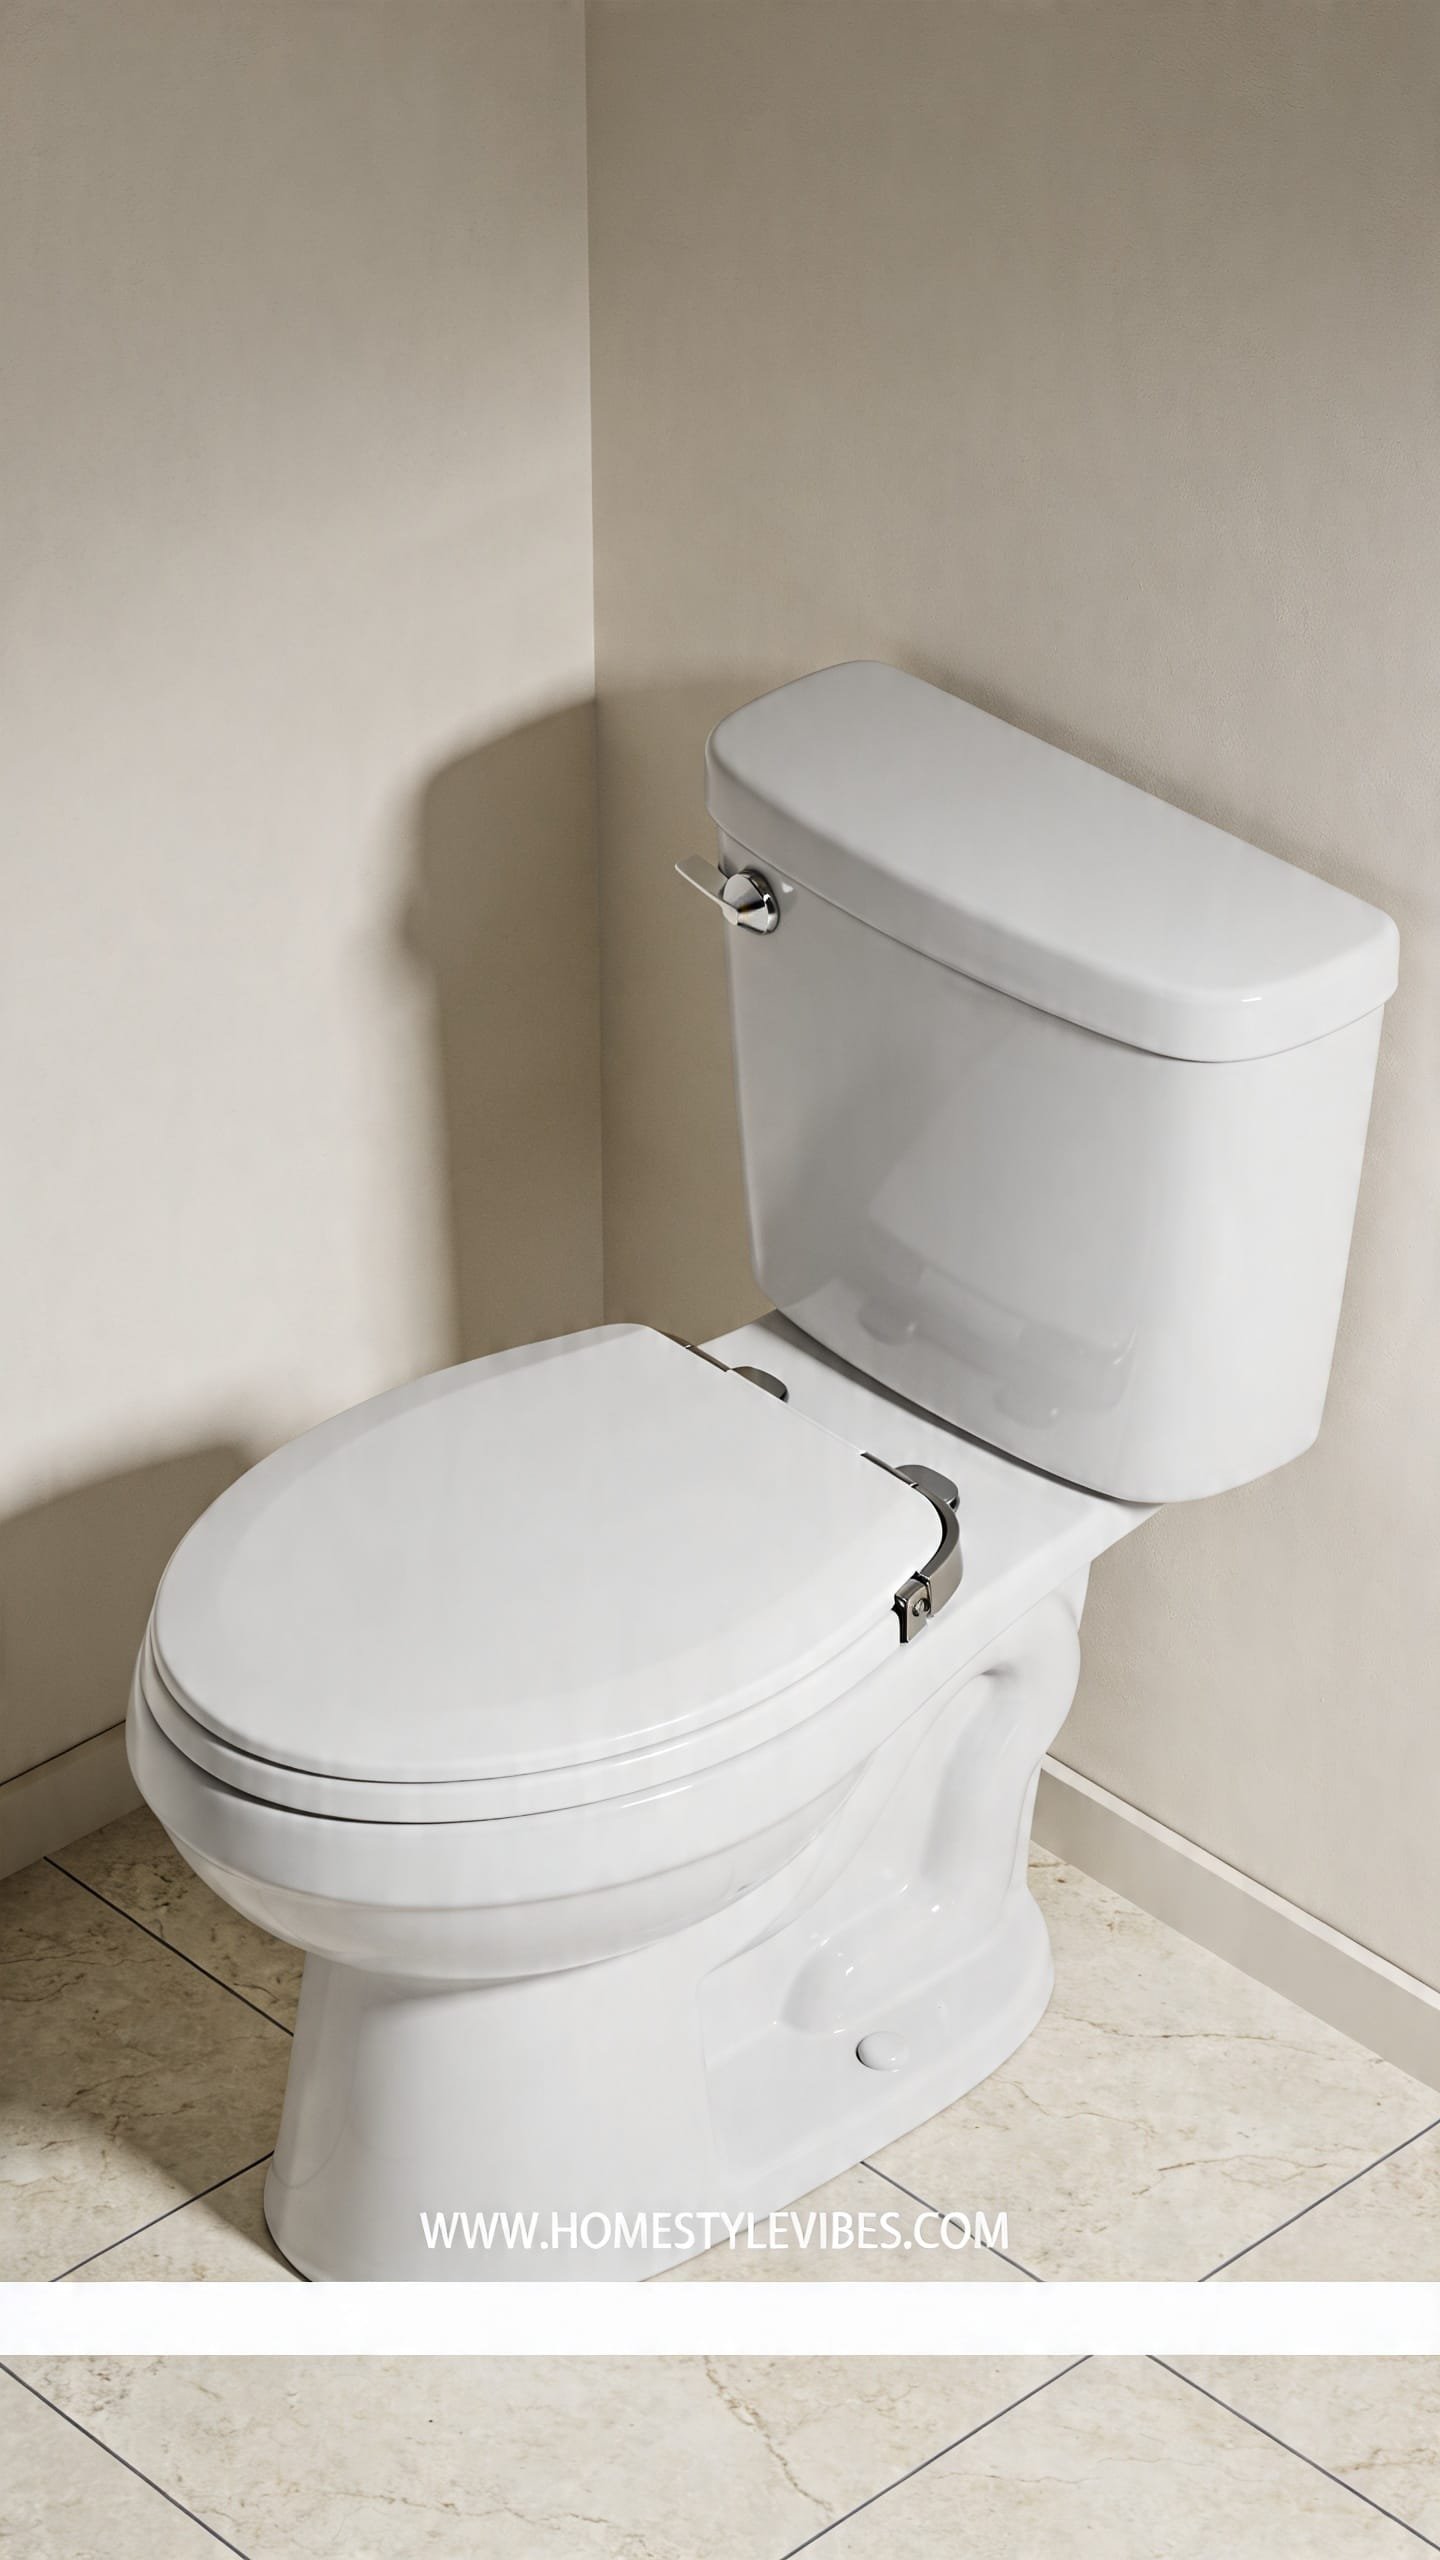
Exterior, Seat, and Hidden Hinges: The Germ Hot Spots Most People Miss
If your bathroom smells “off” even after a scrub, the problem lives in the seams and hinges. Let’s fix that for good.
We’ve all wiped the seat and called it a day. But the hinge area — those tiny shadowed crevices — traps moisture and, well, life happens. Wipe the tank lid, yes, but also lift the bolt caps, wipe around the base, and clean the water supply line. Dry everything to a squeak so there’s no dampness left to breed odor. The surface should feel smooth, not tacky — think clean glass, not gummy.
Here’s why this step transforms your bathroom: disinfectants need contact time, and the dry buff at the end keeps dust from sticking back. For renters or anyone without fancy supplies, a small detail brush and a roll of paper towels are your MVPs. For a soft finish, switch to a microfiber for the final pass — it leaves a subtle satin sheen in photos and real life.
Exterior Routine That Actually Works
- Spray disinfectant on the tank, handle, lid (top and underside), seat (top and underside), rim, sides, and base. Let it sit per label — usually 3–10 minutes.
- Use a cloth or paper towel to wipe in this order: tank and handle, lid, seat, rim, sides, base, then floor around the base.
- Pop bolt caps if possible; use a toothbrush to scrub any gunk, then wipe clean. Don’t forget the water supply line and shut-off valve — quick wipe, big difference.
- Dry-buff with a clean cloth. Pay attention to the front curves and base where splashes collect.
- Best overall cleaner: Disinfecting wipes for daily touch-ups + spray for weekly deep clean.
- Best for sensitive noses: Fragrance-free EPA-registered disinfectant (check Amazon or Target).
- Budget pick: Diluted dish soap for grime, then follow with a disinfectant step.
- Skip this one: Wood polish or oily cleaners on the seat — they leave slip, residue, and attract dust.
Progress over perfection. A truly clean bathroom is the one you can maintain on a normal Tuesday, not just before guests arrive. Consistency beats intensity every time.
Odor and Long-Term Freshness: Keep It Clean Longer
Let’s move from “clean today” to “stays clean all week” — without masking with heavy perfume.
The truth is, long-term freshness is about moisture control and routine. Odor clings to damp fibers (toilet mats, anyone?) and settles into baseboard corners. Keep air moving, reduce fabric around the toilet, and schedule tiny, two-minute touch-ups. You’ll notice crisp, dry air and a subtle clean scent instead of that sour, steamy smell after hot showers.
Here’s why this actually works: bacteria love warm, wet, dark spaces. Increase airflow, keep surfaces dry, and use the right products in low doses. For renters, choose renter-friendly wall hooks for towels and a compact trash can with a lid. For budget-friendly freshness, a small bowl of baking soda behind the toilet absorbs lingering odors without fragrance.
- Run the exhaust fan during showers and for 15 minutes after. If you have a window, crack it an inch.
- Skip plush mats around the toilet. Use a flat-weave, washable runner placed slightly away from the base.
- Do a 90-second midweek reset: wipe the seat and handle, quick brush swish, dry the base curve.
- Use drop-in gel rim cleaners that attach inside the bowl (not in-tank) for a light fresh scent.
- Empty the bathroom trash frequently and clean the can monthly with dish soap and hot water.
- Keep a small caddy under the sink with wipes, a mini brush, and a microfiber for quick wins.
- Best overall habit: Midweek 90-second wipe and swish — it prevents buildup so deep cleans stay easy.
- Worth the splurge: Quiet humidity-sensing exhaust fan from Home Depot; dials moisture down automatically.
- Budget pick: Baking soda in a small open jar behind the toilet; refresh monthly.
- Skip this one: Heavy room sprays — they combine with humidity and can smell cloying.
Troubleshooting Stubborn Issues: Rust, Calcium, Mold, and Colored Toilets
Some toilets need more than a weekly wipe — hard water, well water, or old plumbing can leave stains that feel permanent. They’re not.
You’ve tried every “miracle” gel, but the ring returns, the jets clog, and the handle area looks rusty. Here’s why: different stains need different chemistry. Rust wants an acid-based cleaner. Calcium needs abrasion plus descaler. Mold needs a disinfectant with proper dwell time. Colored porcelain needs gentler, non-bleach formulas so you don’t fade the finish. Once you match the fix to the stain, things shift fast — like wiping away a shadow that’s been bugging you for months.
Sensory win: when it’s done right, the glaze looks glossy again, the handle feels dry and clean to the touch, and the air smells neutral — not chemical. For renters, always test in a hidden spot first. For budget-friendly care, use targeted products sparingly and follow with a clear-water flush.
Specific Fixes
- Hard water scale (white/gray crust): Wet pumice stone + gentle pressure. Or a descaler labeled for toilets. Keep stone and surface soaked.
- Rust/orange streaks: Use a rust remover safe for porcelain (try CLR or Whink Rust Stain Remover). Apply carefully, rinse thoroughly. Avoid mixing with bleach.
- Mold/mildew under rim: Bleach-based cleaner with a longer dwell time. Scrub under-rim jets thoroughly. Improve ventilation afterward.
- Clogged rim jets (weak flush): Turn off water, flush to empty bowl, tape a vinegar-soaked paper towel under the rim against the jets for 30 minutes, remove, and scrub. Restores flow.
- Colored toilets (almond/gray/black): Use non-bleach bowl cleaners or oxygen-based options; test on back of bowl first.
- Funky tank smell or debris in water: Lift the tank lid carefully. If you see sediment or slime, clean the tank interior with vinegar and a soft brush — no abrasive pads, and go easy on metal parts.
- Best overall strategy: Identify the stain type first, then select chemistry. Saves time and enamel.
- Best for beginners: Start with descaler for mineral, then go to pumice only if needed.
- Worth the splurge: Quality pumice on a stick — easier grip, more control, fewer scratches.
- Budget pick: White vinegar soaks for jets and light scale softening.
- Skip this one: Acid on stone, marble, or travertine floors around the toilet — it etches instantly. Mask the area or use a neutral cleaner on floors.
Quick Checklist
- Open window or run exhaust fan
- Gloves on, supplies ready in a small caddy
- Flush once to wet the bowl
- Apply bowl cleaner under rim and let sit
- Dry-dust tank, lid, sides, and base
- Disinfect exterior from top to bottom
- Scrub under rim, sides, then S-bend
- Use wet pumice on stubborn rings
- Wipe hinges, bolt caps, and water line
- Dry-buff all exterior surfaces
- Midweek 90-second wipe and swish
- Skip plush mats; improve airflow
Frequently Asked Questions
How often should I clean the toilet to keep it truly odor-free?
Do a quick wipe-and-swish midweek and a deeper clean weekly. That rhythm prevents build-up, keeps the room smelling fresh, and makes deep cleans take under 12 minutes.
What’s the safest way to remove a hard water ring without scratching?
Use a pumice stick kept fully wet and rub gently in short strokes. For lighter rings, try a descaler first. Never use steel wool — it scratches the glaze and makes stains return faster.
I’m on a budget. What’s the minimum I need to buy to get great results?
Start with a silicone toilet brush, an EPA-registered disinfectant, a basic bowl cleaner, and a pumice stick. Add vinegar and a microfiber cloth if you want a budget-friendly boost. You can get all of this at Target, Walmart, or Amazon for well under $30.
My bathroom is tiny. How do I keep supplies organized without clutter?
Use a small handled caddy under the sink with your essentials and choose a slim, ventilated brush holder. If storage is extra tight, keep disinfecting wipes and a mini brush in a lidded bin on the tank for quick fixes.
Why does the ring come back even after I scrub?
Under-rim jets likely have mineral build-up that seeds new stains. Clean under the rim thoroughly and consider a quick midweek swish. Also make sure you’re drying the exterior — moisture around the base can contribute to odor and residue.
Conclusion: Your Clean-Bathroom Routine Starts Today
Here’s the truth: cleaning your toilet doesn’t need to be a big production. With the right order and a couple of targeted tools, it becomes a quick ritual — almost meditative. The seat feels squeaky clean, the porcelain gleams, and the air smells like nothing at all, which is exactly the point.
Start small today. Do the 90-second reset: wipe the seat and handle, quick brush swish, dry the base. Tomorrow or this weekend, follow the full step-by-step and tackle that stubborn ring with a wet pumice stone. You’ll build momentum, and your bathroom will quietly thank you every single day.
When your space works, you feel it. Calm morning light, a clean start, and zero “sorry about the bathroom” moments. You’ve got this — and your toilet will stay guest-ready with less effort than you think.