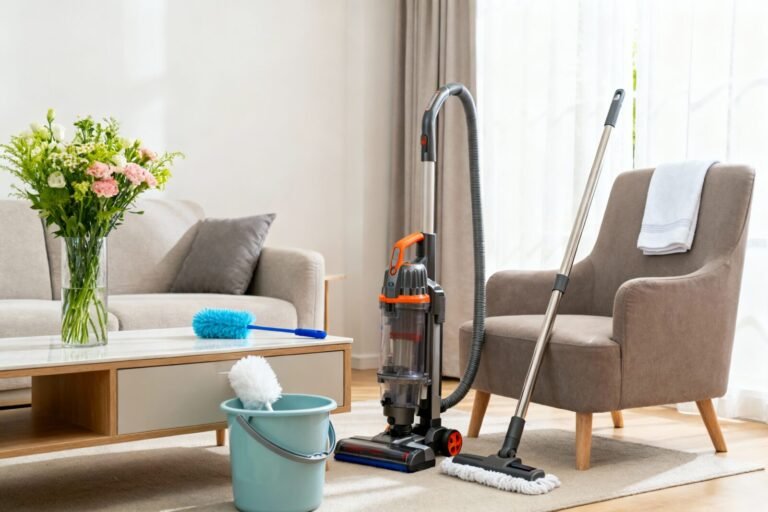
How to Make the Best Homemade Floor Cleaner That Works on Any Surface Fast
You want floors that feel clean under bare feet and glow in afternoon light. You hate sticky residue, streaks, and the sinking feeling that your “all-purpose” cleaner just bleached your grout. Here’s the fix: a simple, affordable homemade floor cleaner that actually works on every surface in your home—hardwood, tile, vinyl, laminate, even sealed stone—without a chemistry degree or a crowded caddy. In under 15 minutes, you’ll mix one core formula, a few smart swaps, and a scent that makes your home smell like the calmest Sunday morning. Pin it, try it, and watch your floors catch the light like a magazine shoot.
What’s Inside
The Core Formula: One Homemade Floor Cleaner, All Floors
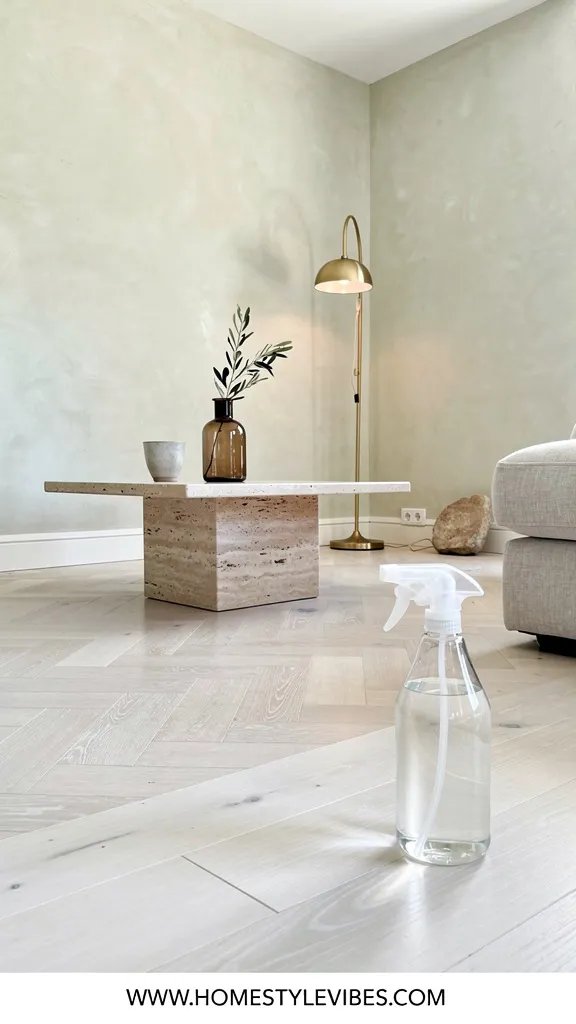
This is the simple, science-backed base that keeps your floors clean without drama.
We’ve all been there—three different bottles under the sink, none of them quite right. The truth is, you need a cleaner that lifts everyday dirt, cuts light grease, and evaporates without leaving a film. This core formula does that with gentle surfactants and a little alcohol for faster dry time. It’s neutral enough for sealed hardwood and tough enough for kitchen tile after taco night.
Here’s why it works: a mild dish soap acts like a tiny magnet for oils, while isopropyl alcohol speeds evaporation so you’re not left with milky streaks. Distilled water prevents mineral spots and keeps the mix shelf-stable longer. The scent is optional, but it turns cleaning from a chore into a small ritual—think crisp, clean air with a hint of citrus or eucalyptus as you move through the room.
All-Surface Homemade Floor Cleaner (Base Mix)
In a 24–32 oz spray bottle or a bucket:
- 3 cups distilled water (room temp)
- 1/2 cup isopropyl alcohol, 70% or 91% (Target, CVS, or Amazon)
- 1/2 teaspoon clear, dye-free dish soap (like Seventh Generation Free & Clear or Dawn Free & Clear)
- Optional: 5–8 drops essential oil (lemon, sweet orange, peppermint, or lavender)
Best overall for most sealed floors. It cuts through dusty film and light kitchen grime, then dries fast with no residue. If you hear a faint squeak under your shoes after it dries, that’s the satisfying sound of truly clean.
- Budget-friendly swap: If you don’t have distilled water, boil tap water and let it cool to room temp. Or use filtered fridge water in a pinch.
- Renter-friendly tip: Mix in a spray bottle so you can spot-clean and avoid oversaturating finishes you don’t own.
Dial In Your Ratios: Adjust for Hardwood, Tile, Vinyl, and Laminate
This is where you fine-tune the mix so it’s safe for every room—and every finish.
You’ve tried “one cleaner for everything” before, but your hardwood felt thirsty and your tile looked streaky. It sounds obvious, but here’s where it usually falls apart: the same dilution across surfaces. With tiny ratio tweaks, you protect sensitive finishes and still get that crisp, camera-ready clean.
Think of it like skincare. Hardwood likes gentle hydration with minimal soap. Tile and grout need a bit more oomph. Vinyl and laminate want fast dry time so seams don’t swell. You’ll notice the difference immediately—the way light skims across without dull patches, the way the floor feels satin-smooth not slippery.
Best Ratios by Floor Type
- Sealed Hardwood: 3 cups distilled water + 1/4 cup isopropyl alcohol + 1/4 teaspoon dish soap. Lightly mist or use a barely damp mop. Best for beginners: it protects finish and avoids streaks.
- Laminate: 3 cups distilled water + 1/3 cup isopropyl alcohol + 1/4 teaspoon dish soap. Quick dry to prevent edge swelling. Budget pick: simple and safe.
- Vinyl (LVP/LVT) and Sheet Vinyl: 3 cups distilled water + 1/2 cup isopropyl alcohol + 1/2 teaspoon dish soap. Cuts kitchen grease fast. Best overall for busy homes with pets.
- Ceramic/Porcelain Tile: 3 cups hot distilled water + 1/2 cup isopropyl alcohol + 1/2 teaspoon dish soap. Heat boosts degreasing; grout dries quickly. Worth the splurge: use a microfiber mop pad for grout lines.
- Sealed Natural Stone (Granite, Slate, Travertine, Marble that’s sealed): 3 cups distilled water + 1/4 teaspoon dish soap only. Skip alcohol and vinegar. Gentle is the move here.
- Renter-friendly swap: If you don’t know your floor’s finish, test the gentlest hardwood ratio in a corner first. No clouding? You’re good.
- Budget-friendly tip: Reusable microfiber pads (Walmart or Amazon, under $15 for a 6-pack) outperform disposable refills long term.
This isn’t about being perfect—it’s about getting smarter with tiny tweaks so your floors stay beautiful with less effort. If you miss a ratio here and there, no panic. You learn your floors like you learn your coffee order: specific, satisfying, yours.
Scents and Add-Ins: Make It Smell Like a Boutique Hotel
Clean should smell like fresh air with personality, not a chemical costume.
We’ve all chased that “spa lobby” moment—subtle, luxe, and not trying too hard. The secret isn’t dousing your cleaner in oils. It’s a restrained blend that lifts as it dries, leaving a whisper of scent instead of a head rush. Think lemon and rosemary in the bright morning, or lavender and cedar as evening light pools on the floor.
Here’s why this works: essential oils bind lightly to the cleaning solution, releasing fragrance as the alcohol evaporates. A few drops go a long way, and they won’t leave greasy trails if you stay conservative. You’ll notice the way the room feels clearer, like opening a window even when it’s chilly outside.
Signature Scent Trios (Add 5–8 total drops per 3 cups water)
- Bright Kitchen: 4 drops lemon + 2 drops sweet orange + 1 drop rosemary
- Cozy Night In: 3 drops lavender + 2 drops cedarwood + 1 drop vanilla oleoresin
- Clean Laundry Vibes: 3 drops eucalyptus + 2 drops lavender + 1 drop peppermint
- Budget pick: Single-note lemon or sweet orange is cheerful and affordable at Walmart or Amazon.
- Renter-friendly: If your lease forbids fragrances, skip oils and add scent in the room instead—like a candle lit after cleaning so fragrance never touches the floor.
Mop Methods That Actually Matter (And Which One Wins)
The right tool makes your cleaner look genius; the wrong one leaves streaks and frustration.
You’ve got the mix. Now, the application. This is the part most people get wrong: sloshing on too much liquid or using a mop head that just pushes dirt around. The best method uses a tight-weave microfiber that grabs grime and releases it in the sink, not back on your floor. Think soft, slightly textured fabric gliding across the surface with a quiet whisper.
Here’s my ranked take after testing across real homes—dogs, toddlers, muddy trail shoes and all.
Best to Worst: Mop Methods
- Best overall: Flat microfiber mop with reusable pads. Even coverage, low water use, stellar on hardwood and vinyl. Try O-Cedar ProMist MAX or an Amazon microfiber kit with extra pads.
- Worth the splurge: Spray mop body filled with your homemade cleaner. Great for quick zones like under the dining table. Choose a model with washable pads.
- Budget pick: Microfiber cloth + bucket. Wrap a cloth around a broom head or Swiffer frame, spritz the floor, and hand-wash the cloth as you go.
- Skip this one: Old-school string mop. It holds too much water, leaves streaks, and can damage seams and wood over time.
Technique That Changes Everything
- Work in 3–4 ft sections.
- Spritz lightly or dip and wring until the pad is just damp, not wet.
- Move in overlapping figure-eights so you always pull dirt into the center of your path.
- Rinse or swap pads when they look gray. Clean pad, clean results.
- Renter-friendly swap: If storage is tight, stash a flat mop and two pads on a 3M Command hook behind a laundry door.
- Budget-friendly tip: Cut old t-shirts into 12 x 12 inch squares for baseboards and tight corners; launder and reuse.
If you skip one of these steps, nothing breaks. You just notice a little haze or a missed corner next time and adjust. Progress over perfection is how real-life homes stay beautiful between school pickups and late-night emails.
Streak-Free Technique: Dry Times, Water Temps, and Sunlight
These tiny details decide whether your floors look polished or patchy.
You’ve done the mixing and mopping, but streaks still show up in that one sunny spot by the window. It sounds fussy, but here’s why it happens: fast evaporation under direct sunlight, hard water minerals, or too much cleaner left behind. We fix that with timing, temperature, and a little airflow.
When you nail this, your floors catch the light with that soft, low sheen—no drag marks, no dull patches, just a quiet glow. Imagine opening the curtains and seeing a smooth reflection glide across the room like glassy water.
Your Streak-Free Checklist
- Timing: Clean out of direct sun. If a room gets harsh afternoon light, mop it in the morning or after sunset.
- Temperature: Use warm water for tile/vinyl. For hardwood, room-temp only so you don’t flash-dry streaks.
- Airflow: Crack a window or run the ceiling fan on low. You want gentle, even dry time.
- Final Buff: On hardwood or laminate, quickly dry-buff high-traffic areas with a clean, dry microfiber cloth. It’s a 30-second glow-up.
- Budget-friendly swap: No fan? Open two windows opposite each other for a soft cross-breeze.
- Renter-friendly tip: Use a hand towel to buff threshold areas so rugs don’t trap moisture at doorways.
Troubleshooting: Cloudy Finish, Sticky Spots, and Dull Wood
Real homes have messes. Here’s how to course-correct without panic-cleaning.
You’ve seen it: that cloudy patch in the hallway, the sticky ring where a juice spill dried, or hardwood that looks tired even when it’s clean. This is where most people overcorrect with harsher cleaners and make things worse. Instead, we solve the root cause and reset the surface gently.
When you get this right, you’ll feel it underfoot—the glide returns. The floor doesn’t grab your socks. The shine looks natural, not glassy or wet. That’s the sweet spot.
Common Issues and Fast Fixes
- Cloudy or Hazy Film (All Floors): Often too much soap or hard water minerals. Fix it with a rinse pass: 3 cups warm distilled water + 1 tablespoon isopropyl alcohol, no soap. Mop lightly, then buff dry. Best for beginners.
- Sticky Spots (Vinyl/Laminate): Spritz a stronger hit: 1 cup warm water + 1/4 cup isopropyl + one drop soap. Agitate with a soft nylon brush or textured cloth. Worth the splurge: keep a dedicated “spot cloth” so residue doesn’t spread.
- Dull Wood (Sealed Hardwood): Build-up from past products or oils. Do a reset: slightly damp cloth with the hardwood ratio, work with the grain, then dry-buff. If dullness persists, consider you’re due for a professional clean-and-buff, not more soap.
- Grout Looking Grungy (Tile): Your mop can’t reach deep texture. Use a narrow grout brush, spritz the tile-safe ratio, scrub in short strokes, mop, then rinse with warm distilled water. Budget pick: a stiff toothbrush works in a pinch.
- Water Spots Under Sunlight: Those are mineral traces. Use distilled water only going forward and consider a quick final pass with plain distilled water in sunny zones.
- Budget-friendly tip: Buy a multipack of microfiber cloths from Costco, Walmart, or Amazon; color-code them for kitchen, bath, and wood so residue never cross-contaminates.
- Renter-friendly swap: If you inherited mystery buildup, start gentle and test—landlords notice damage, not a little haze during move-out.
Your home doesn’t need to be a museum. It needs to support your life—muddy soccer cleats, boiling pasta splatters, the puppy sprinting after a dust bunny. A low-fuss, high-impact routine is the real luxury.
Quick Checklist
- Distilled water for mixing and streak-free rinses
- Isopropyl alcohol (70% or 91%)
- Clear, dye-free dish soap
- Optional essential oils (lemon, lavender, cedar, eucalyptus)
- Flat microfiber mop with 2–3 reusable pads
- Spray bottle labeled with your recipe
- Grout brush or old toothbrush for tile seams
- Dry microfiber cloth for quick buffing
- Painter’s tape to label ratios on the bottle
- Warm water access for tile/vinyl sessions
Frequently Asked Questions
Can I use this homemade floor cleaner on unsealed wood or older hardwood?
No. Unsealed or waxed wood needs a very specific routine. Stick to a barely damp microfiber cloth with plain distilled water, then dry immediately. If you’re unsure, test in a closet or check with a local flooring pro before using any cleaner.
Is it safe around pets and kids?
Used as directed, yes. Keep the ratio light on soap and essential oils, and avoid letting kids or pets walk on wet floors until they’re dry. Skip strong mint oils if you have cats, and always store solutions out of reach.
What if my tap water is very hard and I don’t have distilled water?
Boil tap water for 5 minutes and let it cool before mixing. It’s not perfect, but it reduces mineral spots. Long term, a $1 gallon of distilled water from Target or Walmart is the easiest fix.
How long does the mixed cleaner last?
About 3–4 weeks if stored in a closed, labeled bottle at room temperature. If it looks cloudy or smells off, dump it and remix. The recipe is budget-friendly enough to keep fresh.
My floors still look dull after cleaning—am I doing something wrong?
Maybe not. Dullness can be wear on the finish, not dirt. Try the haze reset (warm distilled water + a splash of alcohol, no soap) and buff dry. If it still reads flat, consider a professional maintenance coat or a manufacturer-approved polish for your specific floor type.
Conclusion: Your Clean-Home Shortcut Starts Here
The secret to beautiful floors isn’t a cabinet of specialty products. It’s one thoughtful recipe, tiny ratio tweaks, and a mop method that respects your finishes. This routine keeps life simple, consistent, and quietly gorgeous—like slipping into your favorite jeans that always fit.
Start small today: mix the base cleaner, label the bottle, and clean just the entryway. Feel the difference under your feet as it dries to a smooth, clean glide. Then do the kitchen tomorrow. By next weekend, your floors will catch the morning light and you’ll feel a little prouder every time you walk through the door.
You don’t need perfect. You need practical that looks stunning. You’ve got this—seriously.

About the Author

Krisztina P.Rendes, Founder of Home Style Vibes
Founder of Home Style Vibes
Krisztina Puskásné Rendes created Home Style Vibes as a cozy-modern lifestyle space where homemaking meets inspiration. Her goal is to help women create beautiful, organized, and peaceful homes they truly love — without overwhelm. You’ll find here heart-driven content on home decor, cleaning tips, easy family recipes, organization and decluttering, DIY home projects, plants, and seasonal ideas — all designed to bring more calm, comfort, and style into everyday life.