The Ultimate Guide to Cleaning Your Room: Tips for a Sparkling Space
You know that Sunday afternoon feeling when you can’t quite relax because your room is staring at you with judgment? The pile of clothes draped over the chair, the dust you’re pretending not to see, the general chaos that somehow accumulated since you last cleaned. Let’s fix that. This guide will walk you through transforming your space from overwhelming mess to genuinely calming sanctuary—and actually keep it that way without sacrificing your entire weekend.

Start With the Pre-Clean Sweep That Changes Everything

Before you touch a single cleaning product, you need to reset the stage.
We’ve all been there—grabbing the vacuum while clothes, books, and random items are still scattered everywhere. You end up cleaning around obstacles, and the whole process takes twice as long while delivering half the results. The secret that professional cleaners know? Clear surfaces first, clean second. This isn’t just about efficiency; it’s about creating a psychological reset that makes the actual cleaning feel manageable rather than impossible.
Walk through your room with a laundry basket and collect everything that doesn’t belong. Dishes go to the kitchen, clothes go to the hamper or closet, papers get sorted into one designated pile to deal with later. Don’t get sucked into organizing your desk drawer right now—that’s a trap that derails the entire mission. Just clear the surfaces and floors so you can actually see what you’re working with.
For everything that does belong in your room but isn’t in its proper place, use the “touch it once” rule. When you pick up that book, put it directly on the shelf—not on your bed to deal with later. Your future self will thank you.
Tackle Dust From Top to Bottom—Literally
This is where most people sabotage their own efforts without realizing it.
Dust settles downward thanks to gravity, which means cleaning your floors before your shelves is basically pointless. Start at the highest point in your room—ceiling fan blades, the top of your bookshelf, light fixtures—and work your way down systematically. Use a microfiber cloth slightly dampened with water, not dry dusters that just redistribute particles into the air you’re breathing.
Pay special attention to surfaces you don’t see every day. The top of your door frame, baseboards, window sills, and the backs of picture frames accumulate shocking amounts of dust. Running your cloth along these spots takes an extra two minutes but makes the difference between a room that looks clean and one that feels clean. There’s a specific freshness that comes from knowing you didn’t skip the hidden spots.
For textured surfaces like lamp shades or woven baskets, a lint roller works beautifully and costs about three dollars. It picks up dust without leaving moisture marks on fabric. If you’re dealing with electronics, use a slightly damp cloth and wipe in one direction to avoid streaking—never spray cleaner directly on screens or keyboards.
The Bed Refresh That Resets Your Entire Room

Your bed takes up roughly one-third of your room’s visual space, so it has outsize impact on how the whole room feels.
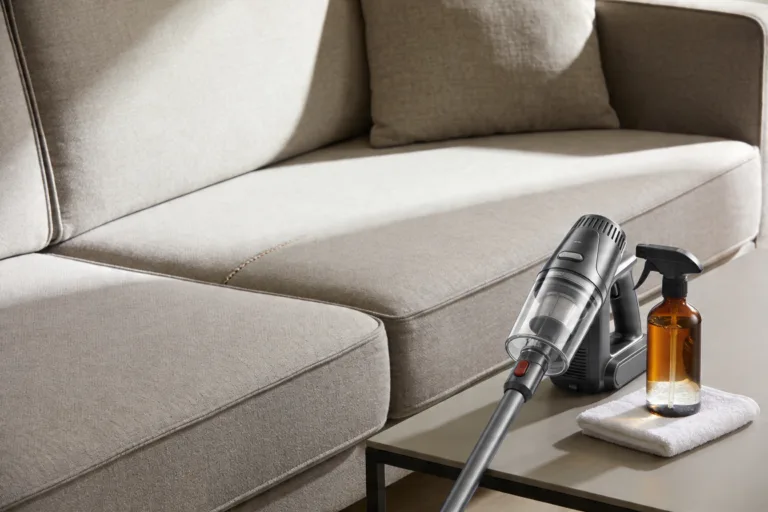
Strip your bed completely—sheets, pillowcases, duvet cover, everything. While those are in the wash, flip your mattress if you haven’t in the last few months. Vacuum the mattress surface to remove dust mites and dead skin cells (I know, it sounds gross, but it’s normal and exactly why we’re doing this). If you want to go the extra mile, sprinkle baking soda across the mattress, let it sit for 15 minutes to absorb odors, then vacuum it up.
Wash your pillows themselves, not just the cases. Most pillows can go in the washing machine on a gentle cycle—check the tag first. They accumulate oils, sweat, and allergens over time, and fresh pillows genuinely improve your sleep quality. While everything’s in the wash, wipe down your bed frame, headboard, and the wall behind your bed where dust tends to settle.
When you remake the bed with fresh sheets, take the extra 30 seconds to smooth out wrinkles and tuck the corners properly. A well-made bed anchors the entire room visually and psychologically. It’s the difference between walking into a space that feels chaotic versus one that feels intentional and cared for.
Floor Cleaning That Actually Gets the Grime

Now that dust has settled from your upper surfaces, it’s time to handle the floor properly.
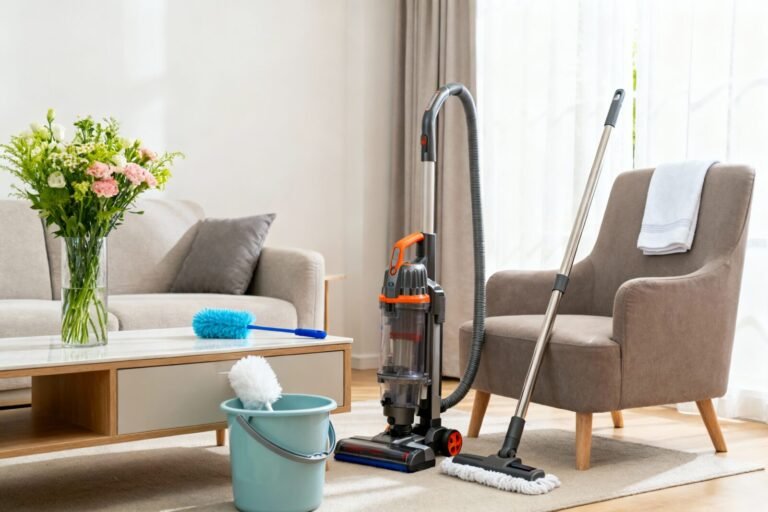
Start by picking up any remaining debris—loose papers, forgotten socks, random items that escaped the initial sweep. Then vacuum or sweep thoroughly, making sure to get under the bed, behind the door, and in corners where dust bunnies congregate. Move furniture if you can. That gap between your dresser and the wall has been collecting dust since you moved in, and clearing it out makes a noticeable difference in air quality.
For hard floors, follow up your vacuum or sweep with an actual wash. A bucket of warm water with a splash of dish soap or floor cleaner works perfectly—you don’t need fancy products. Wring out your mop thoroughly; you want it damp, not soaking wet. Too much water can damage wood floors and leaves streaky residue on tile. Work in sections from the far corner of the room toward the door so you don’t trap yourself.
If you have carpet, consider going over high-traffic areas twice. The path from your door to your bed gets compressed from daily walking and holds more dirt than you’d think. For area rugs, take them outside and shake them out vigorously, or drape them over a railing and beat them with a broom (old-school but incredibly effective).
Windows and Mirrors That Let Light Transform the Space
Clean glass might seem like a minor detail, but it completely changes how light moves through your room.
Smudgy windows filter incoming natural light and make everything look duller. Cleaning them properly brightens your entire space without changing a single lightbulb. Use a solution of equal parts white vinegar and water in a spray bottle, or just plain water with a drop of dish soap. Spray the window, wipe with a microfiber cloth in a circular motion to loosen grime, then finish with vertical strokes on one side and horizontal strokes on the other. This stripe method helps you identify which side still has streaks.
For mirrors, the same vinegar solution works beautifully. Pay attention to the edges and corners where product spray, dust, and moisture tend to accumulate. A clean mirror not only looks better but also reflects more light around the room, making the space feel larger and more open.
Don’t forget about window sills and tracks. These spots collect dead bugs, dust, and debris. Use a butter knife wrapped in a cloth to get into the narrow tracks, and wipe down sills with your all-purpose cleaner. If you have curtains or blinds, give them a quick once-over too. Fabric curtains can go in the wash; blinds just need a wipe-down with a damp cloth.
Surfaces and Details That Make the Room Feel Finished
You’re almost there—this final step is what separates a cleaned room from a genuinely refreshed space.
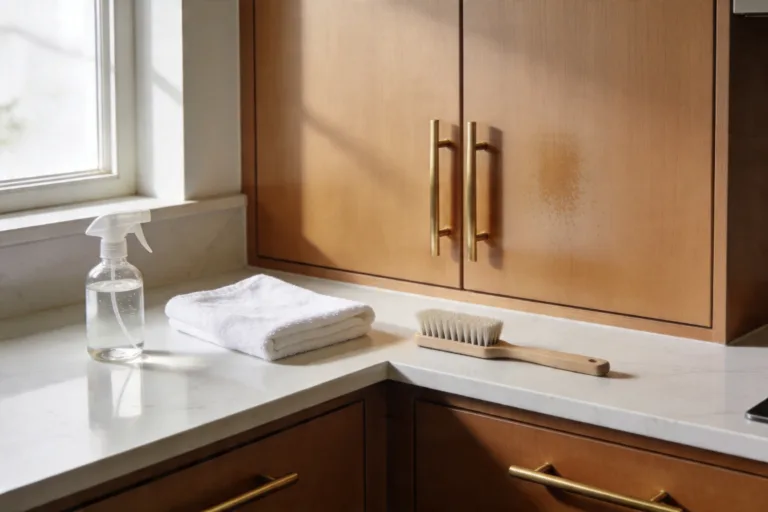
Wipe down all remaining surfaces with appropriate cleaners. Nightstands, dressers, desks, and shelves each need attention. Use wood cleaner for wood furniture, all-purpose cleaner for most other surfaces. Don’t just wipe the tops—get the fronts of drawers, the sides of furniture, and door handles. These high-touch areas harbor bacteria and show fingerprints but often get overlooked.
Organize as you go. When you wipe down your nightstand, arrange the items you’re putting back rather than just plopping everything down randomly. Stack books neatly, corral small items in a tray or small dish, position your lamp where it’s both functional and visually balanced. This takes an extra minute per surface but transforms clutter into intentional styling.
Check your baseboards one more time. Run your cloth along them quickly to catch any dust that settled during the floor cleaning. Replace any burnt-out lightbulbs, empty your trash can and recycling, and return any items you borrowed from other rooms. The goal is completing the loop so nothing lingers on your to-do list.
The Maintenance Habits That Keep It This Way
Here’s the truth nobody mentions: cleaning your room once feels great for about three days before chaos creeps back in.
The real game-changer isn’t the deep clean—it’s the micro-habits that prevent mess from accumulating. Make your bed every single morning, even if it’s a messy 30-second version. Put clothes away immediately instead of draping them over furniture. These tiny actions compound over time and keep your baseline cleanliness much higher.
Implement the “one-minute rule”: if something takes less than one minute to do, do it immediately. Hanging up your jacket takes 15 seconds. Putting shoes in the closet takes 10 seconds. Tossing trash in the bin takes 5 seconds. These micro-tasks feel insignificant individually but prevent the overwhelming pile-up that makes you dread cleaning.
Schedule a quick 10-minute reset every evening before bed. Put away anything that migrated during the day, wipe down your nightstand, fluff your pillows. Think of it as setting the stage for tomorrow rather than cleaning up yesterday’s mess. This mindset shift makes the habit feel less like a chore and more like self-care.
Do a mini deep-clean every weekend—just 20 minutes focusing on one specific area. This week, vacuum under the bed. Next week, wipe down all your surfaces. The following week, clean your windows. Breaking tasks into small, specific chunks prevents that monthly marathon cleaning session that eats your entire Saturday.
Quick Checklist
- Complete a pre-clean sweep to clear all surfaces and floors
- Dust from ceiling to floor using microfiber cloths
- Strip and wash all bedding including pillows
- Vacuum or sweep floors thoroughly including under furniture
- Mop hard floors with a well-wrung damp mop, working from the far corner toward the door
- Clean windows and mirrors with a vinegar-water solution and microfiber cloth
- Wipe down all surfaces including nightstands, dressers, desks, and shelves
- Don’t forget high-touch areas like door handles, light switches, and drawer fronts
- Empty the trash, replace any burnt-out bulbs, and return borrowed items
- Do a final walk-through to catch anything you missed
Frequently Asked Questions
How long should it take to clean a bedroom thoroughly?
A proper deep clean of an average bedroom takes about 60 to 90 minutes if you haven’t cleaned in a while. Once you have a consistent maintenance routine, weekly cleaning drops to around 30 minutes because you’re not fighting accumulated mess. The pre-clean sweep is usually the longest step if your room has gotten away from you—actual cleaning goes fast once surfaces are clear.
How often should I deep clean my bedroom?
A full deep clean every two to four weeks works for most people, with lighter weekly maintenance in between. Bedding should be washed weekly, pillows every one to two months, and mattresses vacuumed monthly. If you have allergies, pets, or open windows frequently, lean toward the shorter end of those intervals.
What’s the one cleaning product I actually need?
If you only buy one thing, get a pack of quality microfiber cloths. They handle dusting, glass cleaning, surface wiping, and electronics with just water or a mild cleaner. For actual products, a simple all-purpose spray, white vinegar, and dish soap cover roughly 90% of cleaning tasks in a bedroom. Specialty products are rarely necessary.
How do I keep my room clean when I’m too tired at night?
Shrink the task. Instead of a 10-minute evening reset, commit to a 2-minute version: bed made for tomorrow, clothes in the hamper, phone on the charger. That’s it. A tiny consistent habit beats a perfect routine you skip half the time. Build up from there once the small version becomes automatic.
Should I clean or organize first?
Clean first, organize second—but only after you’ve lived in the cleaned space for at least a week. You can’t accurately organize what you don’t use, and your habits only reveal themselves in a clean environment. Jumping straight to organizing a messy room usually means buying storage for stuff you should actually get rid of.
Final Thoughts
A clean bedroom isn’t about perfection or spending your weekend scrubbing. It’s about creating a space that resets your nervous system the moment you walk in. Start with the pre-clean sweep, work top to bottom, handle the bed with intention, and finish with the details that make a room feel styled rather than just tidy. Then—and this is the part that actually matters—protect it with small daily habits instead of letting it drift back into chaos.
Your bedroom is where you start and end every day. Making it a space that feels genuinely good to be in isn’t a luxury. It’s one of the highest-leverage investments you can make in your daily quality of life.