The Best Way to Clean Baseboards Without Bending Over (and Keep Them Clean Longer) Fast Results
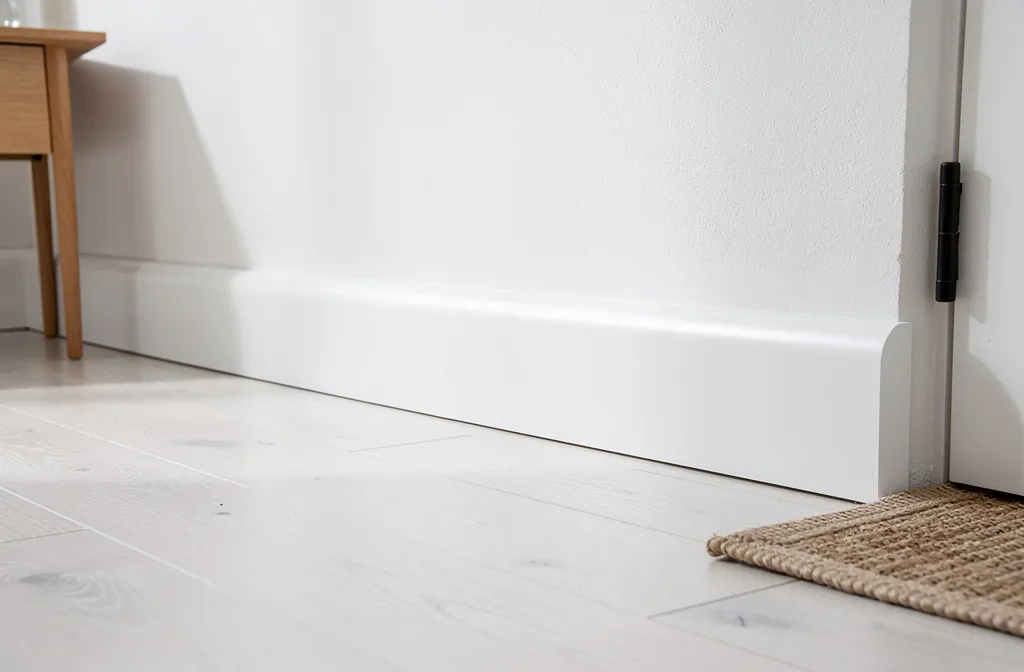
You want crisp, bright baseboards that make every room look finished. You hate the backache, the dust bunnies, and the feeling that five minutes later it’s grimy again. This guide gives you the best way to clean baseboards without bending over — in under 20 minutes per room — and shows you how to keep them cleaner, longer, with little weekly habits. Expect practical tools from Amazon and Target, renter-friendly tricks, and results you’ll actually want to show off on Pinterest.
What’s Inside
Choose Your Stand-Up Toolkit: The Tools That Actually Work
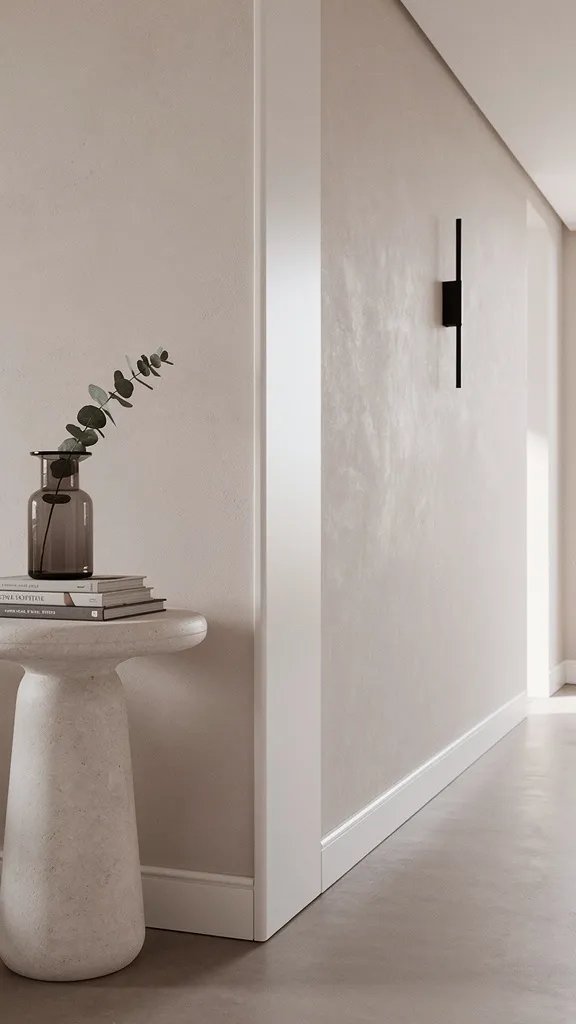
This is where most back-saving routines are won or lost in the first five minutes.
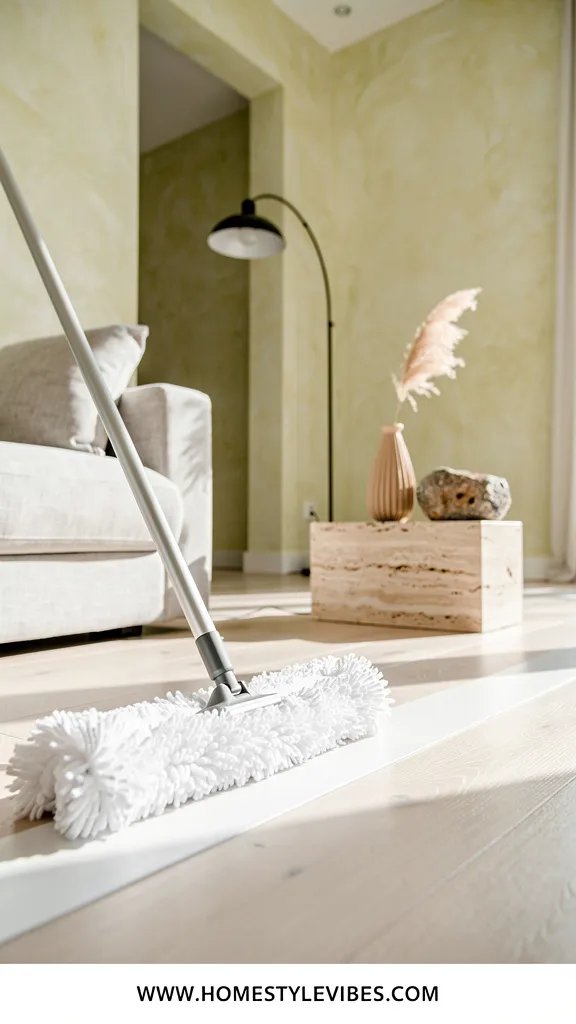
We’ve all been there: you grab a random mop and hope for the best, only to smear dusty lines along the trim and feel defeated. The truth is, the best way to clean baseboards without bending over starts with a dialed-in standing toolkit that has the right texture and just enough flex to hug the profile. Think soft microfiber that grabs lint, a narrow head that reaches into grooves, and an extension handle that feels solid in your hands.
Here’s why this works: microfiber has tiny split fibers that trap dust like velcro, not just push it around. Pair it with a pivoting head and you’ll glide along the baseboard’s curves, catching that shadowy ridge where dust likes to cling. Add a handled crevice brush for corners and outlets, and you’re set. The sound you want? A quiet swish — not a squeak — as fibers lift debris without scratching your satin or semi-gloss paint.
On a budget or renting? You don’t need fancy. A microfiber flat mop with a tilting head plus a cheap rubber band “hack” to add a folded microfiber cloth at the edge will create a snug lip that reaches the tiny bevel along your trim. It’s renter-safe and gentle on paint.
- Best overall: Microfiber wand with telescoping handle and pivoting head (O-Cedar or E-Cloth at Target/Amazon) — precise and light.
- Budget pick: Swiffer-style dry mop plus a reusable microfiber pad — easy to find at Walmart.
- Worth the splurge: Eufy or Dyson handheld with a soft dusting brush and extension wand — great if allergies are a concern.
- Skip this: Stiff-bristle brooms. They scatter dust and scuff paint.
The Fast Dry-Dusting Pass That Saves Your Back

Start here so you’re not smearing wet mud lines later.
It sounds obvious, but here’s where it usually falls apart: people jump straight to wet cleaning and end up with streaky, gray paste along the trim. Dry dusting first is the shortcut that feels like cheating. You’re removing the loose fluff — the lint, the pet hair, the drifting crumbs — before anything ever touches moisture. The baseboards already look brighter after this pass, and it takes less than five minutes per room.
Work methodically. Stand tall, extend your handle, and glide in long, slow strokes with light pressure so fibers lift instead of shove. Aim for the top ledge where dust collects and the vertical face where scuffs show. Listen for that gentle whoosh as the pad slides; if you hear scraping, you’re pressing too hard. For outlets and tight corners, flick with a handled crevice brush or a small paintbrush taped to a ruler — oddly satisfying, like snapping a crisp crease into a shirt.
Renter-friendly swap: If you don’t own a microfiber system yet, wrap a clean, dry cotton sock over a Swiffer head and secure it with a clip. Cotton grabs the fluff surprisingly well for a quick pass, and you can toss it in the wash after.
- Best for beginners: Dry microfiber pad lightly spritzed with water — improves pickup without leaving moisture on paint.
- For allergy relief: Use a vacuum with a soft brush attachment on an extension wand to trap dust instead of redistributing it.
- Budget pick: Lint roller on a paint roller frame with a pole — yes, it works on hair-prone baseboards.
This isn’t about achieving a magazine-perfect home; it’s about stacking easy wins. A good dry pass gives you 60% of the result with 10% of the effort. If you stop here today, you’ve still moved the needle in a big way.
Deep Clean While Standing: No Knees On The Floor Required
When grime is stuck on, it’s time for a gentle wet clean that keeps you upright.
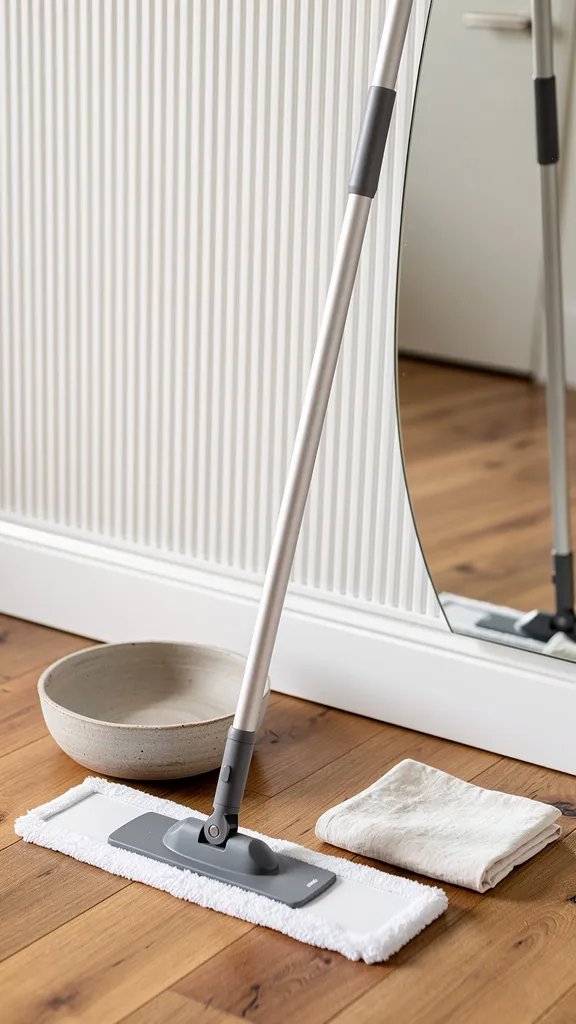
You’ve tried scrubbing with a sponge and a prayer, but it still feels streaky and exhausting. Here’s why this actually works: you’ll use a light, no-rinse solution on a damp (not dripping) microfiber pad, apply minimal pressure, and let the chemistry do the lifting. That way the paint’s soft sheen stays intact, and the room smells faintly fresh — not like a chemical storm.
Mix a simple solution in a spray bottle: 2 cups warm water, 1 teaspoon dish soap, 1 tablespoon white vinegar. Mist the pad, not the wall. Start with a test spot behind a door if your trim has special finishes. Glide slowly along the baseboard face, then tip the pad to “kiss” the beveled edge. For stubborn scuffs on semi-gloss or gloss, a melamine foam on an extension grip is the heavy hitter — but think feather-light pressure, like wiping fog off a mirror. On flat or eggshell paint, skip melamine and stick to microfiber to avoid burnishing.
Renter-friendly swap: Pre-moistened cleaning pads on a Swiffer-style head are fast and mess-free, especially for apartments without a utility sink. Choose unscented if you’re sensitive — your space will smell clean, not perfumed.
- Best overall: Microfiber flat mop with damp pad + mild soap/vinegar solution — safe on most trim paint.
- Worth the splurge: E-Cloth or Bona floor system pads — they rinse well and leave fewer streaks.
- Skip this: Oil soap or heavy degreasers on painted trim — they can leave residue that catches dust.
Finish With A No-Rinse Protective Wipe So Dust Doesn’t Stick

This is the secret step that makes “clean longer” actually happen.
This is the part most people skip: adding a light, anti-static finish so dust doesn’t bond to the paint. A simple solution? A no-rinse, quick-dry cleaner with a bit of surfactant leaves a microscopically smoother surface. Dust glides off instead of clinging, and you’ll notice fewer gray streaks along that sunlit hallway where every speck shows in the afternoon glow.
Use a fresh, dry microfiber pad on your pole. Lightly mist it with a 1:8 fabric softener to water mix or a ready-made anti-static spray, then swipe the baseboards in long, slow strokes. You’re not oiling furniture; you’re leaving a whisper-thin film. If your home has curious kids or pets, opt for a plant-based, residue-free cleaner like Method or Seventh Generation — available at Target and Walmart — to keep it simple and safe.
On a strict budget? Rub a used dryer sheet over the trim using a grabber tool or clipped to your mop head. Not chic, but it works, and the faint laundry scent is a plus in entryways.
- Best overall: Method All-Purpose (Ginger Yuzu is subtle) lightly misted on a pad — dries fast, no tack.
- Budget pick: Diluted fabric softener spray (1 tablespoon to 1 cup water) — cuts static on semi-gloss paint.
- Skip this: Furniture polish or lemon oil — it attracts dust and can yellow white trim over time.
If you’ve made it this far, pause and take in the difference. You didn’t crawl. You didn’t ache. And your baseboards are quietly making the whole room feel more intentional. Progress counts more than perfection here.
Keep Them Clean Longer With Two Five-Minute Habits
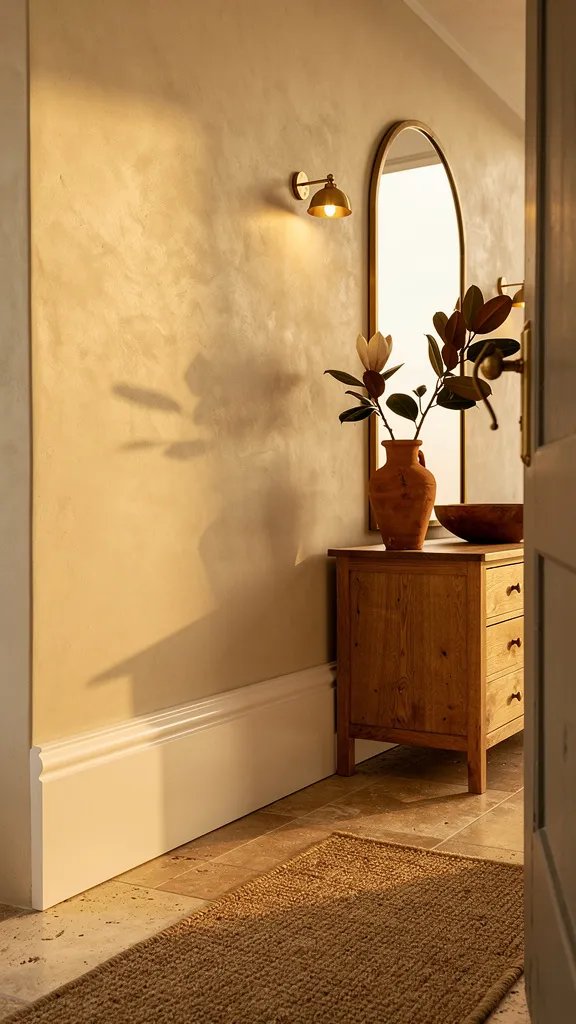
Maintenance is where the magic becomes automatic — with no kneeling required.
You’ve deep cleaned and you want to keep that crisp edge week after week. The secret isn’t cleaning harder — it’s scheduling lighter, smarter touches. Add two tiny habits to your normal routine: a weekly dry swipe during floor days, and a quick “entry scrub” where real life throws the most dirt (entry, mudroom, pet zones). You’ll cut re-clean time in half and extend paint life by avoiding constant heavy scrubbing.
Here’s how it plays out: keep your microfiber tool in the same closet as your broom or vacuum. On vacuum day, spend five minutes dry-swiping the baseboards along the highest-traffic wall — usually the hallway to bedrooms, the kitchen walkway, and the front door path. For pet households, tack on one minute around the food station. That’s it. The scent of fresh floors and the sight of clean trim is a small, satisfying high — like straightening a picture frame and instantly feeling calmer.
Renters and small-space folks: store your pole tool on a 3M Command hook behind a door. If it’s visible, you’ll use it. If it’s buried, you won’t — and dust knows.
- Best for busy weeks: Microfiber swipe while a pot of water boils — kitchen baseboards are grease magnets.
- For pet owners: Vacuum wand with soft brush every 3–4 days where beds and bowls live to stop fur tumbleweeds.
- Budget pick: Keep two washable microfiber cloths in a zip bag on the coat closet shelf for quick grabs.
If you skip one of these steps, nothing falls apart. You simply pick up where you left off. A home that supports you is built in layers, not marathons.
Troubleshooting: Paint Nicks, Yellowing, and Tricky Profiles

Little imperfections can steal the spotlight — but they’re fixable without a full repaint.
We’ve all noticed it: that ding by the laundry room, the yellowing behind the trash can, the dusty grooves on ornate profiles. Before you spiral, here’s the plan that saves you from a weekend of taping. For nicks on semi-gloss or gloss, use a touch-up pen or artist brush with leftover trim paint. Clean first, let it dry, then tap-tap the paint on like you’re dotting a pastry with icing. For yellowing (common with oil-based paints near kitchens), a gentle pass with diluted hydrogen peroxide (3% diluted 1:1 with water) on a microfiber cloth can brighten — test first in a hidden spot.
Ornate profiles with multiple ridges? Upgrade your tool, not your position. A chenille “noodle” microfiber head on a pole snakes into grooves and feels oddly therapeutic as it shimmers along the ridges. For the tightest creases, clip a soft makeup brush to a binder clip and secure it on your pole — precise, soft, and surprisingly effective.
Landlord-friendly and budget-safe: Skip harsh chemicals and avoid sanding. Most wear and tear vanishes with a proper clean, a steady hand on touch-up paint, and good lighting. When in doubt, keep it gentle and do a second pass rather than scrubbing hard once.
- Best overall fix: Clean + micro touch-up with matching trim paint using an artist brush.
- For heavy grime in kitchens: Dawn Powerwash lightly misted on a cloth — cuts grease on semi-gloss without residue when followed by a damp wipe.
- Skip this: Magic erasers on flat or eggshell paint — they burnish and leave shiny spots that photograph worse than the original scuff.
Quick Checklist
- Telescoping microfiber wand with pivoting head
- Reusable microfiber pads (at least two per room)
- Handled crevice or soft paintbrush for corners
- Spray bottle with mild soap and vinegar solution
- Optional: handheld vacuum with soft brush attachment
- Optional: melamine foam for semi-gloss scuffs
- No-rinse cleaner or diluted anti-static spray
- Dryer sheets for budget anti-static swipe
- Artist brush and matching trim paint for touch-ups
- 3M Command hook to store tools within reach
Frequently Asked Questions
What’s the absolute best way to clean baseboards without bending over if I have back pain?
Use a telescoping microfiber wand with a pivot head and do a dry dust pass first, then a damp pass with a no-rinse solution misted onto the pad. Keep pressure light and let the cleaner do the work. Finish with a quick anti-static swipe so you clean less often.
Will any of these methods damage my paint or MDF baseboards?
Not if you keep the pad damp, not wet, and avoid abrasive scrubbing. Test melamine only on semi-gloss or gloss, and skip it on flat/eggshell. MDF swells with excess water, so wring pads well and buff any moisture immediately.
I’m on a tight budget. What are the minimum tools I need?
Grab a basic Swiffer-style pole, two reusable microfiber pads, and a spray bottle. Use one pad dry to dust, then lightly mist the second pad with the soap/vinegar mix for the wet pass. For corners, a cheap soft paintbrush taped to a ruler works.
My house is small with pets — how do I keep fur from collecting on the trim?
Do a 3-minute dry swipe around pet beds and food areas every 3–4 days with the microfiber tool. If fur is heavy, use a vacuum wand with a soft brush first, then a quick anti-static wipe so hair doesn’t cling.
How often should I do a full deep clean vs. quick maintenance?
Plan a deep clean every 6–8 weeks for most homes, sooner in kitchens and entryways. Between deep cleans, do a weekly dry swipe in high-traffic zones to prevent buildup. It’s the five-minute habit that keeps everything looking freshly painted.
Bring It Home
Baseboards are the quiet storytellers of a space. When they’re clean, everything else feels elevated — the walls look brighter, the floors feel fresher, and your home reads like you meant every choice. The best part? You can get there without bending over, sweating, or dedicating a Saturday to your knees.
Start with one room today: entryway, hallway, or the kitchen spot you see first thing in the morning. Dry swipe, quick damp pass, light anti-static finish. That’s it. Tomorrow, you’ll catch yourself glancing down and smiling at that crisp little line framing your life. You did that — and you’ll keep it that way with minutes, not marathons.

About the Author

Krisztina P.Rendes, Founder of Home Style Vibes
Founder of Home Style Vibes
Krisztina Puskásné Rendes created Home Style Vibes as a cozy-modern lifestyle space where homemaking meets inspiration. Her goal is to help women create beautiful, organized, and peaceful homes they truly love — without overwhelm. You’ll find here heart-driven content on home decor, cleaning tips, easy family recipes, organization and decluttering, DIY home projects, plants, and seasonal ideas — all designed to bring more calm, comfort, and style into everyday life.