6 What To Plant In August For A Beautiful Fall Harvest (Zone By Zone Guide)
You want baskets of crisp lettuce, snappy radishes, and armfuls of autumn herbs tumbling into your kitchen by October. But the calendar says August, your beds look tired, and the “Is it too late?” anxiety is real. Here’s the truth: late summer is prime time to plant for fall — if you match crops to your zone and give your soil a little love. This zone-by-zone guide strips out the guesswork and shows you exactly what to plant in August for a beautiful fall harvest, with simple bed prep, clear timelines, and beginner-friendly crops that thrive in cool weather. Expect cedar beds, fresh compost, sturdy trellises, and basket-worthy yields that photograph like a seed catalog and taste even better. Give me a weekend and a modest budget cap per bed, and I’ll help you turn August stress into crisp, abundant harvests when the air turns cool.
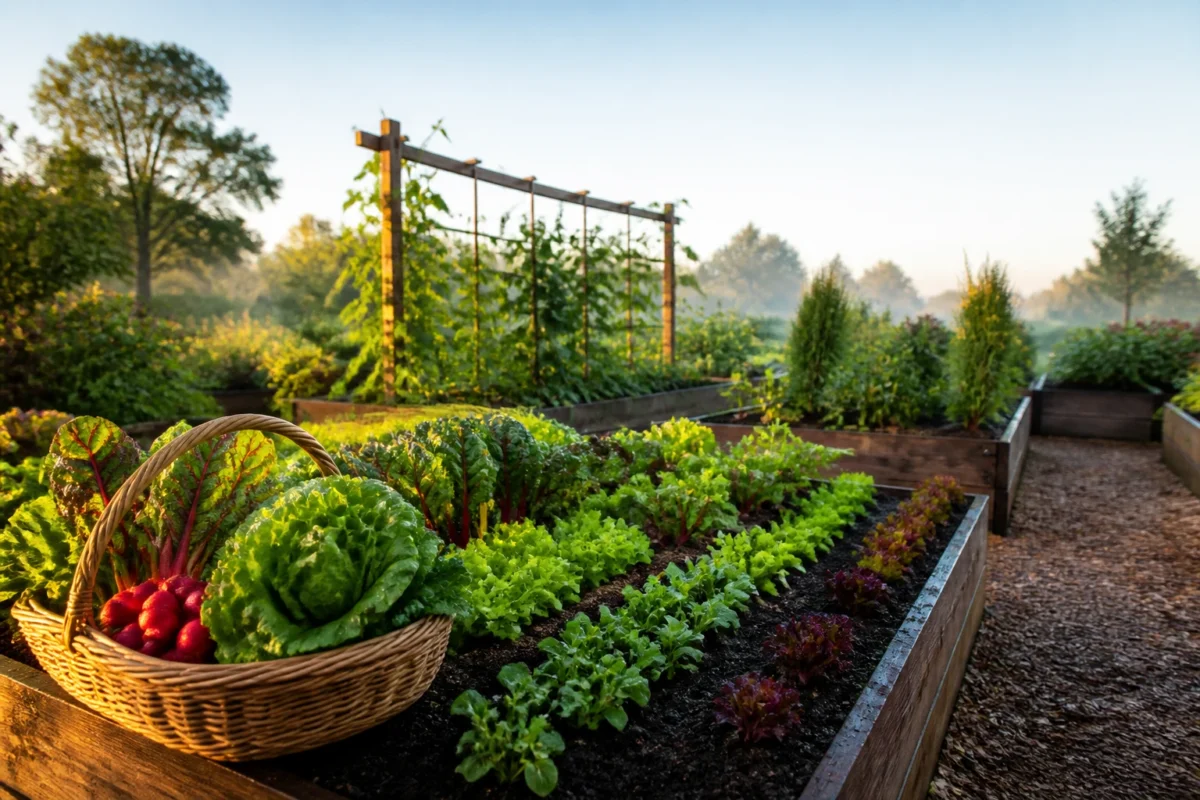
We’ll problem-solve your climate and timing, then layer in tidy structures and realistic maintenance. These ideas are soil-first practical and totally photogenic — yes, Pinterest will notice your rainbow chard against a simple wooden trellis. If you love the “harvest garden living” vibe and want productive, camera-ready beds from September through Thanksgiving, you’re in the right patch of dirt.
1) Cedar Bed With Baby Lettuce Mix Under Soft Morning Light — Zones 3–5 Northern Beds
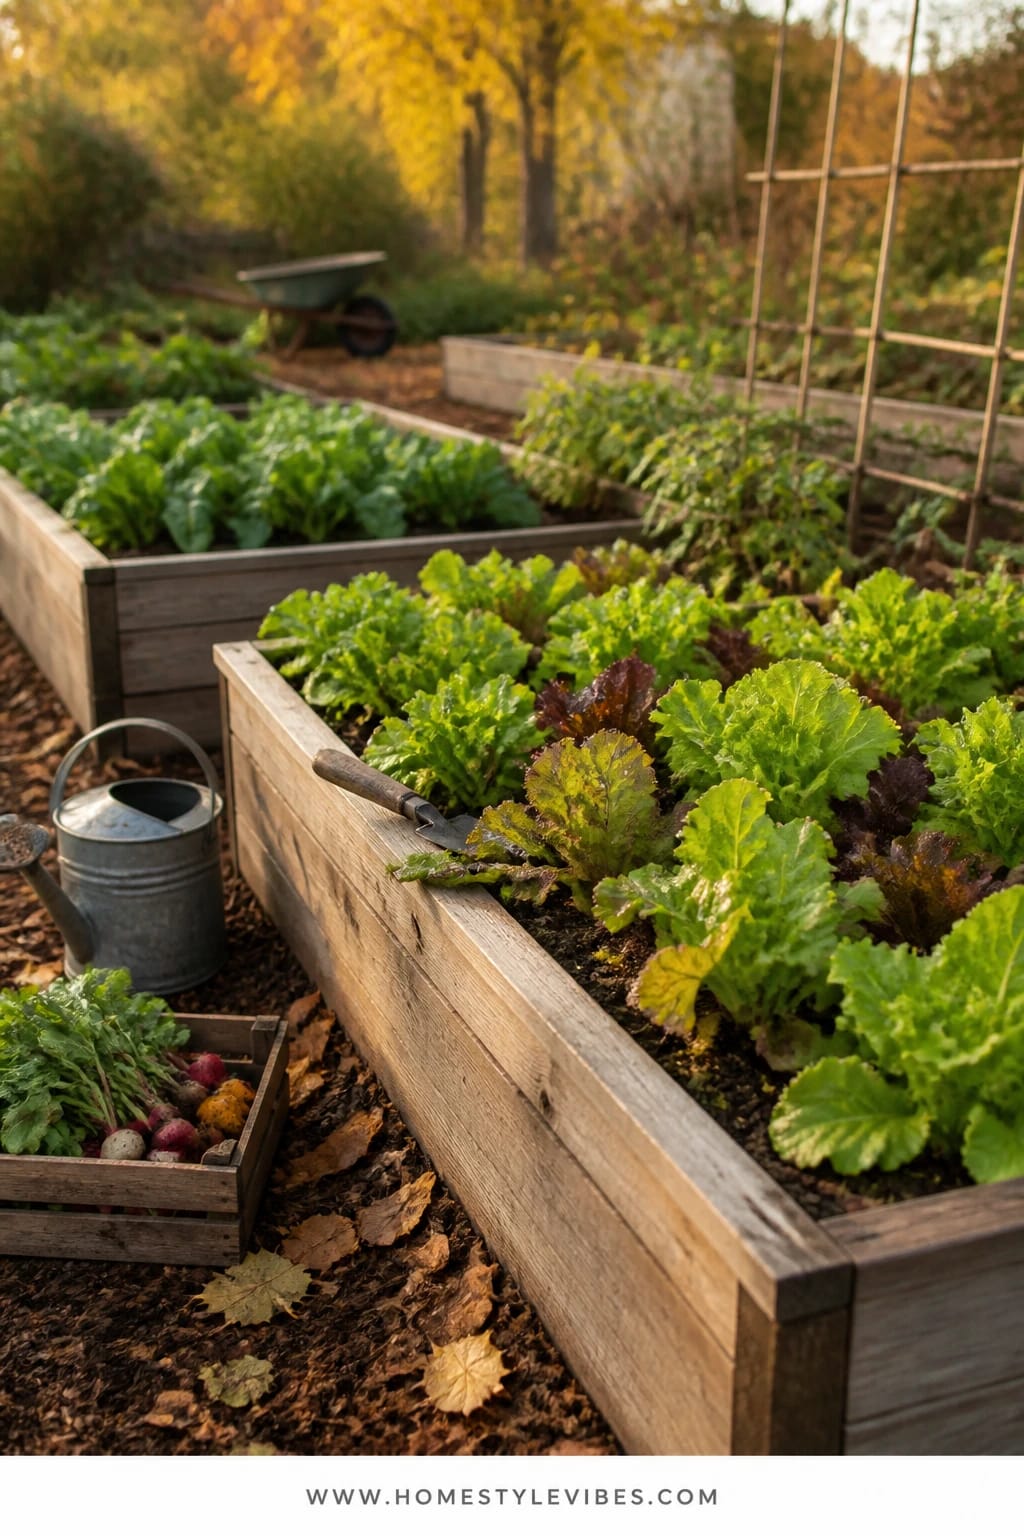
We’ve all been there: the tomatoes are still going, but your cool nights are already whispering “fall,” and you’re worried it’s too late to get anything started. Here’s the quiet win for cold-climate growers — lettuce mixes, spinach, and radishes adore the chill. This setup creates productive garden satisfaction with tidy rows, easy succession sowing, and quick wins that pop up in 21–35 days.
Why it works in real yards: short days to maturity, frost-kissed sweetness, and forgiving spacing. Morning light keeps greens crisp while the afternoon shade prevents bolting. Materials stay classic garden — cedar bed frames, compost, light row cover hoops — and the photos shine because of layered textures: curly leaves, dark soil, and the soft contrast of simple hoops.
Variations:
– Budget-friendly: skip pre-made hoops and use flexible PVC and binder clips for a DIY tunnel.
– Small bed: interplant lettuce between the last of your bush beans to use existing nitrogen.
– Make-ahead: pre-sprout spinach on a damp paper towel for 2–3 days, then sow for faster germination in cooler nights.
Budget Breakdown:
- Cedar boards or kit raised bed: $60–$160
- Compost/top-up soil: $25–$55 per bed
- Seed packs (leaf lettuce mix, spinach, radish): $8–$15 total
- Row cover fabric + clips/hoops: $20–$45
- Watering wand with fine rose: $12–$25
Total Estimated Cost: $125 – $300
Best For: Northern gardens with cool nights, partial-sun beds, and families who want fast, continuous salads from mid-September to first hard freeze.
Key Design Elements:
- Main seasonal props: cedar raised bed, low hoops, lightweight row cover
- Color palette: deep green leaves, dark chocolate soil, pale white row cloth
- Lighting strategy: sow where the bed catches gentle morning sun and mid-afternoon shade
- Textile layers: breathable row cover and jute twine for loose guides
- Natural elements: compost-rich soil, leaf mulch on pathways
- Accent details: wooden plant labels, a slender harvest basket at the bed’s edge
How To Recreate This Look:
- Top-dress your cedar bed with 1–2 inches of compost and rake smooth.
- Mark three to five shallow furrows 6–8 inches apart for lettuce and spinach; a separate strip for radishes.
- Sow thickly for cut-and-come-again greens; thin radishes to a finger’s width.
- Install simple hoops and keep row cover handy; deploy during cold snaps or if flea beetles arrive.
- Harvest small and often — scissors for baby leaves, gentle pulls for radishes — to keep the bed lush.
Why This Looks Expensive: Clean cedar edges, even rows, and a whisper-light tunnel read like a well-managed market garden. The restrained palette — green on brown with white fabric — looks purposeful and high-end.
Watch Out: Don’t overwater in cool evenings. Damp leaves overnight invite mildew; water in the morning and aim at the soil line.
Pro Styling Tip: For photos, harvest a mix of red-veined and frilly greens, place them in a shallow basket on the soil line, and shoot in soft morning light for crisp, saturated color.
2) Low Tunnel With Carrots and Beets Framed by a Simple Trellis — Zones 4–6 Transitional Beds
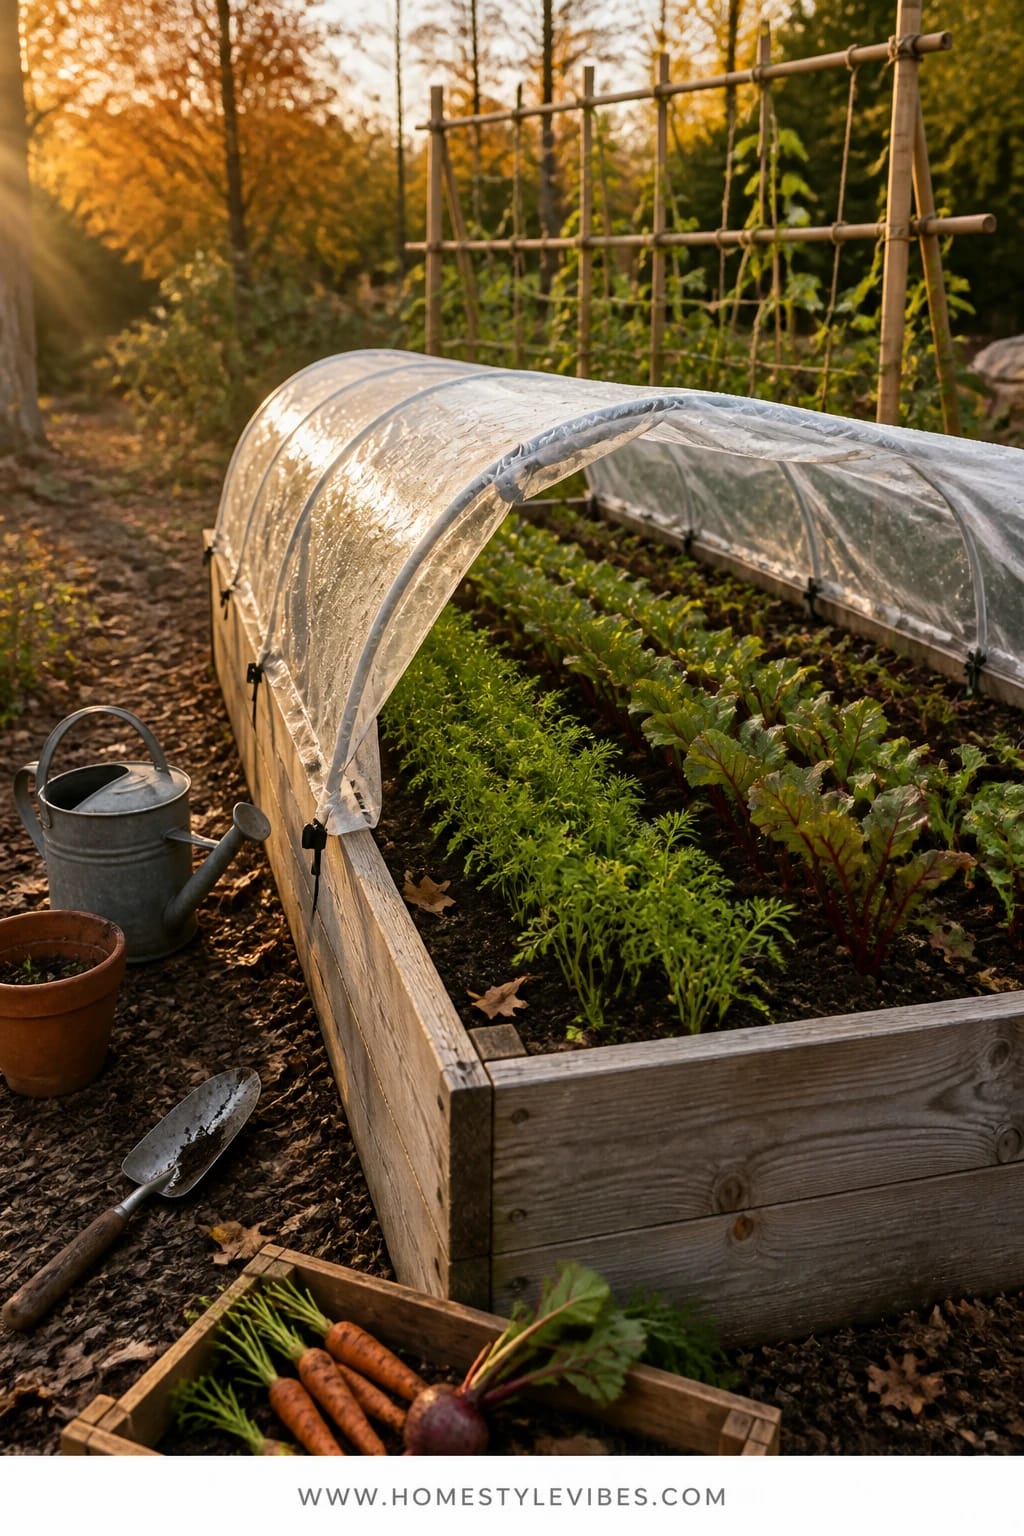
It’s that one corner that always feels off — the late bed you meant to seed in July that sat empty. August planting can still deliver beets, baby carrots, and turnips before real winter sets in. The mood here is calm, ordered productivity: straight lines, airy low tunnels, and a tidy trellis at the back for peas if you’re sneaking in a quick fall crop.
Here’s why it works: root crops handle cooling soil, and a quick low tunnel extends your season by a couple of weeks. Sunset light turns beet tops luminous, and the translucent tunnel gives your bed that “serious gardener” look. It’s realistic for busy families: sow once, thin once, and let them size up.
Variations:
– Budget version: use clear painter’s plastic plus venting clips you can open midday.
– Small-space: switch to mini varieties (‘Paris Market’ carrots, ‘Babybeat’ beets) for a 45–55 day harvest.
– Kid-friendly: plant a short row of sugar snap peas on the trellis; if frost comes early, you still get tender shoots for salads.
Budget Breakdown:
- Hoop materials (PVC/metal), row cover or plastic: $25–$60
- Seeds (carrot, beet, turnip, optional peas): $10–$18
- Compost and organic fertilizer (bone meal for roots): $20–$35
- Wood stakes or a simple pea trellis: $15–$45
Total Estimated Cost: $70 – $158
Best For: Medium-sized beds in Zones 4–6 with at least 6 hours of sun; gardeners who want reliable roots and a clean, minimal structure through October.
Key Design Elements:
- Main seasonal props: low tunnel, pea trellis, straight seed rows
- Color palette: emerald beet tops, fine carrot fronds, white tunnel cloth
- Lighting strategy: full sun with a tunnel to control early frosts and wind
- Textile layers: breathable fabric or vented plastic
- Natural elements: compost-amended soil, leaf mulch between rows
- Accent details: soft jute twine ties, labeled row markers
How To Recreate This Look:
- Blend compost into the top 4 inches; rake to a smooth, stone-free surface.
- Sow carrots shallow and firm the seed bed; sow beets 1 inch apart and plan to thin.
- Install hoops and secure fabric; vent on warm afternoons to avoid excessive heat.
- Thin diligently — carrots to a thumb’s width, beets to a full hand span for bulbs.
- Keep evenly moist; harvest baby roots first for gorgeous mixed bunches.
Why This Feels Designer: Repetition and restraint. Matching hoops, tight rows, and a single trellis line create rhythm that feels curated instead of chaotic.
One Thing To Avoid: Skipping the thinning step. Crowded roots stay stringy and stunted — it’s the single biggest yield killer for fall carrots and beets.
Pro Styling Tip: Leave a little soil clinging to harvested roots and coil the tops toward the camera; it reads farm-fresh and adds texture contrast.
Remember, this isn’t about building a show garden by Saturday. It’s about building beds that actually feed you in six to ten weeks. If one idea resonates more than the others, that’s your starting point — the rest can follow next weekend.
3) Brick Path Border with Rainbow Chard and Tuscan Kale in Gentle Afternoon Shade — Zones 5–7 Backyard Beds
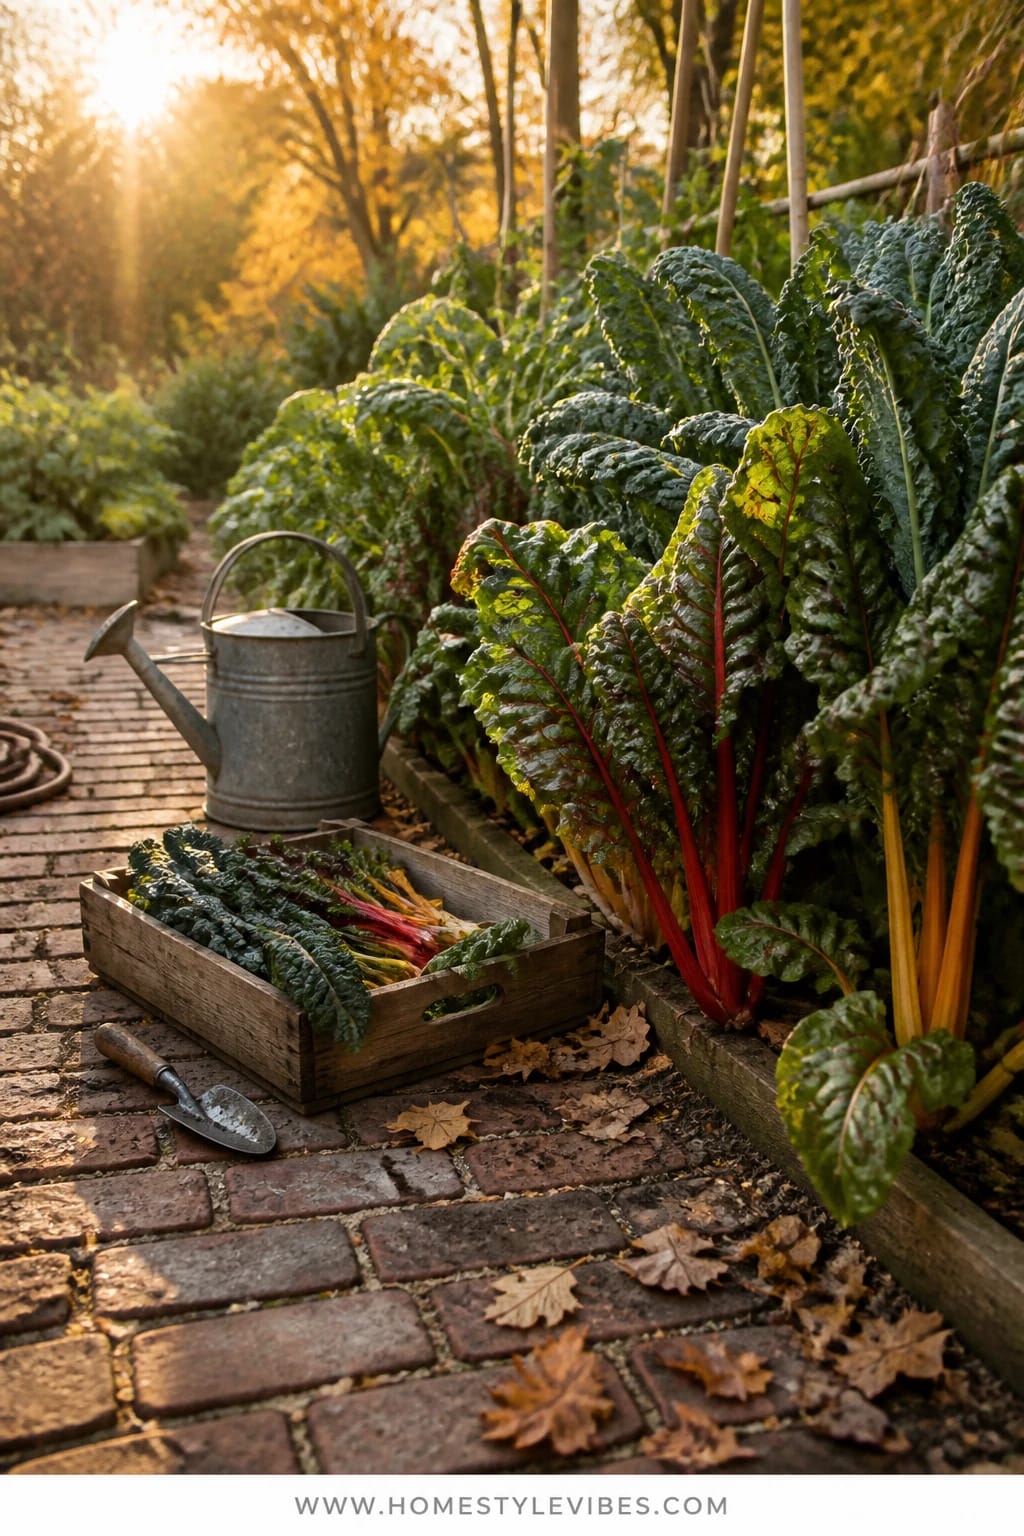
You’ve tried squeezing fall greens into leftover tomato space, but it still looks messy and underwhelming. Anchoring a path border with rainbow chard and kale creates a lush, ornamental-food vibe that keeps producing until real cold. The mood is harvest garden abundance: wide ribs of chard in lipstick reds and sunny golds, dinosaur-textured kale leaves catching filtered light.
Why this works: chard and kale handle light frosts, grow vertically to save space, and deliver continuous leaves from September to Thanksgiving. Afternoon shade along a path reduces heat stress in August while still giving enough morning sun. It photographs beautifully — ribbed stems against brick, deep greens next to warm red clay.
Variations:
– Budget-friendly: start from seed now for baby-leaf harvests in 25–35 days; transplant later if needed.
– Tight border: stagger plants in a zig-zag for full coverage without crowding.
– Pest-light: tuck in a few marigolds or dill along the path edge to attract beneficials and keep aphids distracted.
Budget Breakdown:
- Seed packets or six-packs of chard and kale: $8–$20
- Compost/top dressing: $15–$30
- Organic granular fertilizer: $8–$18
- Soaker hose for long, narrow beds: $20–$35
Total Estimated Cost: $51 – $103
Best For: Sun-dappled borders in Zones 5–7; gardeners who cook often and want continuous leafy harvests with high visual impact.
Key Design Elements:
- Main seasonal props: rainbow chard, Tuscan kale, narrow path edge
- Color palette: glossy greens, ruby and saffron chard stems, warm brick
- Lighting strategy: morning sun, afternoon shade to reduce August stress
- Textile layers: none required; optional lightweight insect netting early on
- Natural elements: compost, shredded leaf mulch between plants
- Accent details: slim edging stones, copper plant labels
Why This Reads High-End: Edible ornamentals with intentional spacing look like a designed border. Repeating two crops with bold texture beats a busy mishmash and makes the space feel considered.
How To Recreate This Look:
- Clear the path edge to a 12–18 inch wide strip; add 1–2 inches of compost.
- Plant kale at 12–16 inches apart; tuck chard between at 10–12 inches for a quilted canopy.
- Lay a soaker hose along the base; mulch lightly to keep soil moisture even.
- Feed with a light organic fertilizer once a month; harvest outer leaves regularly.
- Pinch any flower spikes that try to form late; you’ll keep the leaves sweet and tender.
The Most Common Mistake: Planting chard too close to hardscape. Give it 6 inches from the brick edge so leaves don’t scorch or rot against warm masonry.
Pro Styling Tip: Harvest a mix of small and mid-size leaves, layer them in a shallow bowl, and set it on the path for a quick “garden-to-table” shot with rich, natural contrast.
4) Trellised Snow Peas and Fall Herbs Beside a Weathered Fence — Zones 6–8 Mild Autumns
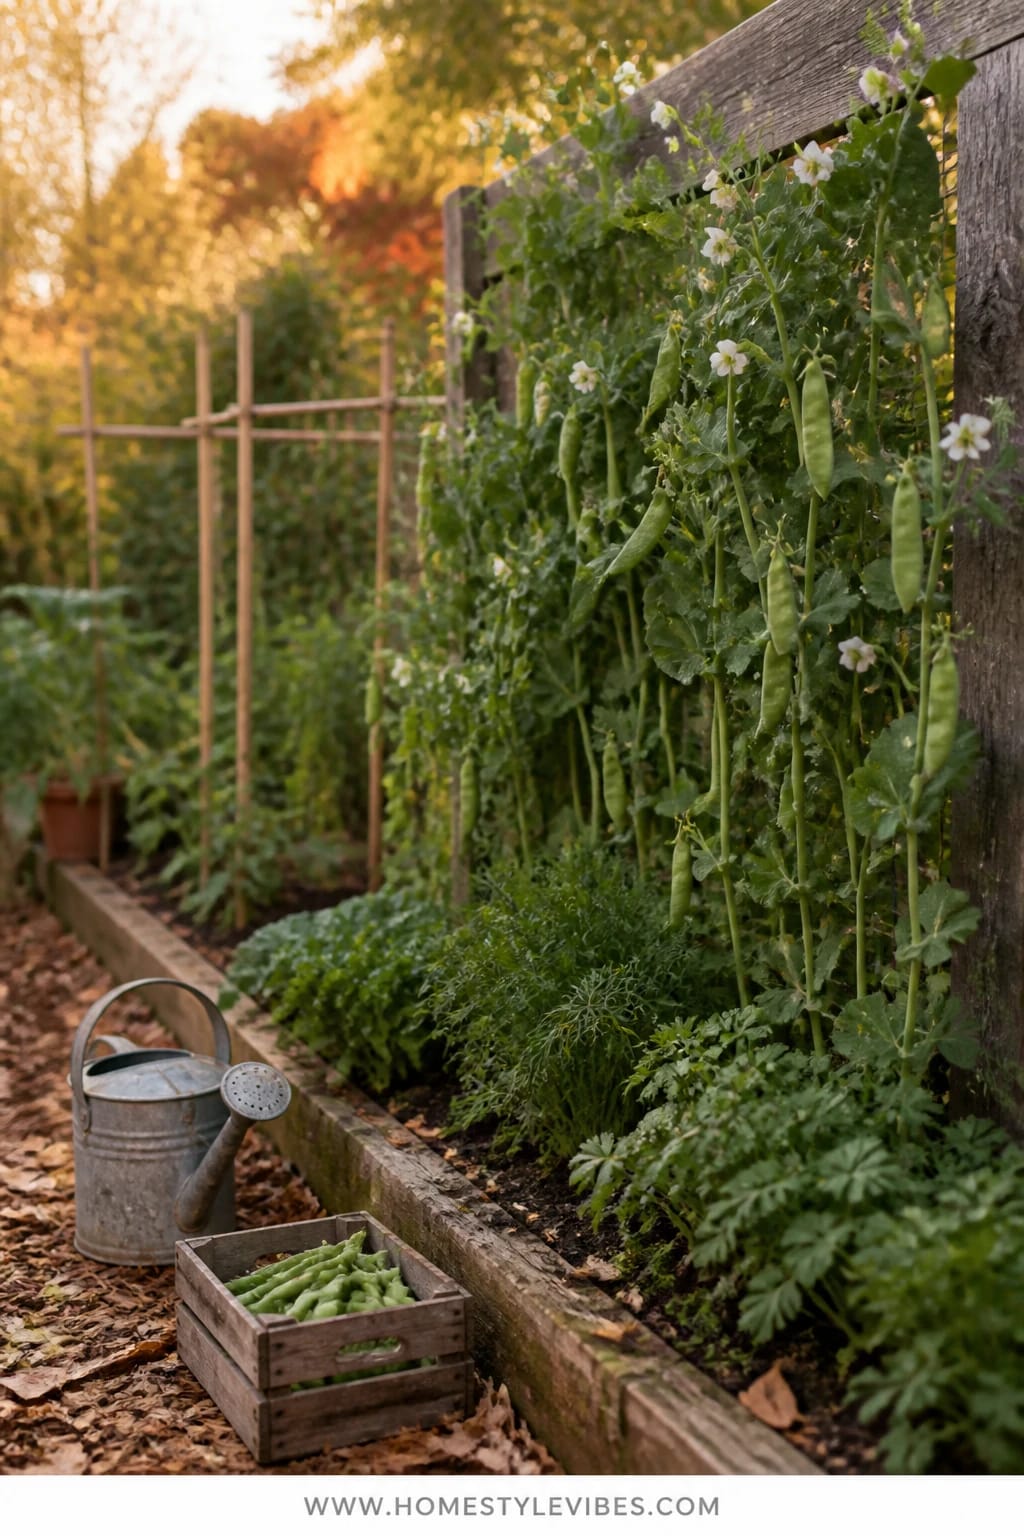
Late-summer heat has you stalling — you keep thinking peas are only spring crops. In many Zones 6–8 areas, a mid-to-late August sowing of fast snow peas can deliver tender pods by October, especially with a fence trellis that creates airflow and stability. Layer in cool-season herbs like parsley, cilantro, and dill beneath, and you’ll have a fragrant understory that loves shorter days.
The vibe is tidy productivity: vertical lines, feathery herb textures, and a fence backdrop that warms with the afternoon sun without baking roots. It’s family-friendly and pet-sensible because peas grow up, not out. Photographically, the pea flowers and tendrils curl in elegant lines, and the herb bed underneath reads plush and intentional.
Variations:
– Budget: string trellis with twine and a few nails; it’s enough for snow peas’ lighter vines.
– Small-space: grow dwarf peas in a 10–12 inch deep container right at the fence line and tuck herbs at the base.
– Make-ahead: pre-soak pea seeds overnight to speed germination in warm soil, then shade the soil surface with burlap for the first three days.
Budget Breakdown:
- Pea seeds and herb seed packets: $10–$18
- Trellis materials (twine/staples or netting): $8–$25
- Compost and mulch: $20–$40
- Soil thermometer (optional but helpful): $10–$15
Total Estimated Cost: $48 – $98
Best For: Fenced beds or borders in Zones 6–8 with lingering warm days and cooling nights; cooks who love fast harvests and fragrant herbs into November.
Key Design Elements:
- Main seasonal props: simple fence trellis, snow peas, herb understory
- Color palette: soft green pea vines, airy herb fronds, weathered wood
- Lighting strategy: morning sun with dappled afternoon light to keep peas happy
- Textile layers: burlap or shade cloth for germination week
- Natural elements: compost-rich loam, straw mulch
- Accent details: reclaimed-wood stakes, galvanized herb markers
How To Recreate This Look:
- Top-dress the fence line with compost; rake a 12–18 inch wide strip to fine tilth.
- Stretch trellis twine or hang netting 4–5 feet high.
- Sow peas 1 inch deep, 2 inches apart; interplant herbs 6–8 inches in front.
- Mulch lightly; water consistently and keep the top inch moist for germination.
- Harvest pods young; pinch herbs regularly to keep the understory dense and bushy.
Why This Looks Intentional: Clear verticality. A single structural line (the fence) unifies the peas and herbs, which makes the whole bed feel designed — not just planted.
Don’t Do This: Plant shelling peas too late in hot zones. Choose snow or sugar snaps with shorter maturity windows (55–65 days) for a confident October harvest.
Pro Styling Tip: Clip a handful of pea tendrils and set them next to a bundle of cilantro on the fence rail; the wispy curls add dynamic lines on camera.
Here’s a little honesty: staking and twining can feel fiddly. I’ve redone a droopy twine line at dusk with a headlamp more than once. Perfection isn’t required; your plants just need a steady something to lean on.
5) Broadforked Bed with Overwintering Garlic and Mulched Straw Aisles — Zones 3–7 Cold Winters
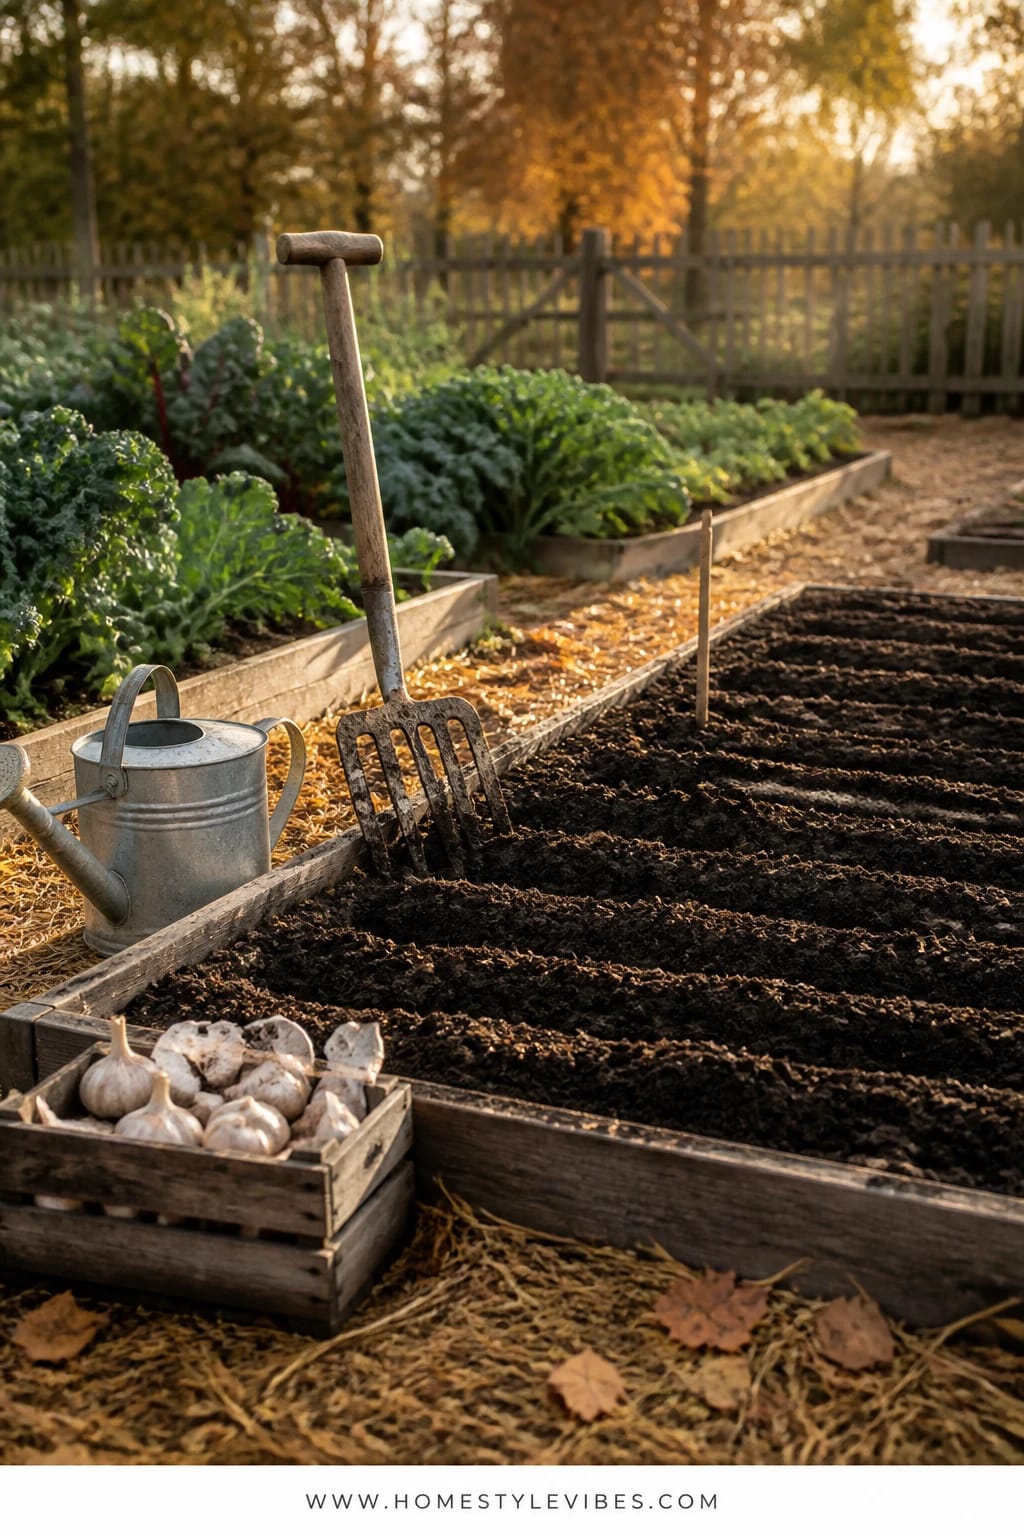
By late August, many beds are tired and compacted. You’re tempted to leave them bare until spring. Don’t. Set the stage now with garlic — it goes in late August to October depending on your zone — and you’ll harvest in early summer, then immediately flip that bed to warm-season crops. The mood here is long-game satisfaction: slow, steady growth under straw, tidy rows asleep under the first snow.
Why it works: garlic loves well-loosened soil, consistent moisture, and a thick mulch. Broadforking or deep forking opens the soil without turning layers, which improves drainage over winter. It photographs beautifully because of the rhythm: straw-gold aisles, straight plant lines, and those neat, labeled rows that say “serious gardener lives here.”
Variations:
– Budget: skip the broadfork and use a digging fork; it’s slower but perfectly fine.
– Small bed: plant garlic along one long edge and use the center for quick fall spinach — you’ll harvest leaves while garlic roots quietly establish.
– Add-on: tuck in a row of multiplier onions or shallots if your local nursery has them.
Budget Breakdown:
- Seed garlic (not grocery garlic): $15–$30 per pound (1–2 lb per bed)
- Straw or leaf mulch: $10–$25
- Compost: $20–$40
- Broadfork or digging fork (one-time tool): $65–$180
- Row markers: $5–$12
Total Estimated Cost: $115 – $287 (lower if you already own a fork)
Best For: Cold-winter zones with room for a dedicated bed; gardeners who love a set-it-and-forget-it crop and enjoy a big June/July garlic payoff.
Key Design Elements:
- Main seasonal props: broadforked soil, straight garlic rows, straw mulch
- Color palette: chocolate soil, wheat-gold straw, green shoot tips (later)
- Lighting strategy: full sun to light shade; mulch keeps soil temperatures more even
- Textile layers: none; use breathable landscape pins to keep straw in place if windy
- Natural elements: compost-rich beds, shredded leaves
- Accent details: simple wooden row labels with variety names
How To Recreate This Look:
- Loosen soil 8–10 inches deep with a fork; add 1–2 inches of compost and rake smooth.
- Crack garlic bulbs into cloves the day you plant; keep skins on.
- Plant cloves 2 inches deep, 6 inches apart, points up, in tidy rows 8–12 inches apart.
- Water in, then mulch with 3–4 inches of clean straw or leaves.
- Label varieties; ignore until spring, then side-dress with compost when green shoots appear.
Why This Looks Expensive: The straw aisles lend a professional market-garden aesthetic. Clean lines and labeled varieties read curated and confident.
Watch Out: Don’t plant supermarket garlic; it’s often treated to prevent sprouting and may carry disease. Source from a nursery or a trusted grower.
Pro Styling Tip: After mulching, brush the straw lightly across the row to reveal a narrow soil stripe. That contrast line photographs beautifully and highlights your spacing.
6) Late-August Succession Bed with Arugula, Asian Greens, and Fast Radishes by a Simple Tool Rack — Zones 7–10 Long Falls
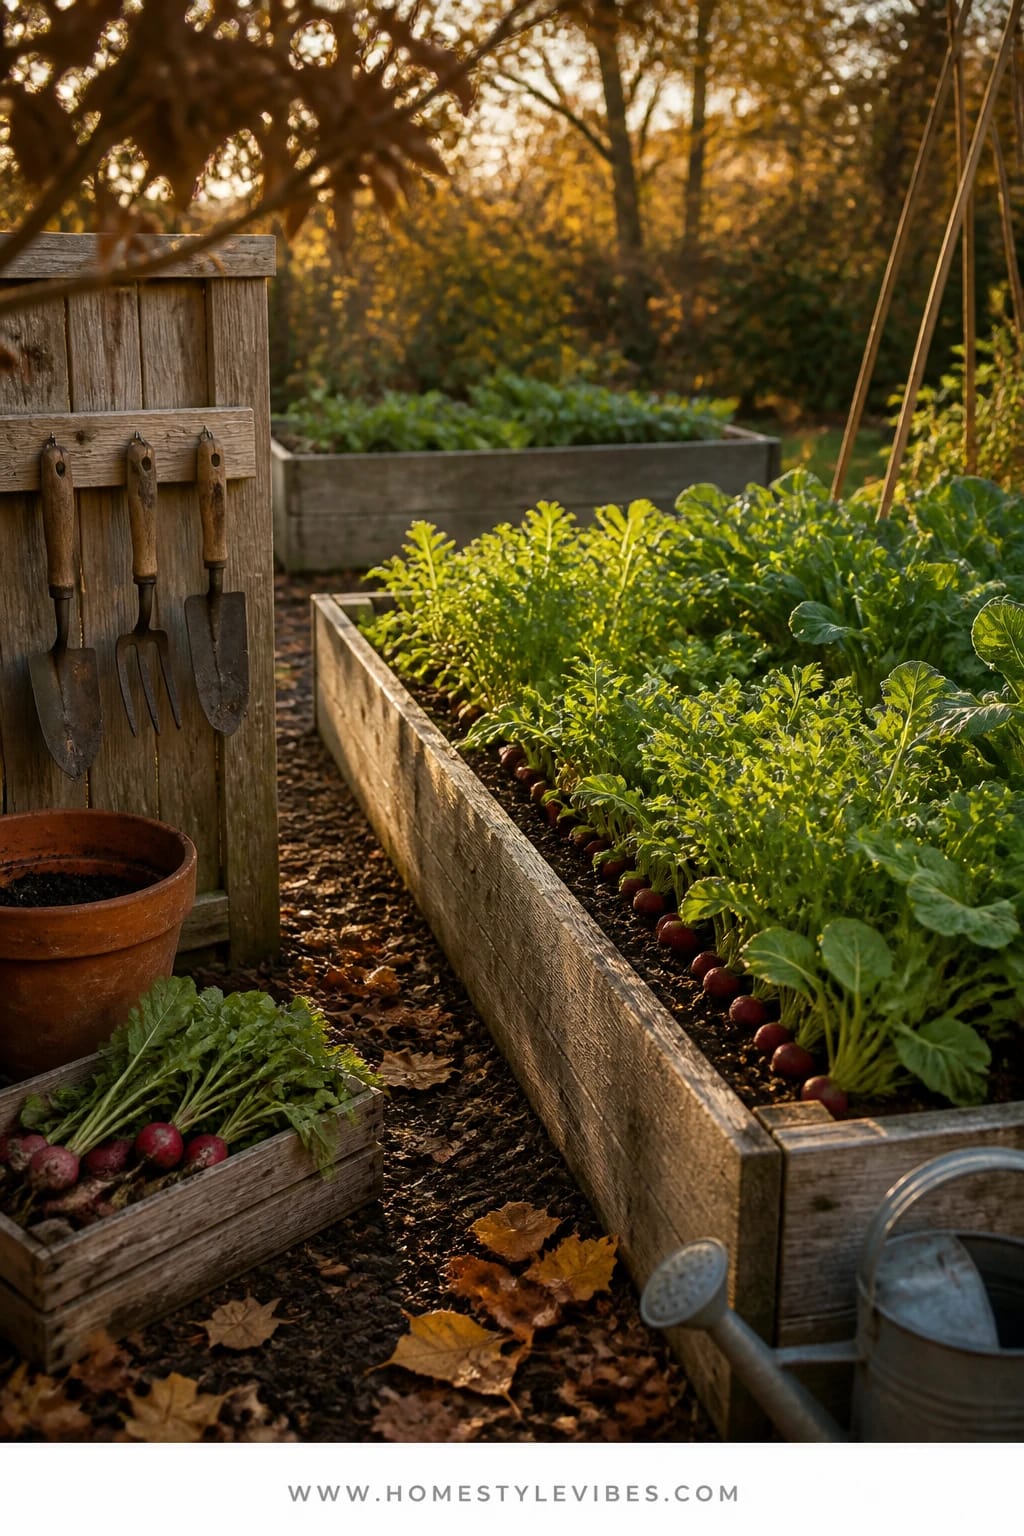
Your summer peppers are peaking, but your dinner salads feel boring. Enter speedy greens you can sow every 10–14 days from late August through October in Zones 7–10: arugula, mizuna, tatsoi, and fast radishes. This creates a lush, cut-and-come-again buffet that thrives in shorter days and cooler nights. The mood is dynamic and generous — soft frills, glossy spoon-shaped leaves, and little flashes of red radish shoulders in the soil.
It works because these greens mature in 20–35 days and handle partial shade. A simple tool rack nearby keeps you honest about regular harvesting: snip, rinse, repeat. Photography-wise, the juxtaposition of orderly rows and a neatly hung hoe and snips looks like a tiny production garden, ready for a cookbook shoot.
Variations:
– Budget: sow a mesclun blend and skip individual seed packs; thin as needed and use everything.
– Heat strategy: drape 30% shade cloth for the first week if daytime temps top 90°F; it prevents bitter leaves.
– Container version: a 10–12 inch deep trough fills a balcony with weekly salads.
Budget Breakdown:
- Seeds (arugula, mizuna/tatsoi, radish): $8–$15
- Compost: $15–$30
- Shade cloth + clamps (optional): $15–$28
- Simple tool rack hooks: $10–$18
Total Estimated Cost: $48 – $91
Best For: Sunny to part-shade beds in Zones 7–10; busy cooks who want quick, peppery greens and bright radishes through Thanksgiving.
Key Design Elements:
- Main seasonal props: succession rows, quick-cut greens, nearby tool hooks
- Color palette: bright spring-green leaves, scarlet radish pops, warm wood handles
- Lighting strategy: morning sun, filtered afternoon light; optional shade cloth in heat waves
- Textile layers: lightweight shade cloth, breathable harvest bag
- Natural elements: compost top-dress, fine leaf mulch in aisles
- Accent details: stainless snips, narrow harvest basket
How To Recreate This Look:
- Refresh the bed with 1–2 inches of compost; rake smooth and moist.
- Sow arugula and Asian greens in bands; sow radishes in a neighboring strip.
- Water with a fine rose daily until germination; then switch to deep, infrequent watering.
- Harvest greens as baby leaves with scissors; re-sow the harvested band immediately.
- Hang your snips and a brush on the tool rack so harvest stays quick and habitual.
Why This Feels Designer: The magic is in cadence. Staggered rows at different stages of growth look intentional, like a chef’s garden constantly in motion.
The Most Common Mistake: Letting greens over-mature. If arugula flowers, flavor spikes and leaves toughen. Cut young and often; your palate will notice.
Pro Styling Tip: For that magazine look, fan a few radishes with tops on across a pile of glossy tatsoi, and set your snips diagonally to create a leading line in-frame.
Perspective shift: you don’t need every bed brimming tomorrow. Pick one zone-matched planting, commit to regular watering, and let the small daily care do the heavy lifting. Consistency grows better gardens than grand gestures.
Quick Checklist
- Confirm your USDA Zone and average first frost date
- Choose fast-maturing, cool-season crops matched to your zone
- Top-dress beds with 1–2 inches of compost before sowing
- Install simple structures: hoops, trellis, or shade cloth as needed
- Water in the morning with a fine rose to reduce disease
- Thin root crops early and decisively
- Mulch aisles with straw or leaves for cleaner harvests
- Succession-sow greens every 10–14 days
- Label rows and varieties for clarity
- Harvest young and often to keep plants producing
Frequently Asked Questions
How much should I budget to plant in August for a fall harvest?
Expect $50–$150 per bed if you already have soil, with the higher end including hoops or trellis. Seeds are inexpensive, but compost and simple structures add up. Start with one bed this year, then reuse structures next season to drop your costs.
Are real seed garlic and nursery transplants worth it over grocery cloves and big-box starts?
Yes. Seed garlic is disease-checked and variety-specific to your climate, which matters for winter survival. For greens and brassicas, local nursery starts can save you two weeks in late August; worth it if your frost date is close.
What if I only have a small space — can I still plant in August for fall?
Absolutely. Use a 10–12 inch deep trough for arugula, Asian greens, and radishes. A single tomato grow bag can host a circle of spinach in September. Choose compact or baby varieties and harvest young for best yields in tight quarters.
How do I store all the fall garden gear when the season ends?
Roll row covers and shade cloth around a cardboard tube, label, and tuck upright in a bin. Stack hoops flat against a wall with two Velcro ties. Clean and oil your snips, then hang them on a peg — future you will be grateful in spring.
When should I start in August, exactly?
Count back from your average first frost date using the seed packet’s “days to maturity,” then add 7–10 days for shorter fall daylight. For many zones, that means sowing greens mid-to-late August, roots in early-to-mid August, and garlic bed prep in late August.
Conclusion
If the phrase “What to plant in August for a beautiful fall harvest” has been sitting on your to-do list, let this be the nudge. Pick one zone-matched plan — maybe that cedar bed of baby lettuce or a low tunnel of beets — and give it two focused hours this weekend. Add compost, sow, water, label. That’s it.
Fall gardening rewards patience and small, steady care. The soil cools, the sun softens, and your beds quietly fill with greens, roots, and herbs that love the season. No drama, just good structure, consistent moisture, and the kind of abundance that shows up on your dinner plate and your camera roll. You’ve got this — and your October self is going to be very, very happy you started in August.

About the Author

Krisztina P.Rendes, Founder of Home Style Vibes
Founder of Home Style Vibes
Krisztina Puskásné Rendes created Home Style Vibes as a cozy-modern lifestyle space where homemaking meets inspiration. Her goal is to help women create beautiful, organized, and peaceful homes they truly love — without overwhelm. You’ll find here heart-driven content on home decor, cleaning tips, easy family recipes, organization and decluttering, DIY home projects, plants, and seasonal ideas — all designed to bring more calm, comfort, and style into everyday life.