How to Deep Clean a Couch: Expert Tips and Tricks for a Better Home Tonight
You want a couch that looks fresh, smells clean, and feels like a soft exhale at the end of a long day. But the reality? Crumbs in the seams, mystery stains, pet hair woven into the weave, and a faint “what is that?” scent. This guide gives you a step-by-step, doable plan to deep clean a couch without wrecking the fabric — and without spending more than $60 on supplies. Follow along and your sofa can look photo-ready, feel softer, and genuinely smell better by tonight.
What’s Inside
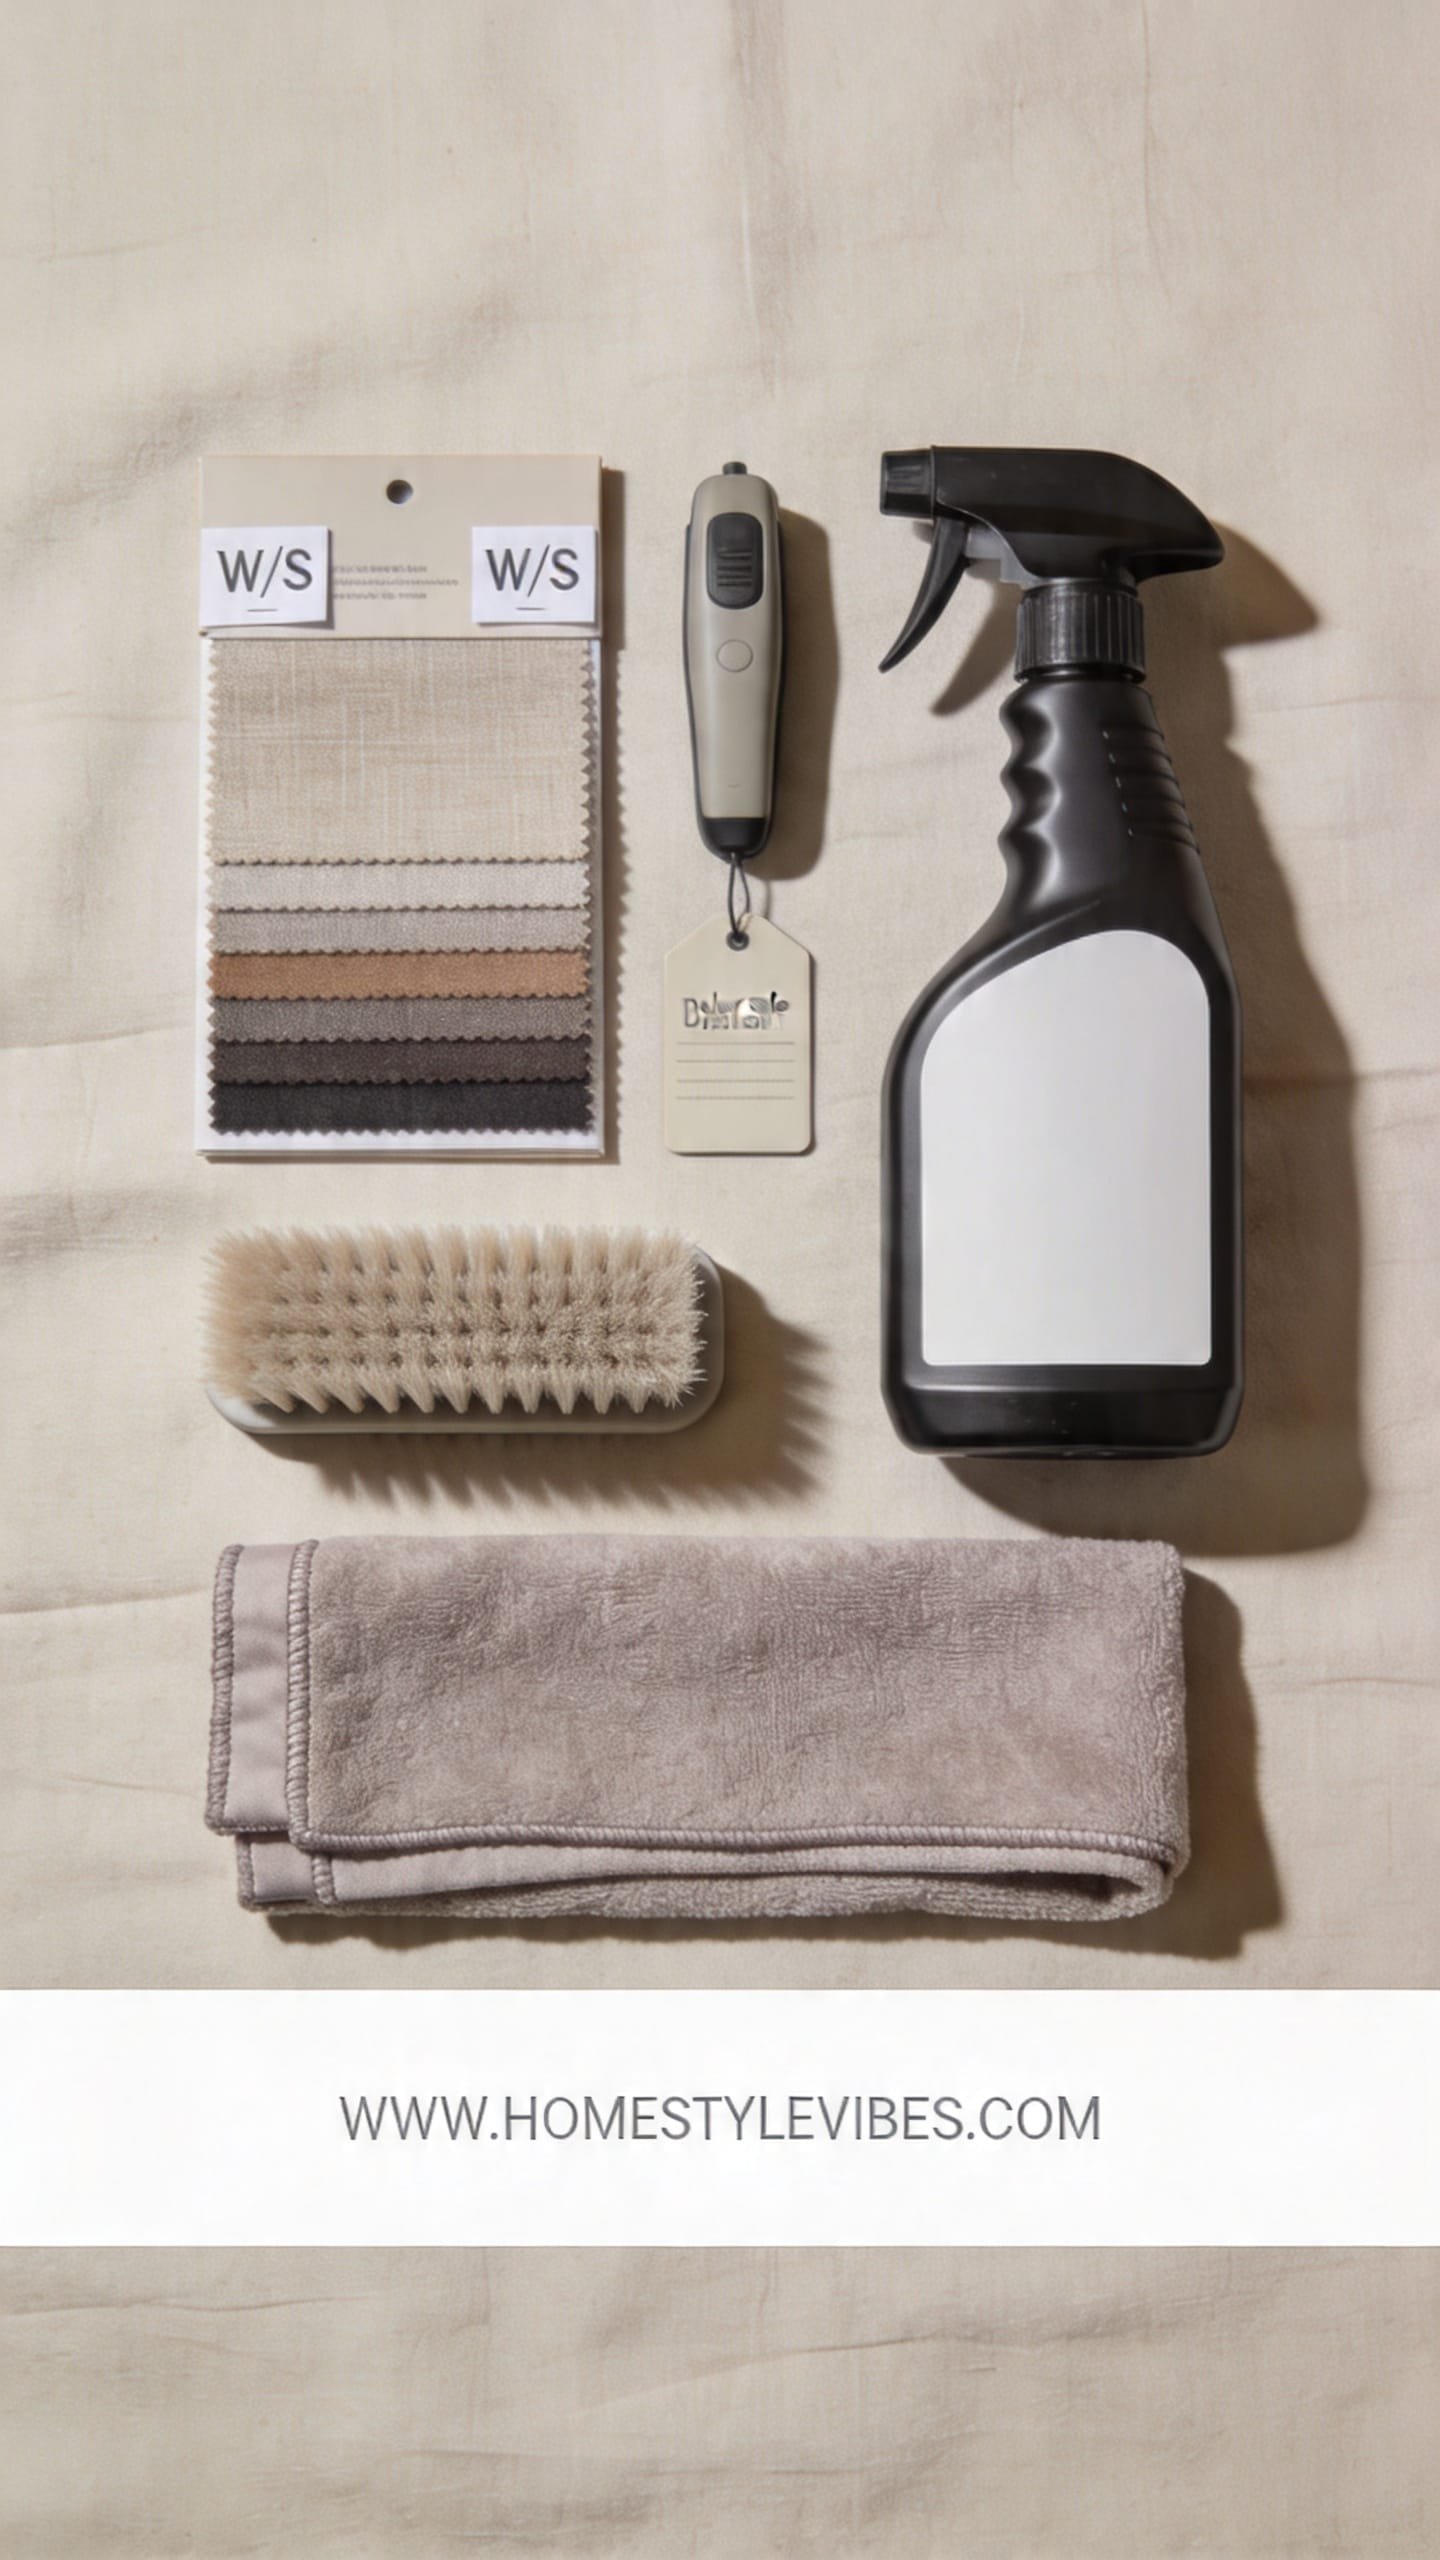
Decode Fabric Codes and Gather the Right Tools First
Before we touch water or cleaner, we set ourselves up to win — this is where most couch-cleaning fails begin.
We’ve all been there: you spot-clean a cushion, it dries a little darker, and suddenly you’ve got a halo stain that looks worse than the original. The secret isn’t elbow grease — it’s understanding your fabric care code and matching it to the right method. Flip a seat cushion or check the manufacturer’s tag for a letter: W (water-based cleaners), S (solvent only), WS (either), or X (vacuum only). This single step decides everything that follows and protects the texture and color you love.
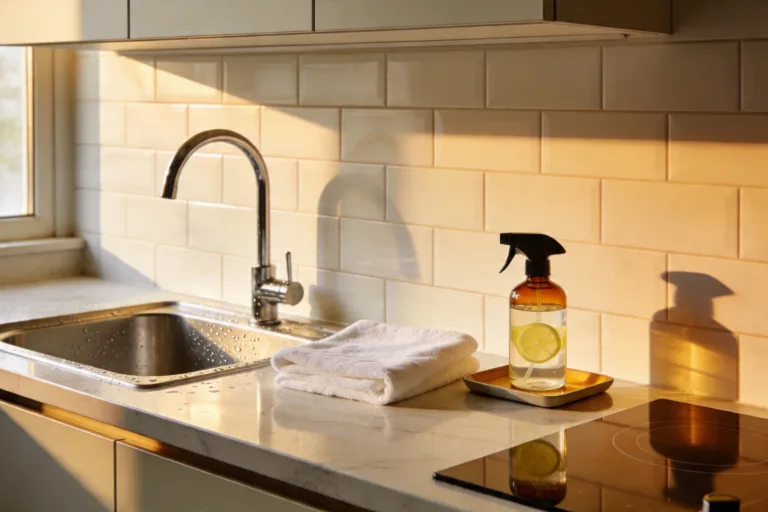
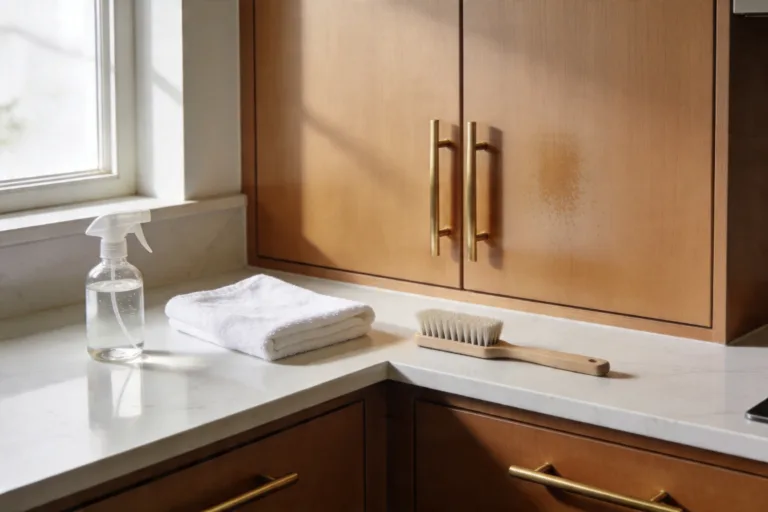
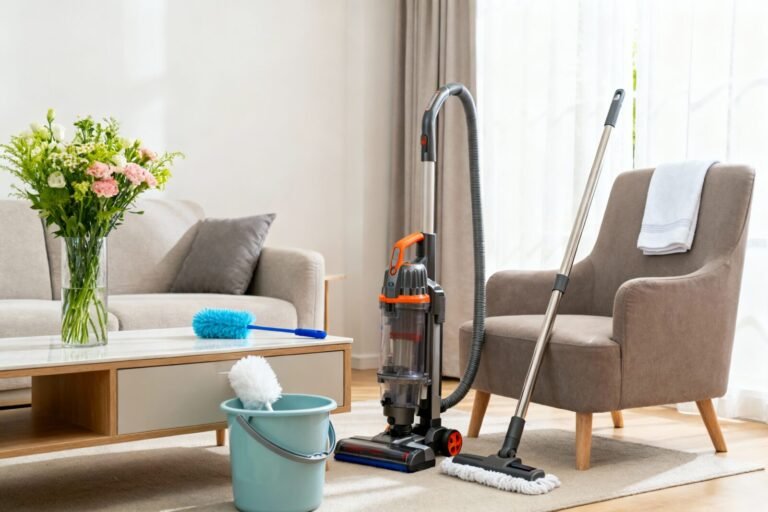
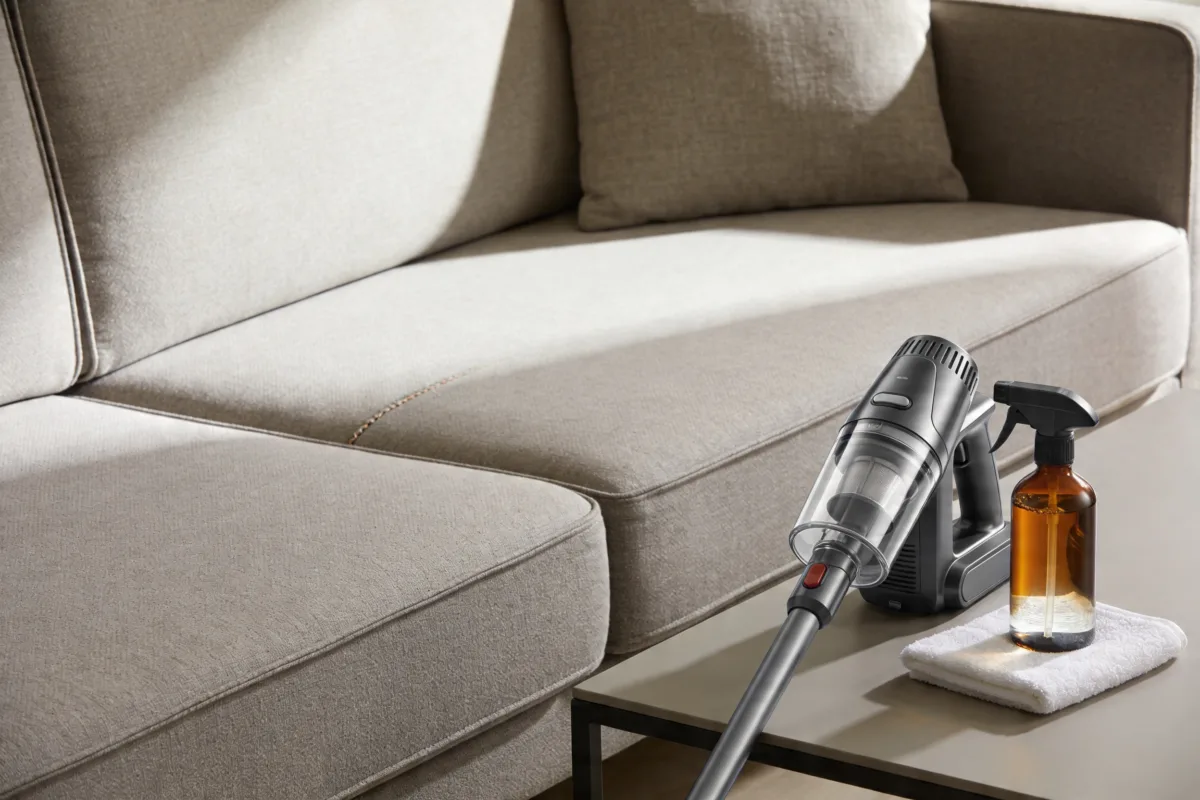
Once you know the code, gather your kit so the process flows. You’ll want a vacuum with upholstery and crevice tools, a soft-bristle brush, white microfiber cloths, a spray bottle, baking soda, a gentle dish soap like Dawn, isopropyl alcohol (70–91%), an enzyme cleaner for pet messes, and — if suitable — a handheld upholstery cleaner or garment steamer. The right tools make the work smoother and safer, letting you lift grime without scrubbing the life out of your fabric.
- On a tight budget? Borrow a carpet/upright upholstery cleaner from Home Depot’s tool rental or snag a budget handheld on Amazon — often under $40 on sale.
- Renter-friendly swap: If your lease frowns on heavy cleaning gear, use a garment steamer with a cloth barrier for gentle refreshes.
The Dry Debris Removal That Changes Everything
Vacuuming isn’t a chore to blast through — it’s the foundation of a truly deep clean.
This is the part most people get wrong: they rush into wet cleaning with crumbs, hair, and grit still embedded in the weave. Water + grit = mud that pushes deeper. Start with a methodical vacuum routine. Use the upholstery tool in long, overlapping strokes to create even lines, then switch to the crevice tool for seams, welt cords, and under cushions. Tilt the cushions to catch the shadow line of dust (you’ll see it shimmer in the afternoon light), and brush fibers in one direction to lift trapped lint before a final vacuum pass.
For pet hair that clings like Velcro, a slightly damp rubber glove or a silicone pet hair brush works magic — you’ll hear the sticky whisper as hair balls up. Then do a quick once-over with a lint roller for a smooth finish. Set aside anything removable — pillow covers, throws — for separate laundering according to their labels.
- Budget pick: A $5 rubber squeegee from Walmart pulls pet hair off microfiber faster than most rollers.
- Renter-friendly swap: No vacuum? A stiff, clean dish brush plus lint roller will still lift a surprising amount of debris before any wet cleaning.
This isn’t about achieving a magazine-perfect home — it’s about creating a couch that truly supports your real life. If a step takes longer than expected, pause, pour a glass of water, and come back. The couch will be right where you left it, and you’ll make better choices with a clear head.
Stain Strategy: What to Use on What (And in What Order)
Blot, don’t scrub — yes. But the real win is using the right cleaner in the right sequence so stains actually lift.
You’ve tried dish soap on everything, but protein stains still ghost back or oil marks spread into larger patches. Here’s why this works: stains have categories, and each category responds to different chemistry. Start with a dry approach first — scrape gently with a spoon on dried gunk. Then match your cleaner. For food and drink on W or WS fabrics, mix 2 cups warm water with 1 teaspoon gentle dish soap. For oil-based stains (makeup, body oil), WS or S fabrics do best with isopropyl alcohol: mist onto a white cloth and dab from the outside in. For pet accidents, an enzyme cleaner breaks down the odor-causing proteins so they don’t resurface when the couch warms up.
Targeted Stain Solutions
- Water-safe general stains (W/WS): Light soap solution; dab, don’t soak. Follow with a clean water rinse cloth, then blot dry.
- Oil and grease (S/WS): Isopropyl alcohol on a cloth; short dabs, frequent cloth rotation. Best for maintaining fabric hand.
- Wine/coffee (W/WS): Club soda first (fizz lifts), then mild soap. Rinse and blot.
- Ink (S/WS): 91% isopropyl alcohol on a cotton swab; tiny movements. Skip if the test shows color transfer.
- Pet urine (W/WS): Enzyme cleaner per label; let it dwell to actually digest odor molecules.
- Budget pick: Target’s up & up enzyme cleaner performs surprisingly well for pet zones at a fraction of boutique brands.
- Renter-friendly swap: If you can’t risk liquid, use solvent-only fabric cleaner pens on small spots and keep airflow moving.
Best overall method for beginners: mild soap solution on W/WS fabrics — forgiving, low-risk, and easy to rinse. Worth the splurge: a quality enzyme cleaner if pets are regulars on the sofa; it prevents that warm, stale scent that creeps back after a couple days. Skip this one: harsh bleach or oxygen boosters on colored upholstery — fading and fiber damage aren’t worth it.
Steam or No Steam? Choosing the Safest Deep-Clean Method
Here’s where your couch goes from “pretty clean” to “oh wow, it looks new.” But method matters.
It sounds obvious, but here’s where it usually falls apart: people crank up a rental extractor on a delicate fabric and push too much water into the foam. Result? Stains rise, edges watermark, drying takes days. For W and WS fabrics, a light upholstery extraction or a garment steamer with a cloth barrier can lift embedded grime and refresh the nap. For S-only fabrics, skip steam and stick to solvent-based cleaning with minimal moisture — think delicate dabbing and air flow, not saturation.
Best Methods Ranked
- Best overall for W/WS: Handheld upholstery cleaner like the BISSELL Little Green. Controlled spray, strong suction, and easy rinse step.
- Best for beginners: Garment steamer + white microfiber as a buffer. Hover and lift — don’t press — to avoid rings.
- Worth the splurge: Professional upholstery cleaning every 12–18 months for high-traffic sofas; they balance heat, chemistry, and suction.
- Skip this: Over-the-top hot water on natural fibers (linen, cotton blends) — it can shrink or tighten the weave and leave texture changes.
- Budget pick: Rent a compact extractor at Home Depot for a day if you have multiple sofas or rugs — under $40 beats hiring out.
- Renter-friendly swap: If noise is a concern, do a daytime steam session with windows open; it’s quiet and quick.
Technique matters as much as the tool. Use light passes. Imagine you’re lifting morning fog, not hosing down a driveway. Keep the fabric just barely damp, then follow with a dry pass to pull moisture up. You’ll see dirty water in the tank — oddly satisfying — as the fabric color evens out and the surface feels springier under your hand.
If you skip a step, nothing falls apart. You don’t need perfection — you need progress. Think of this as layering: each pass builds a fresher, softer, more inviting seat. Take breathers, and let things dry before deciding what needs another round.
Odor Reset: Neutralize Smells and Refresh the Entire Room
Smell is your home’s handshake — and your couch holds onto scent more than you think.
You clean, then sit down at night, and a faint pet or snack odor wafts up like a stubborn memory. The truth is, odor lives in oils and bacteria that standard soap can miss. After your dry and wet cleaning steps, it’s time for an odor reset. Sprinkle baking soda across cushions and backs, working it in with a soft brush so the powder dives into the texture. Leave it for 20–60 minutes to absorb oils, then vacuum thoroughly. Follow up with a fabric-safe deodorizer that neutralizes, not just perfumes — look for enzyme or zinc-based odor removers on Amazon or at Target.
Want a subtle signature scent without that “sprayed the couch” vibe? Lightly mist a DIY fabric spray — 1 cup distilled water, 1 tablespoon vodka, 3–5 drops of high-quality essential oil like lavender or bergamot — over the air above the couch, not directly on it. The scent lands like a veil. If you have wool or linen blends, keep it extra light to avoid darkening. Open a window to let fresh air move across the surface, and let the smell of clean textiles — warm, airy, slightly mineral — replace the old.
- Budget pick: Arm & Hammer baking soda and a $2 Dollar Tree shaker jar — functional and effective.
- Renter-friendly swap: Use a small HEPA air purifier near the seating area to reduce lingering living-room smells over time.
Best for households with pets: enzyme-based odor neutralizers that break down pet-origin smells permanently. Skip this: heavy perfumed sprays that just mask odor; they tend to combine into a muddy “air freshener” scent on fabric.
Drying Like a Pro: Fluff, Finish, and Future-Proof Your Couch
Drying is the quiet finale that makes your couch feel brand-new instead of “recently cleaned.”
Most people finish cleaning and flop the cushions back immediately. That traps moisture and invites musty edges. Instead, create airflow. Stand cushions on edge like books, unzip covers slightly to vent, and aim a fan on low across the room (not straight at the fabric). If it’s a crisp 68–72°F day, crack a window for a gentle cross-breeze. As things dry, you’ll notice the fabric relax and the foam regain bounce — that satisfying pillowy give when you press your palm into it.
When fully dry, brush nap fabrics (velvet, microfiber) in one direction with a soft brush for that even, rich tone. Then future-proof: add a fabric protector suitable for your code on high-traffic spots (arms, front of cushions). Use unobtrusive, machine-washable arm covers if kids and pets live here — modern ones from Amazon look simple and unfussy. Finally, rotate and flip cushions monthly so wear patterns don’t etch themselves into one spot.
- Budget pick: A box fan from Walmart and two clean bath towels for under-cushion airflow — simple, effective drying.
- Renter-friendly swap: If open windows aren’t an option, place a dehumidifier 3–5 feet away to pull moisture and speed up dry time.
Best for longevity: a light, even coat of fabric protector on W/WS fabrics after testing. Skip this: heat guns or hair dryers on hot — they can set stains and distort fibers.
This is a rhythm, not a race. If today you only vacuum and treat one stain, that still matters. Tomorrow can be your steam day. The point is a couch that welcomes you — not a to-do list that wears you out.
Quick Checklist

- Check the upholstery tag for W, S, WS, or X
- Vacuum with upholstery and crevice tools thoroughly
- De-pill or de-hair with a rubber glove or squeegee
- Spot-test all cleaners in a hidden area
- Match stain type to cleaner: soap, alcohol, enzyme
- Use light, overlapping passes for steam or extraction
- Apply baking soda to absorb odors, then vacuum
- Dry cushions upright with airflow and vents unzipped
- Brush nap fabrics in one direction after drying
- Apply fabric protector where appropriate
- Rotate and flip cushions monthly
- Schedule a professional clean annually for heavy-use sofas
Frequently Asked Questions
How do I deep clean a couch on a tight budget without special machines?
Vacuum thoroughly, treat stains by type (dish soap for water-safe, alcohol for oils, enzyme for pets), sprinkle baking soda to absorb odor, then use a garment steamer with a cloth barrier if your tag allows W/WS. A $5 rubber squeegee, basic microfiber cloths, and baking soda from Walmart do a lot of heavy lifting.
I’m scared of water rings. How do I avoid them when spot-cleaning?
Always feather your cleaning 2–3 inches beyond the stain, keep moisture minimal, and finish with a clean damp cloth to blend edges. Dry that area quickly with moving air and avoid direct heat. On S-only fabrics, use alcohol or solvent-based cleaners instead of water.
My living room is small and doesn’t get much airflow — how can I dry cushions fast?
Stand cushions on edge with zippers slightly open, place a box fan across the room on low, and, if possible, run a dehumidifier nearby. Even in tight spaces, moving air plus lower humidity speeds drying safely.
What’s the best way to handle lingering pet smells in the couch?
Use an enzyme cleaner and give it full dwell time so it breaks down odor-causing proteins. Follow with a baking soda treatment after drying and consider a small HEPA purifier next to the couch for ongoing odor control.
I made a small patch look lighter after cleaning — did I ruin it?
Not necessarily. Let it dry completely, then gently brush fibers to blend. If needed, mist a wider area with distilled water and blot to even the tone, keeping moisture minimal. Adjust lighting when you work so you can blend edges in real time.
Bring It Home
The goal isn’t a showroom sofa. It’s a couch that makes you exhale every time you sink into it — clean, soft, quietly luxurious. With the right sequence — dry clean, spot treat, deep clean, odor reset, and a patient dry — you’ll get there without guesswork or pricey mishaps.
Start small today: vacuum in slow, satisfying lines and treat one stain with the correct method. Tomorrow, refresh with baking soda and a light steam or extraction if your fabric allows. This is doable, repeatable, and deeply worth it. Your couch sets the tone for your whole living room — and you just learned how to make that tone warm, fresh, and beautifully you.