The Best Way to Clean Strawberries: Remove Pesticides and Stay Fresh Fast
You want juicy, ruby-red strawberries that taste like summer and look stunning on a Sunday brunch board. But you hate finding grit in the seeds, worrying about pesticides, and watching them mold two days later. This guide gives you the best way to clean strawberries so they’re safer to eat, brighter, and longer-lasting — in under 10 minutes, with pantry ingredients. The results are Pinterest-pretty, kitchen-hero practical, and IMO, the only routine you’ll ever need.
Why Your Strawberries Get Mushy, Moldy, and Meh (And How to Fix It Fast)
This is the part most people get wrong: strawberries are delicate and soak up water like a sponge.
We’ve all been there — you bring home a perfect carton, wash them immediately, and two days later they’re slumping into a sad, mushy pile. The truth is, strawberries are porous and bruise easily. Too much water or heat damages their surface, and any lingering moisture invites mold. Add pesticide residue and field dust, and you’ve got a recipe for disappointment.
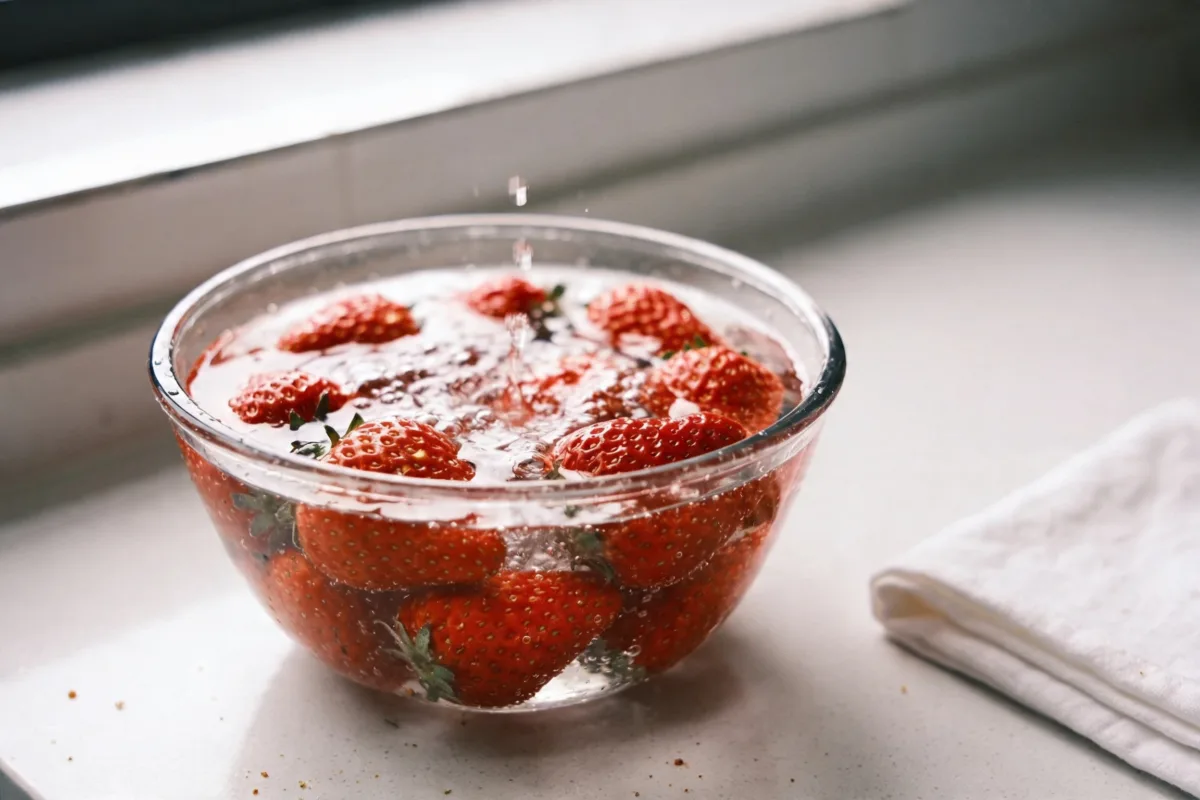
Here’s why the right method matters: a gentle vinegar and water bath loosens dirt, neutralizes many microbes, and helps dislodge pesticide residues from the bumpy surface around the seeds. A cold rinse afterward removes any lingering tang. Finally, thorough drying keeps their skin taut and glossy, giving you that just-picked snap when you bite in. You’ll literally see the rinse water cloud from dust — oddly satisfying.
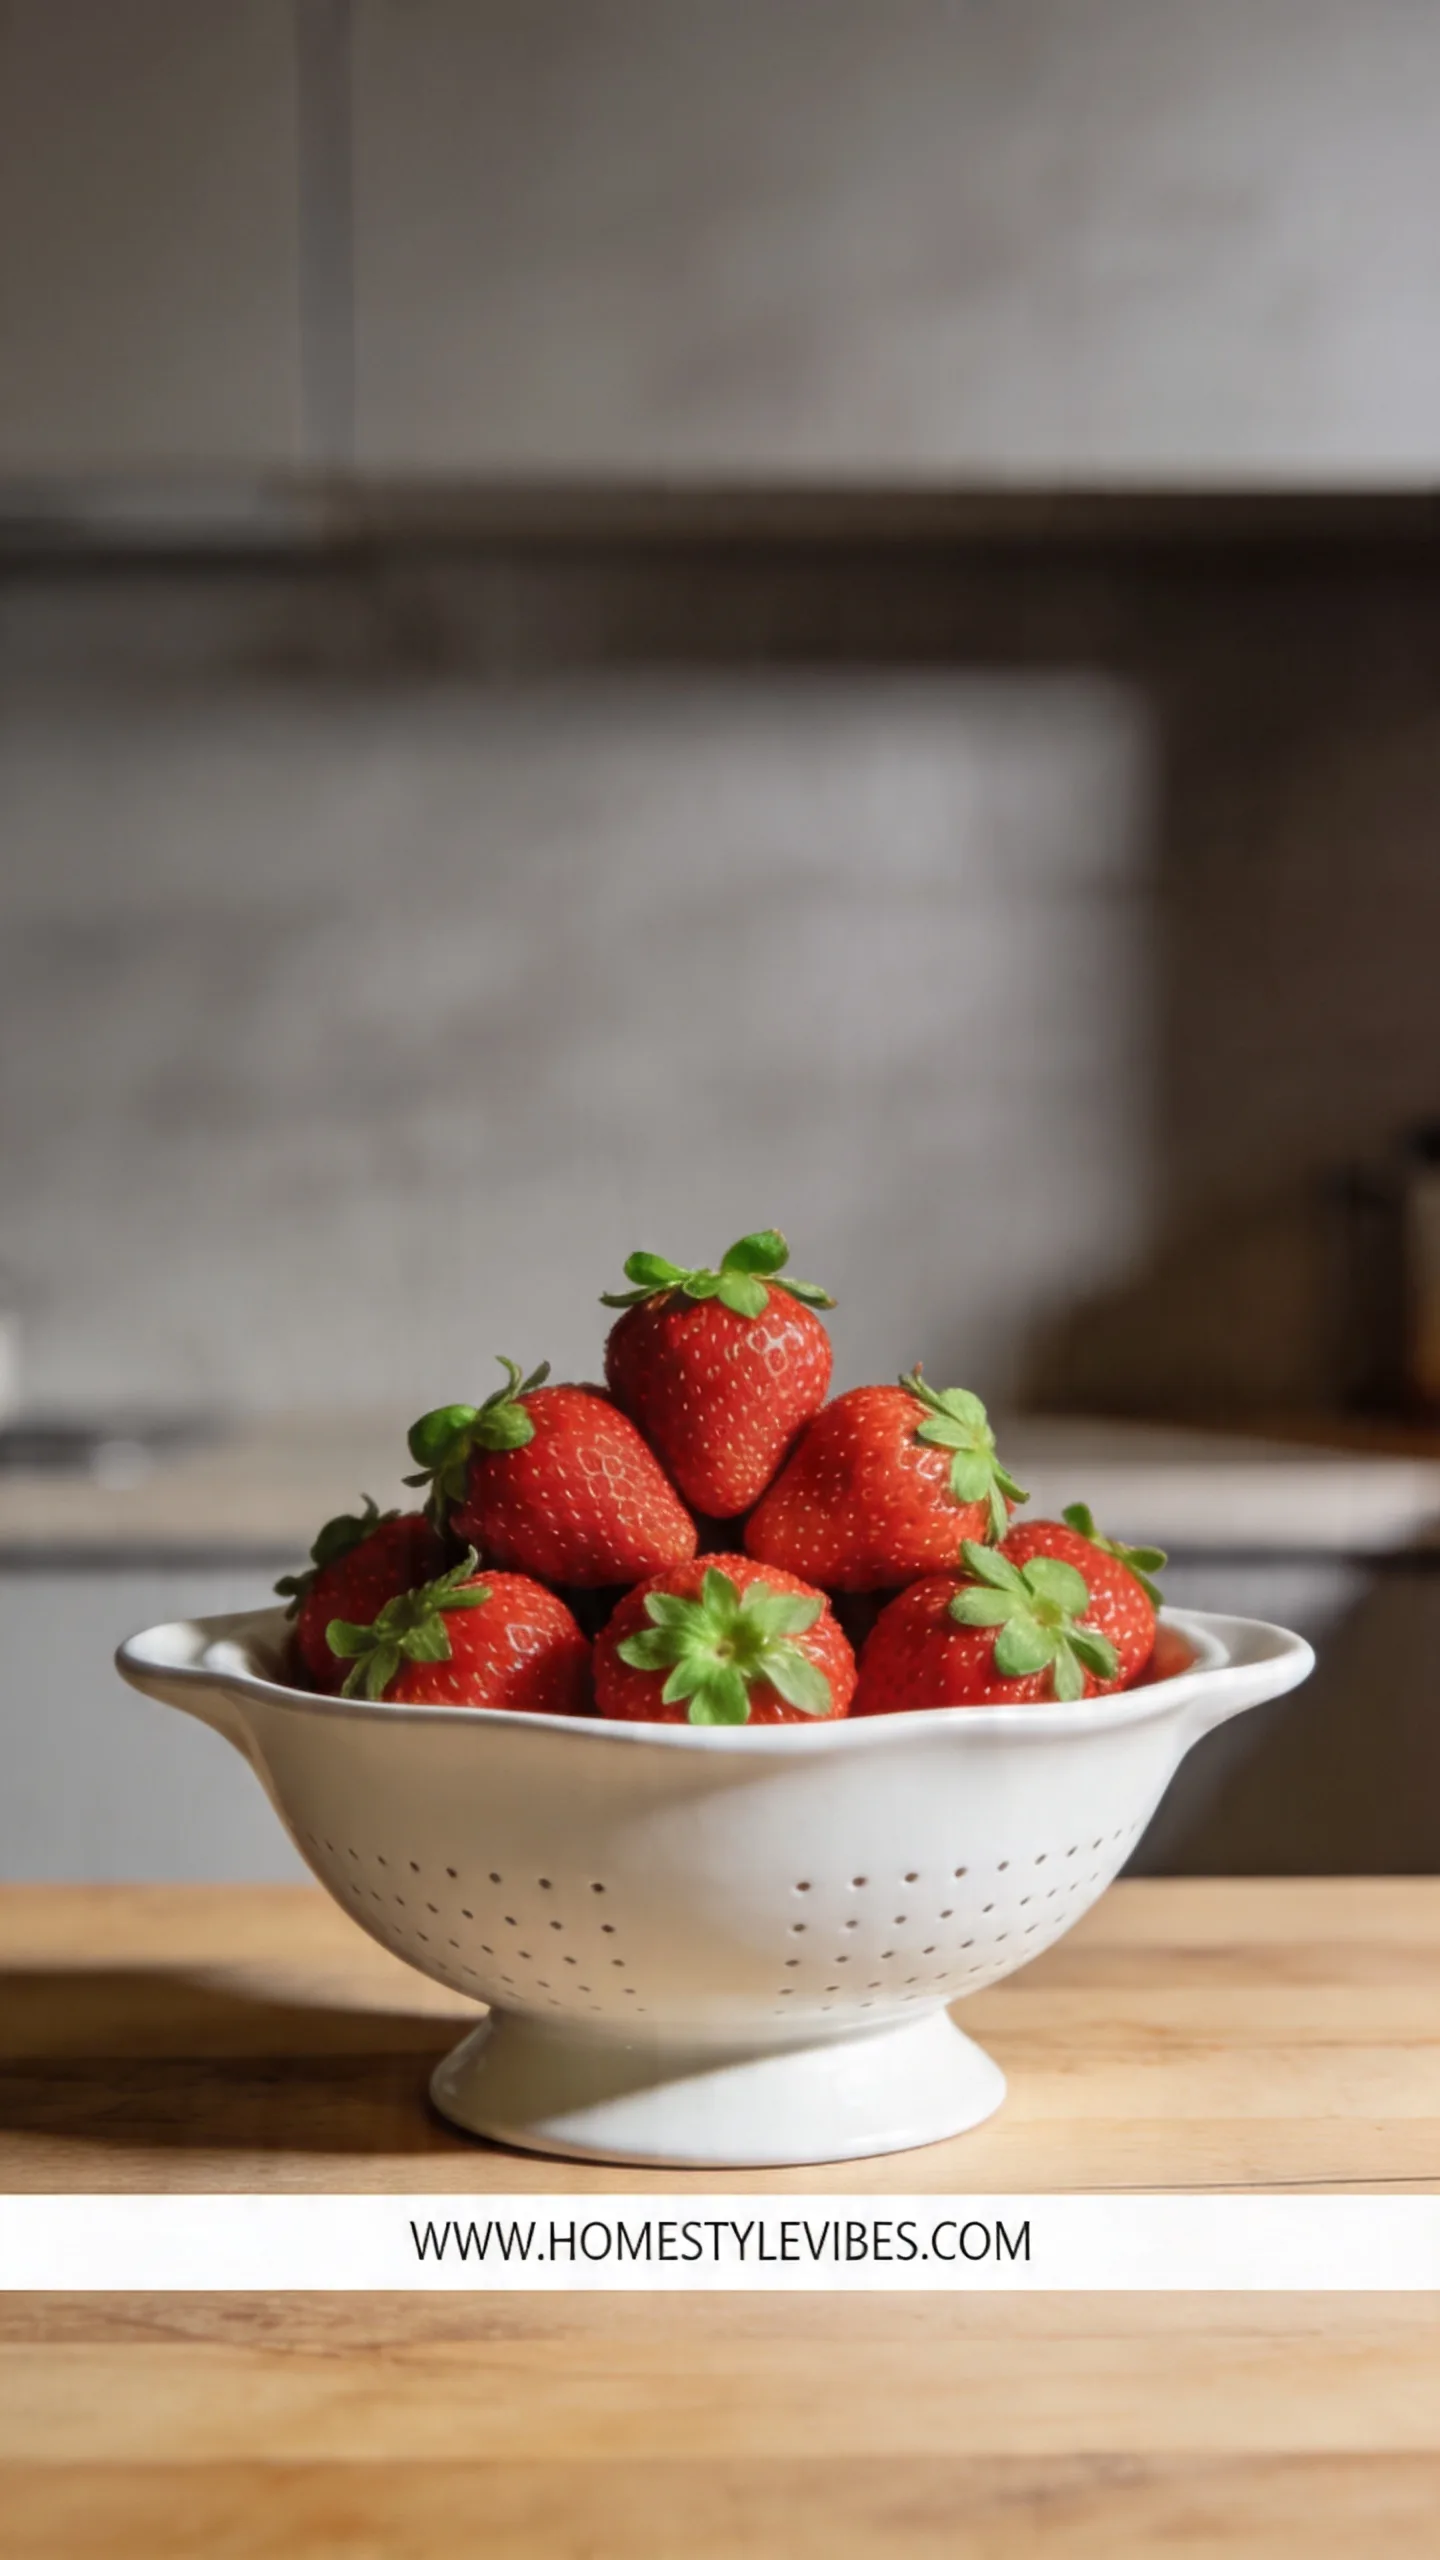
On a budget or in a rental kitchen with limited tools? You can do this with a bowl, a colander, and a clean dish towel. If you don’t have vinegar on hand, see the variations below for a quick swap.
- Budget-friendly swap: Use store-brand white distilled vinegar — it’s pennies per wash.
- Renter-friendly tool: A simple salad spinner with a towel insert for quick, gentle drying.
The Gold Standard: Vinegar Wash That Removes Pesticides Without Ruining Flavor

It sounds obvious, but here’s where it usually falls apart: ratios matter.
The best way to clean strawberries and remove pesticides is a simple bath: mix 1 cup of white distilled vinegar with 4 cups of cold water. Submerge whole, unhulled berries for 3–5 minutes. Swish gently with your fingers — feel for that faintly gritty texture lifting away. Drain, rinse under cold running water until the vinegar scent is gone, then dry thoroughly. You’ll end up with firm, glossy strawberries that actually last.
Why it works: vinegar’s acetic acid helps loosen residues and reduces microbial load on the surface without stripping color or bruising the fruit. The cold temperature keeps their texture bouncy. The key is the rinse — it removes both the loosened grime and the vinegar aroma so the berries taste pure and sweet.
No fancy gear? No problem. Use a large mixing bowl and a basic colander. If vinegar isn’t your vibe, try a saltwater variation below for similar results.
- Budget-friendly alternative: Apple cider vinegar works too, but white vinegar is cheaper and leaves less scent.
- Renter-friendly swap: If you don’t own a colander, use a slotted spoon to lift berries out and a dish rack to air-dry.
No Vinegar? Try Saltwater or Baking Soda for a Gentle Clean
You’ve tried plain water, but it still feels like there’s dust in every crevice.
If you’re out of vinegar, a cold saltwater soak works beautifully: dissolve 1 teaspoon of fine sea salt per cup of cold water, soak for 3 minutes, then rinse thoroughly. Salt loosens debris and helps deter surface microbes without affecting flavor when rinsed well. Another option: a baking soda rinse — 1 teaspoon per 2 cups of water. Gently swish, then rinse until the water runs clear and the berries feel squeaky-clean to the touch.
Both methods are gentle and pantry-friendly. The sensory clue you’re looking for? Berries should feel cool, taut, and slightly dry on the surface before storing. If they feel slippery or damp, keep drying. You’ll taste the payoff in brighter, cleaner flavor.
- Budget-friendly alternative: Use table salt instead of sea salt — just dissolve completely to avoid grit.
- Renter-friendly swap: Dry berries on a cooling rack set over a baking sheet to improve airflow and speed.
This isn’t about perfection; it’s about practical ritual. If you miss a step, don’t stress. Rinse again, pat dry, and pick up where you left off. Your berries don’t need you to be a pro — they just need you to be gentle and consistent.
The Drying Routine That Doubles Freshness (And Why Airflow Matters)

We all want that glossy, jewel-like finish. Moisture is the enemy.
After washing, lay strawberries in a single layer on a clean towel or paper-towel-lined tray. Pat tops and sides gently — think soft taps, not pressure. Then let them air-dry completely for 15–30 minutes. If you have a salad spinner, place a clean towel inside, load berries in a single layer, and spin gently for 5–8 seconds. You’ll hear a soft drumbeat against the cloth as droplets lift away.
Why airflow wins: tucked moisture around the green tops creates a mini greenhouse for mold. Drying pulls that moisture off the surface, keeps the skin taut, and preserves that bright, candy-like sheen. Your fridge should feel like a cool breeze, not a humid hug.
- Budget-friendly alternative: Use a clean T-shirt or flour sack towel instead of paper towels — less waste, equal results.
- Renter-friendly swap: Dry on a wire cooling rack so air can circulate underneath; even a toaster rack works in a pinch.
How to Store Washed Strawberries so They Stay Fresh for a Week
You washed beautifully — now storage either makes it magic or ruins it.
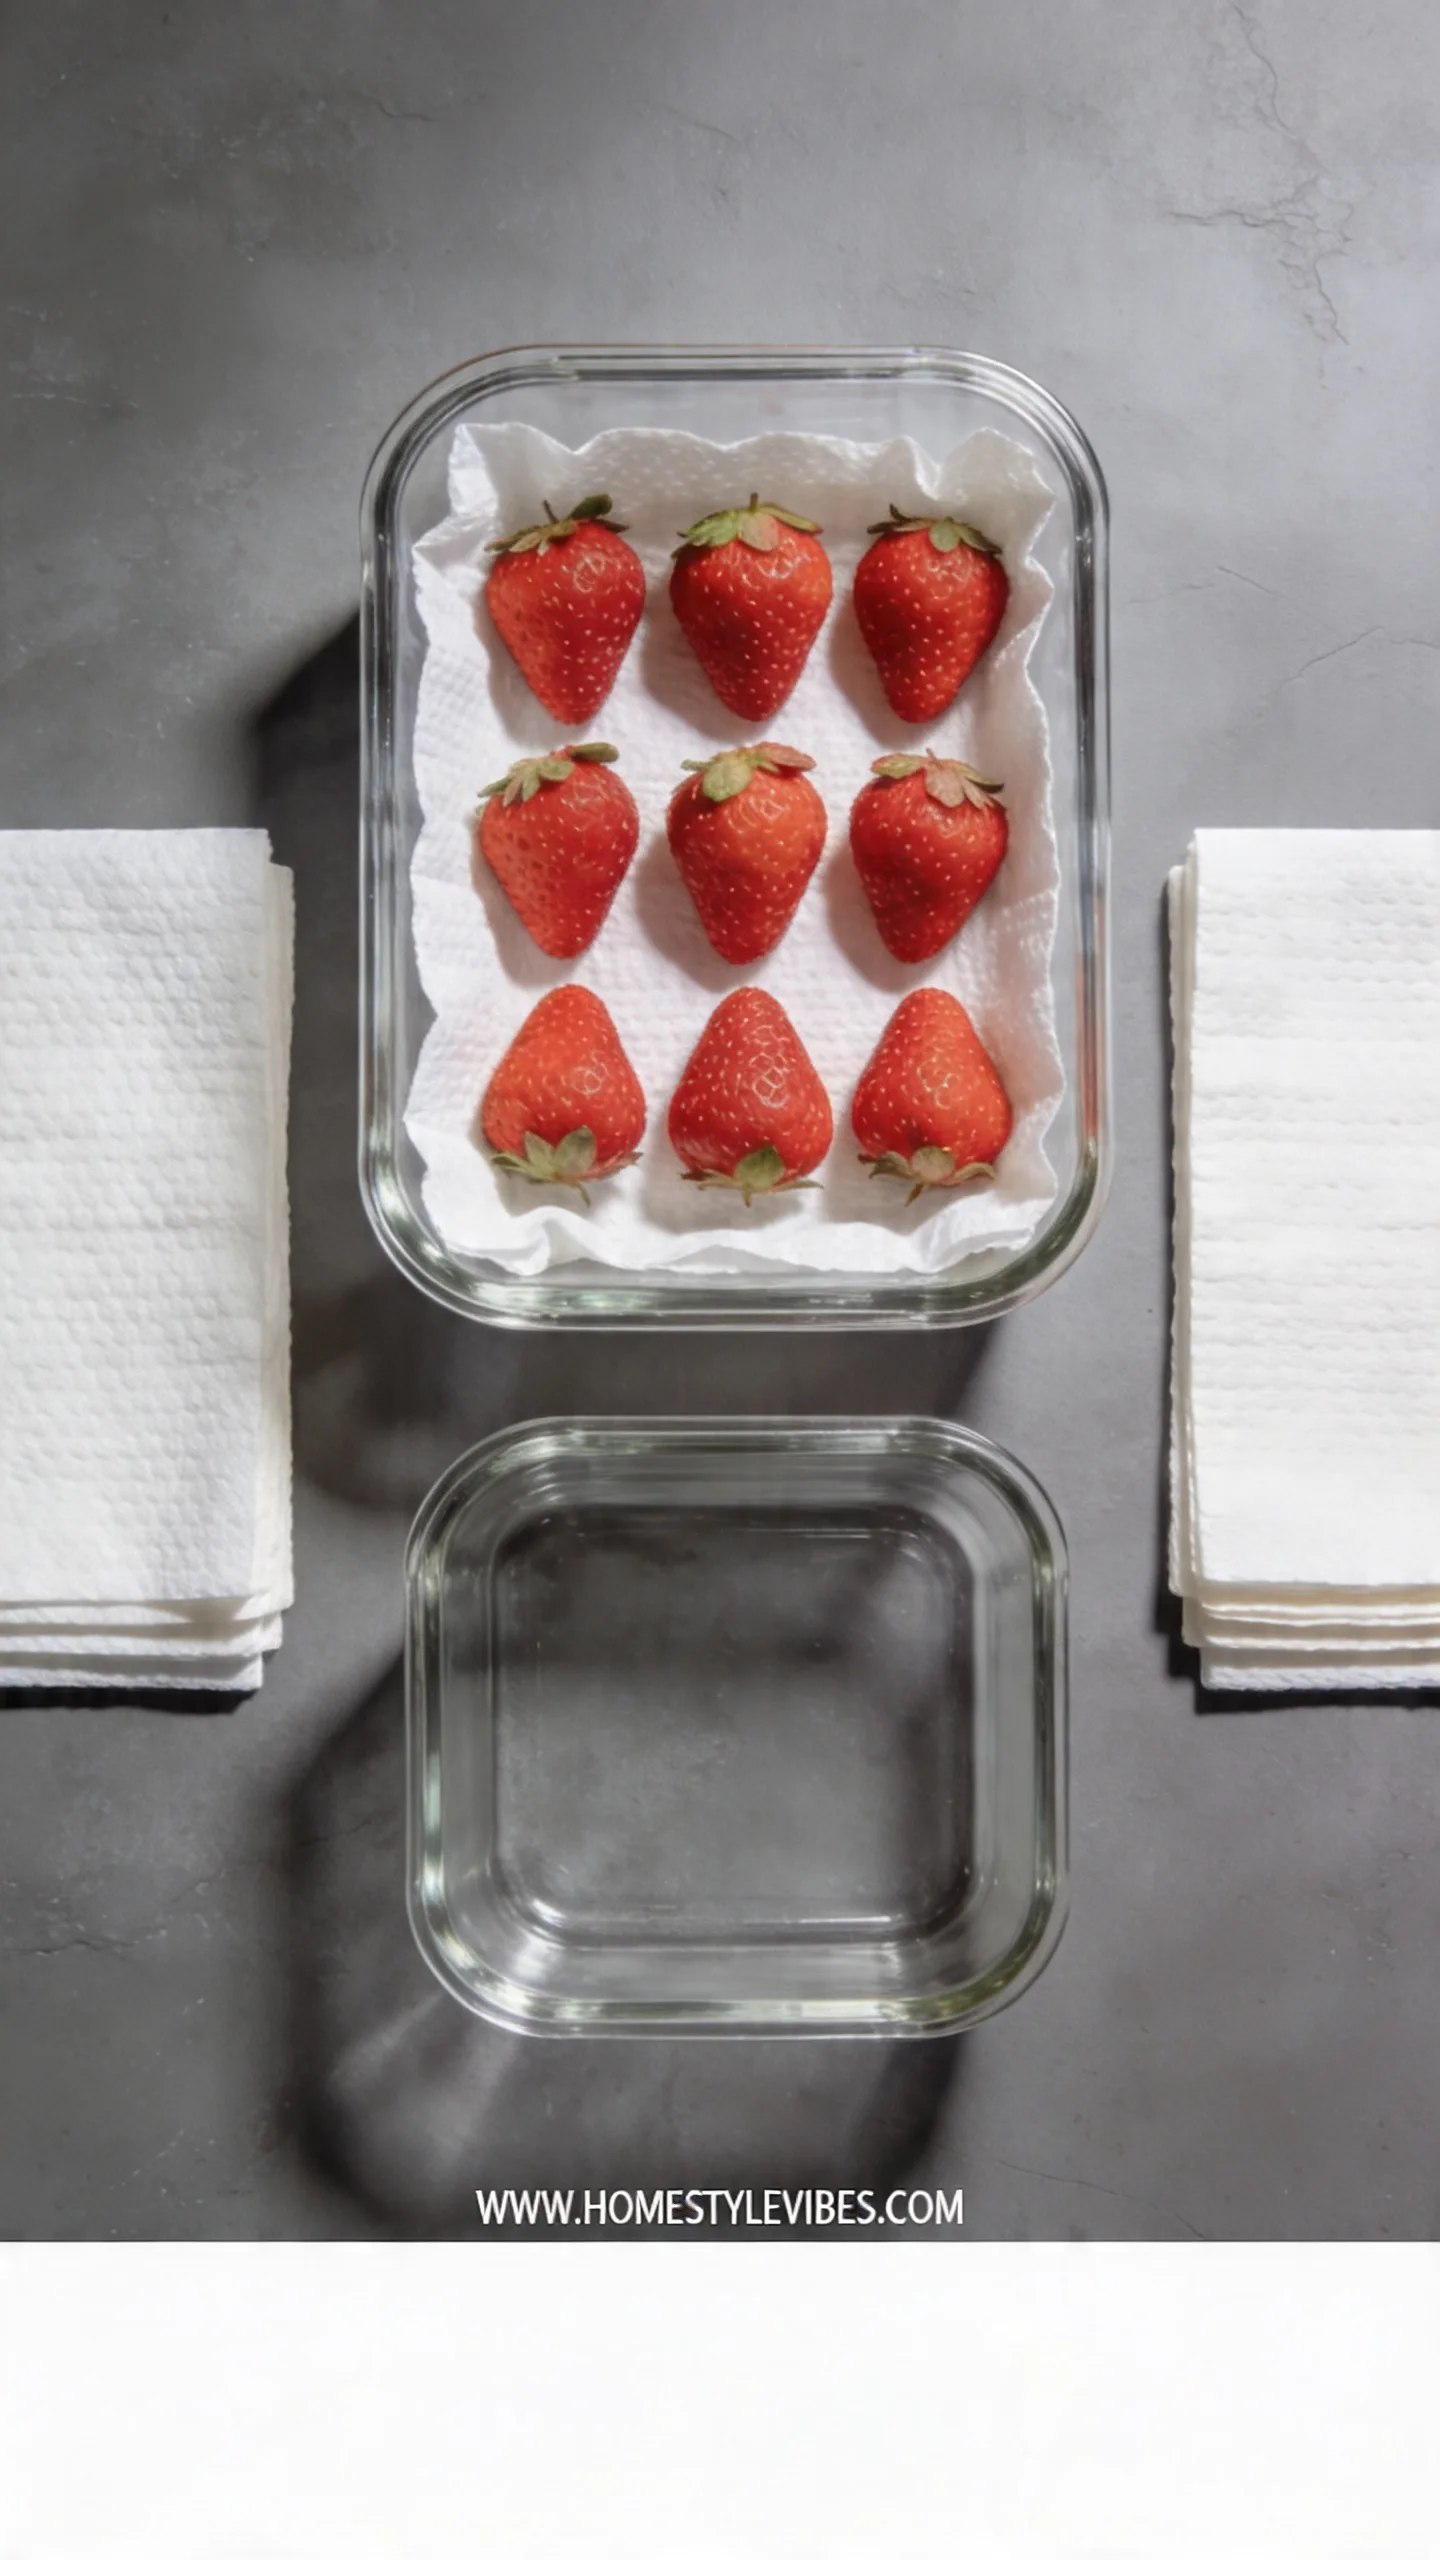
The best way to store after you clean strawberries is simple: line a breathable container with a double layer of paper towels, add a single layer of fully dried berries, and leave the lid slightly ajar or use a vented produce box. Tuck the container into the crisper drawer where temperatures are steady and cool. Replace the paper towels if they get damp. This setup absorbs humidity and cushions the fruit, keeping them plump and fragrant.
If you love prep, portion into small jars with a square of dry towel at the bottom and a loose lid. It keeps snacks ready to grab, and honestly, the pop of red against glass looks gorgeous. For longer storage, freeze correctly: wash, dry thoroughly, hull, then freeze in a single layer on a sheet before transferring to a bag. The frozen berries will feel like frosty marbles — perfect for smoothies.
- Budget-friendly alternative: Reuse takeout soup containers with a small corner of the lid propped open.
- Renter-friendly swap: If your fridge runs humid, add a silica gel produce saver packet designed for fruits.
Reminder: small systems make big results. You don’t need the fanciest produce keeper or specialty sprays. A bowl, a towel, a little patience — that’s the heartbeat of a kitchen that works for your real life.
For Organic and Farmers’ Market Berries: What Changes (And What Doesn’t)
You scored a pint from the Saturday market that smells like sunshine. Now what?
Organic or local berries can still carry dust, soil, and natural microbes from the field. The best way to clean strawberries doesn’t change: vinegar bath, short soak, cold rinse, thorough dry. What does change is timing — market berries are often riper, so be extra gentle and store them in a shallow container to avoid compression. The surface should look dewy right after washing, then matte and velvety once dry.
Flavor matters here. You’ll notice that a light wash preserves their perfume — that wispy, floral scent that feels like warm air and soft grass. If your berries skew super-ripe, plan to eat or freeze within 2–3 days, not a full week.
- Budget-friendly alternative: Buy slightly underripe punnets if you need them to last through the week; they sweeten on the counter for a few hours before chilling.
- Renter-friendly swap: Store market berries on a dinner plate lined with a towel if you’re short on containers.
When to Wash: Right Away vs. Right Before Eating
This is where even seasoned home cooks disagree — but here’s the clarity you’ve been missing.
If you’ll eat the berries within 24–48 hours, wash right away using the vinegar method, dry completely, and store as described. You’ll snack more because the fruit is ready. If you need them to stretch 5–7 days, you have two choices: wash immediately and dry exceptionally well, or sort and spot-clean only the ones you’ll eat in the next day while keeping the rest unwashed in the fridge. The variable isn’t the wash — it’s how perfectly dry and well-ventilated they are afterward.
Micro-moment: it’s Tuesday night, you’re tired, and you just want a sweet bite while the pasta water heats. Washed-ahead berries mean you pop open the container and hear that crisp snap as you bite. Zero friction, pure reward.
- Budget-friendly alternative: Split the batch — half washed for now, half unwashed for later in a paper-towel-lined container.
- Renter-friendly swap: Label containers by wash date with a piece of painter’s tape for easy rotation.
The Do-Not-Use List: What Actually Damages Strawberries
You’ve seen every hack on the internet. Some are great; some are chaos.
Avoid hot water, soaps, and harsh cleaners. Heat softens cell walls and turns texture to cotton. Soaps and detergents can linger in the permeable skin (and no one wants that in a tart). Abrasive scrubs or stiff brushes scratch the glossy exterior and accelerate spoilage. The secret isn’t a stronger cleaner — it’s a gentler process and better drying.
Keep it simple and sensory: strawberries should feel cool, dry, and taut. They should smell like fresh leaves and sugar — not vinegar, not soap. Trust your nose here. Seriously.
- Budget-friendly alternative: If you need extra assurance, use a produce-specific wash that lists mild acids and surfactants — but water + vinegar still wins for cost and performance.
- Renter-friendly swap: If your tap runs warm, let it flow for 10 seconds before rinsing so it’s truly cold.
Step-by-Step: The 10-Minute Clean-and-Store Method
You know the why — here’s the exact how, streamlined for busy weeknights.
1) Mix the Bath
Combine 1 cup white vinegar with 4 cups cold water in a large bowl. The liquid should feel chilly on your wrist. Pouring over ice for a minute, then removing it, boosts the cool factor without diluting the ratio.
2) Soak Gently
Add unhulled strawberries. Swish slowly for 30 seconds, then let them rest for 3–5 minutes. You’ll see tiny bubbles and faint cloudiness — that’s dust and residue lifting.
3) Rinse Thoroughly
Drain into a colander and rinse under cold running water until there’s no scent. Rotate the colander so water reaches the leafy tops and the crease around the seeds.
4) Dry Like You Mean It
Spread berries on a towel-lined tray. Pat, then air-dry until surfaces are matte — about 15–30 minutes. If using a salad spinner with a towel, go for a short, gentle spin.
5) Store Smart
Line a container with paper towels, layer berries in a single level, and keep the lid vented. Slide into the crisper. Replace the towel if damp within two days.
- Budget-friendly alternative: Use a baking sheet with a clean kitchen towel and cover loosely with another towel.
- Renter-friendly swap: If space is tight, stack shallow containers with parchment between layers — just keep the top slightly open.
Quick Checklist
- Use cold water only
- Vinegar ratio: 1 cup vinegar to 4 cups water
- Soak 3–5 minutes, max
- Rinse until there’s zero vinegar scent
- Dry completely before storing
- Store in a vented container
- Keep in a single layer when possible
- Hull only before eating or freezing
- Swap paper towels if they get damp
- Freeze berries flat before bagging
Frequently Asked Questions
Is vinegar really the best way to clean strawberries to remove pesticides?
Yes. A 1:4 vinegar-to-water solution effectively loosens surface residues and reduces microbes without damaging texture. Rinse well to remove any leftover taste and you’ll get cleaner, longer-lasting fruit.
Won’t the vinegar make my strawberries taste sour?
Not if you rinse properly. The soak does the cleaning; the cold rinse removes the vinegar. Dry thoroughly and you’ll taste only fresh strawberry sweetness.
Can I wash strawberries ahead of a party and keep them looking glossy?
Absolutely. Wash the morning of, dry completely, and store vented. Right before serving, hull and pat the cut edges dry for that clean, camera-ready look without moisture pooling.
What if I don’t have vinegar — is saltwater as good?
Saltwater is a solid backup for cleaning and freshness, especially if you rinse thoroughly. For pesticide removal, vinegar tends to perform better overall, but saltwater still improves cleanliness and shelf life.
How do I stop berries from molding in small fridges or humid climates?
Focus on dryness and airflow. Use double paper towels, a shallow container, and a slightly open lid. Replace the towels on day two and keep berries in the crisper, not the fridge door where temps fluctuate.
Bring It Home: Your Strawberries, Cleaner, Safer, and Actually Lasting
The best way to clean strawberries doesn’t require fancy gadgets or complicated products. It’s a gentle vinegar bath, a cool rinse, patient drying, and smart storage. Do this once and you’ll taste the difference — brighter flavor, cleaner bite, and that satisfying firmness that says “I did this right.”
Start small today. Mix the bath, soak for five, rinse, dry, and set them in a vented container. Tomorrow, when you reach for a snack, you’ll meet glossy, ruby berries that feel farmer’s-market fresh. This is how tiny kitchen rituals turn into big everyday wins.
Trust yourself, trust the process, and enjoy the payoff. Your berries will look stunning, taste pure, and last longer — and your future self will thank you every single time you open that fridge.