7 Easy Fall Leaf Crafts For Kids That Turn A Nature Walk Into Art
You want those cozy-bright fall afternoons where the house hums with kid laughter, paper rustling, and a soft amber glow on the table. But you hate the clutter, the mess, and the projects that look amazing online and end in sticky tears at your kitchen island. Picture this instead: a warm, golden light washing over a plaid runner, bowls of real leaves ready to turn into art, and seven kid-ready crafts that feel like a true fall moment — cheerful, abundant, and actually doable. These 7 easy fall leaf crafts for kids promise an hour of calm creativity, under $30 per project, and photos you’ll be proud to post on the family thread.
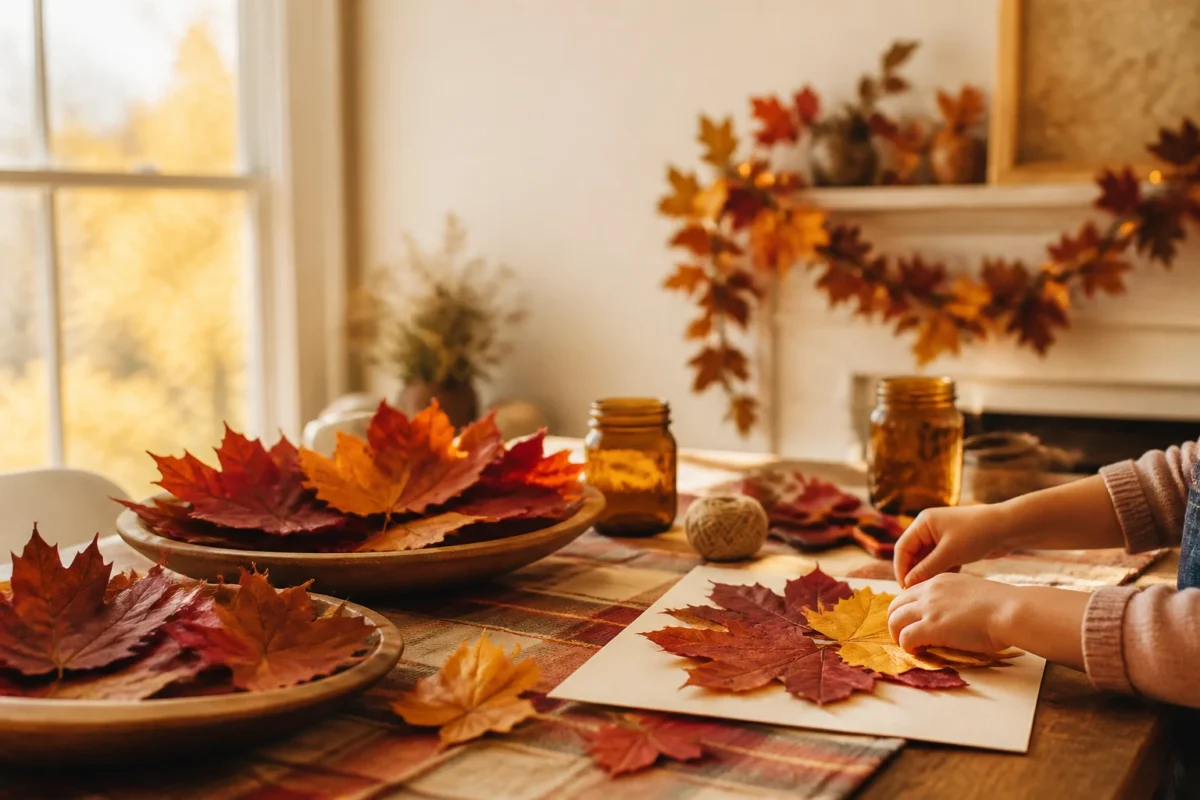
We’re talking saturated rusts and burgundies, amber mason jars catching the sun, maple leaf garlands along your mantel, and that satisfying “we made this” energy. Each idea starts with a nature walk and ends with a piece of homemade decor that looks at home in a cozy bright autumn space. If you’ve got a kitchen table and a handful of leaves, you’re ready. Parents who crave seasonal magic without the mess meltdown? This one’s for you — especially sweet from late September through Thanksgiving.
1. Maple Leaf Collage With Amber Window Light on the Kitchen Table
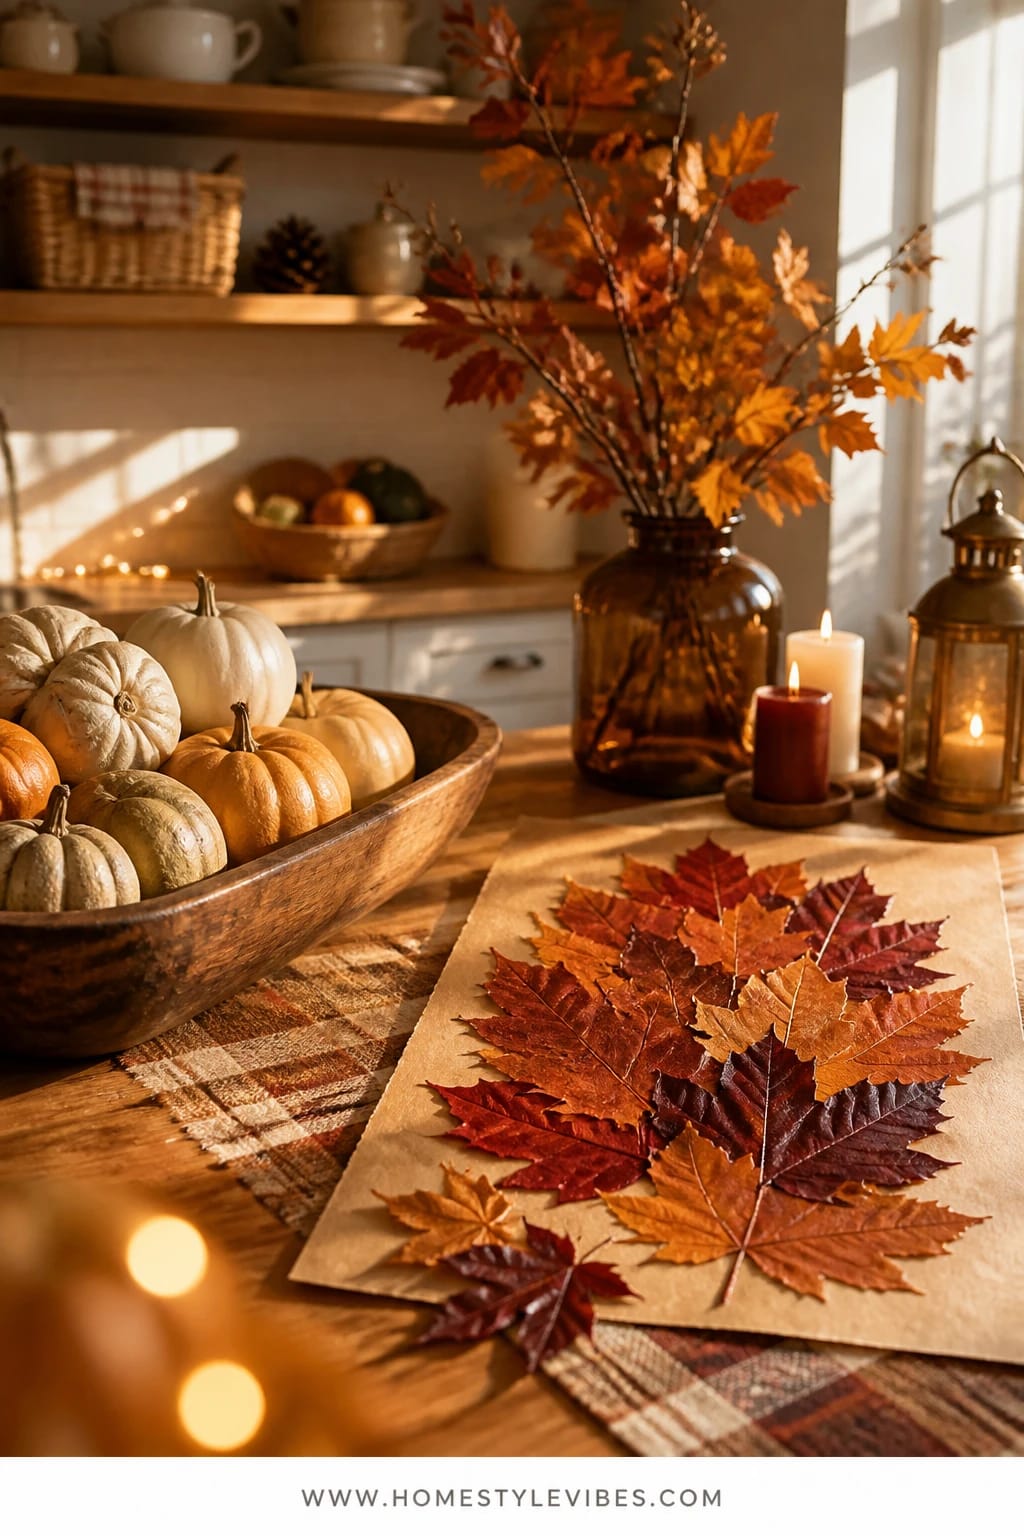
We’ve all been there: you set out crayons and paper, and five minutes later the kids are “over it.” This maple leaf collage flips that script because it’s hands-on, textured, and satisfyingly fast. The mood is cozy bright autumn at its easiest — think warm amber sunlight hitting a kitchen table, a plaid runner underneath, and bowls of real leaves ready to turn into layered art.
Why it works in real homes: you likely already have the supplies. Scrap paper becomes the background, glue sticks keep mess minimal, and the leaves do the heavy lifting with their saturated color. The golden window light makes it feel like a tiny seasonal workshop, and the project stores flat in a folder once you’re done. Bonus: it photographs beautifully because of the color contrast and layered depth — the russet, gold, and burgundy leaves practically glow.
Try a budget-friendly spin by using brown paper grocery bags as your collage base. Or go small-space with 5×7 paper and washi-taped mini collages lining the backsplash. A neutral version? Choose only soft rusts and pale wheat leaves, then mount them on cream cardstock for calm, Scandi-leaning fall energy.
Budget Breakdown:
- Glue sticks: $2–$5
- Cardstock or recycled paper: $3–$8
- Washi tape or painter’s tape for display: $3–$6
- Leaves (from your walk): free
Total Estimated Cost: $8–$19
Best For: Families who want a weeknight craft at the kitchen table with minimal cleanup. Perfect from early October through Thanksgiving as colors intensify outside.
Key Design Elements:
- Main seasonal props: real maple leaves, acorn caps for accents
- Color palette: rust, golden yellow, deep burgundy, warm cream
- Lighting strategy: seat the kids near the window for that “golden hour” glow
- Textile layers: a plaid runner or tea towel under the crafting zone
- Natural elements: a twig or two glued as “stems,” if desired
- Accent details: mason jars for leaf bowls, wooden tray for supplies
How To Recreate This Look:
- Start with a wiped-clean kitchen table and lay down a plaid tea towel as a craft mat.
- Add shallow bowls of leaves sorted by color to make choosing easy.
- Layer leaves onto cardstock, largest to smallest, and glue as you go for natural dimension.
- Place acorn caps or tiny twigs for detail; press gently with a book for 1–2 minutes.
- Style with a simple washi-tape border on the wall or prop on a plate stand near the window.
Why This Looks Expensive: The tightly edited palette (rusts and golds) and generous white space around each collage read curated. Grouping multiples in a line makes it look like an intentional series, not random kid art.
Watch Out: Overloading glue makes leaves curl weirdly. Use thin glue layers and press flat briefly under a book to set.
Pro Styling Tip: For photos, angle the collage toward the window and include a blurred bowl of leaves in the foreground for cozy depth.
2. Oak Leaf Suncatchers With Golden Afternoon Light on the Dining Window
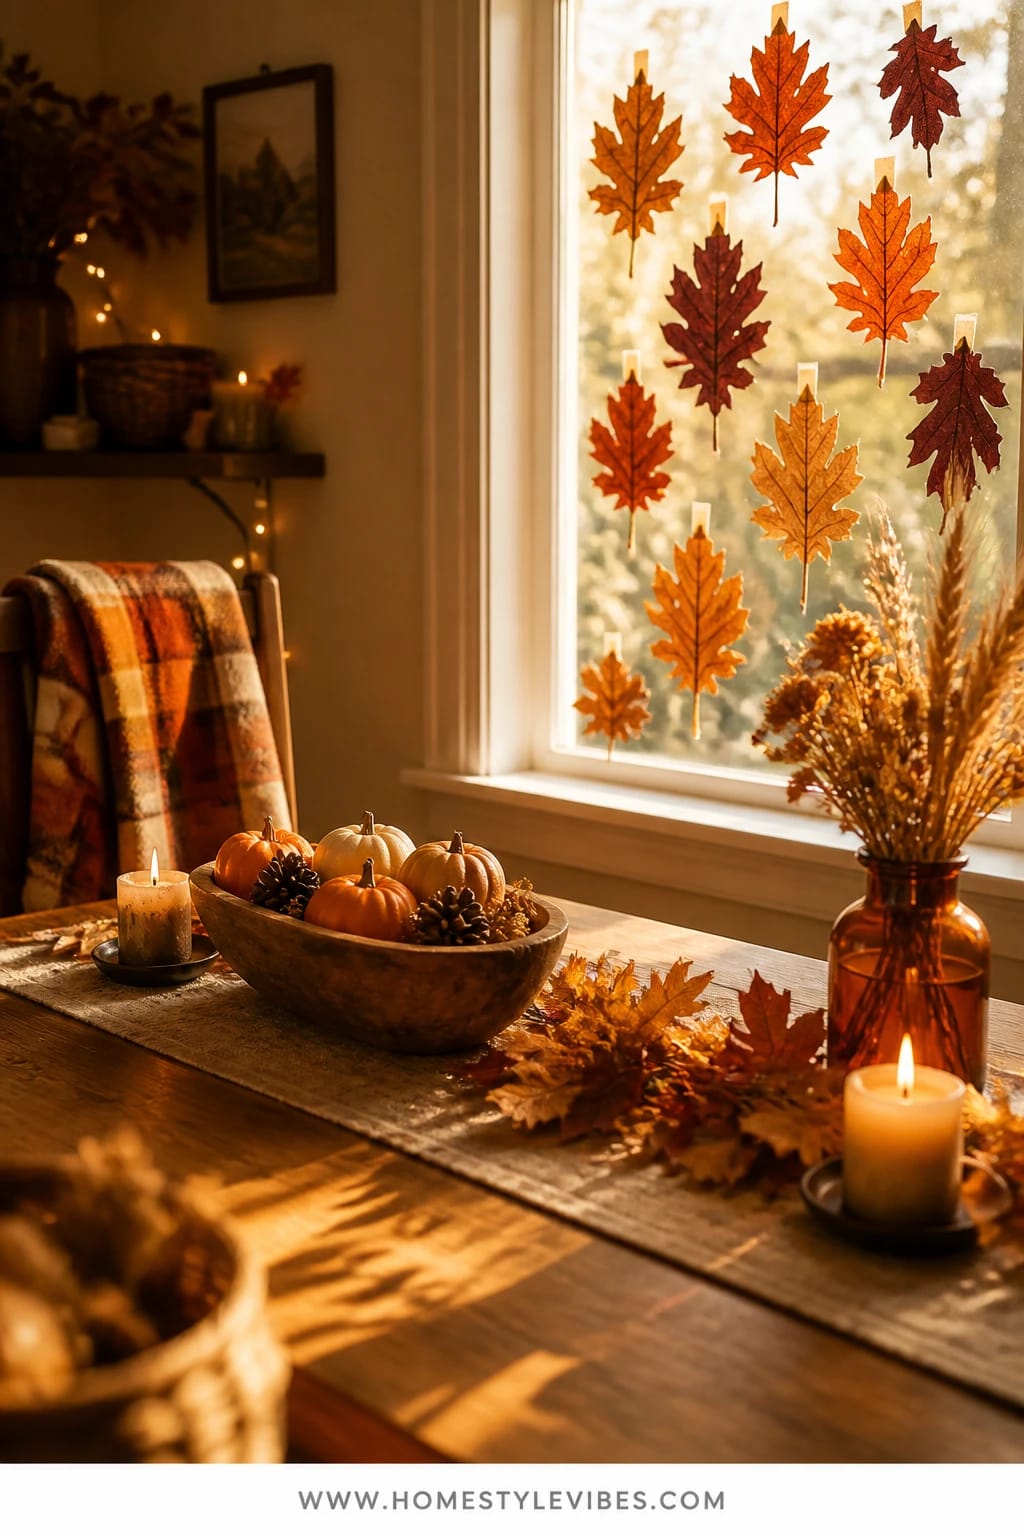
It’s that one corner that always feels off: a dining window that looks bare once the curtains are open. You’ve tried paper snowflakes in winter; for fall, try leaf suncatchers. The mood is pure sunshine — kids sandwich oak leaves between contact paper, and suddenly you have stained-glass vibes throwing warm color across your dining table.
This works because it’s almost zero-mess and tapes right to glass. The light does the wow-factor. In late afternoon, the room glows like honey, and the saturated leaf veins look ultra-detailed. Plus, it stores flat in a folder if you want to reuse next year. Photographs love it: the backlight makes the colors pop, and your table vignette becomes a magazine moment.
Variations: keep it tiny for narrow panes, or make a big circle “wreath” using a paper plate rim as a frame. If your space leans minimal, use only soft amber and wheat-toned leaves, backing them with cream tissue instead of brights for a quieter look.
Budget Breakdown:
- Clear contact paper: $6–$10
- Tissue paper (optional): $2–$4
- Twine or thin ribbon: $2–$5
- Leaves from your walk: free
Total Estimated Cost: $10–$19
Best For: Bright dining rooms or breakfast nooks, especially afternoon-light spaces where the glow swings in strong.
Key Design Elements:
- Main seasonal props: oak and maple leaves, a few fern fronds if you find them
- Color palette: amber, marigold, rust, cranberry
- Lighting strategy: place on the sunniest window; skip heavy drapes while they’re up
- Textile layers: a simple linen runner on the table beneath
- Natural elements: twigs as frames or tiny acorn accents
- Accent details: brass thumbtacks or clear tape to secure
How To Recreate This Look:
- Start by cutting two identical rectangles of contact paper.
- Add leaves face down on the sticky side, arranging a color gradient for impact.
- Layer the second sheet on top, sticky side down, smoothing bubbles as you go.
- Place a cardstock frame or trim into circles; punch holes and tie twine if hanging.
- Style on the window with evenly spaced rows, about a hand’s width apart.
Why This Feels Designer: The repetition and rhythm on the glass mimic high-end seasonal installations. The restraint — just leaves and warm light — looks intentional, not cluttered.
One Thing To Avoid: Don’t overlap leaves too heavily. You’ll lose the translucent effect and end up with dark blobs.
Pro Styling Tip: Photograph in late afternoon at a slight angle so the sun flares softly across one edge — instant warmth.
Take a breath. Crafting with kids isn’t about perfect corners or symmetrical spacing; it’s about choosing an idea that suits your home’s light and the kids’ attention span. If one idea resonates more than the others, that’s your start — the rest can wait until next weekend.
3. Birch Leaf Garland With Candlelit Amber on the Living Room Mantel
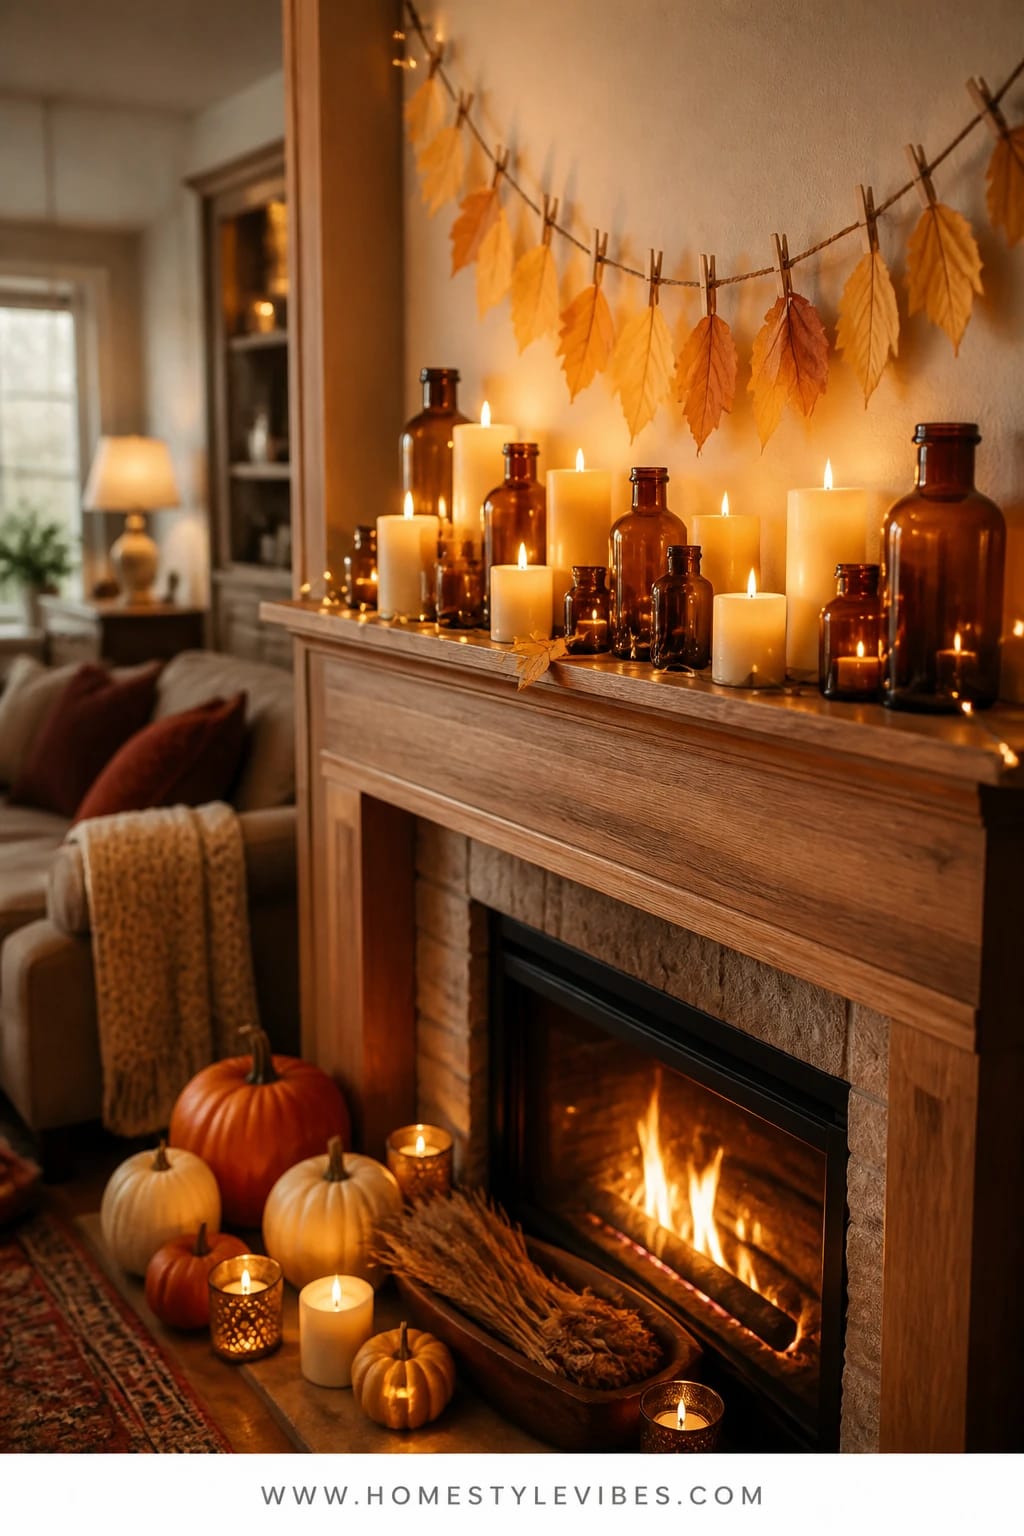
You love the idea of a mantel moment, but garlands tangle, shed, and never seem to sit right. A simple string of pressed birch leaves — light, delicate, and subtle — hangs cleanly and brings texture without chaos. The mood is warm, abundant, and a little nostalgic, especially with amber glass bottles and pillar candles flickering below.
Real-home friendly? Totally. Birch leaves press flat quickly and weigh almost nothing, so a bit of twine and mini clothespins do the job. Easy to store; you can fold it into a book between tissue. Light it with a couple of battery pillar candles on the mantel for that golden shimmer. Photos adore the layered look: leaves across the front, candles at varying heights behind, maybe a small pumpkin cluster at one end for balance.
Variation ideas: do a double strand for a wider fireplace, or keep it minimal with one fine string for a small mantel. For a neutral vibe, pick pale yellow leaves and pair with white pillar candles and a wheat-colored runner.
Budget Breakdown:
- Twine: $3–$6
- Mini clothespins or paperclips: $2–$5
- Battery candles (set of 3): $12–$25
- Amber glass bottles (thrifted or reused): $0–$15
- Leaves: free
Total Estimated Cost: $17–$51
Best For: Living rooms with a mantel or console shelf; great if you want low visual weight but high mood.
Key Design Elements:
- Main seasonal props: delicate birch leaves, mini pumpkins
- Color palette: soft gold, amber, cream, hints of rust
- Lighting strategy: battery pillar candles for steady, warm glow
- Textile layers: a narrow plaid runner or burlap ribbon
- Natural elements: a sprig of eucalyptus or wheat tucked at the ends
- Accent details: brass candleholders for a little sparkle
How To Recreate This Look:
- Start by pressing leaves for a day or two inside a heavy book with parchment.
- Add twine across the mantel, secured with clear hooks or taped discreetly at ends.
- Layer leaves evenly with mini clothespins; mix sizes for a natural rhythm.
- Place candles and amber bottles in an off-center cluster for an asymmetrical balance.
- Style with one or two small pumpkins at the opposite end to counterweight the cluster.
Why This Reads High-End: The light touch — thin garland, minimal color, repeated forms — feels curated. Asymmetry is the designer move that keeps it from feeling store-bought.
The Most Common Mistake: Hanging the garland too taut. Let it dip slightly for a relaxed drape; otherwise it feels rigid and flat.
Pro Styling Tip: Place your brightest candle behind the lowest point of the garland — it backlights the leaves and adds dimension in photos.
4. Crimson Leaf Stamping Under Warm Task Lights on the Crafting Kitchen Island
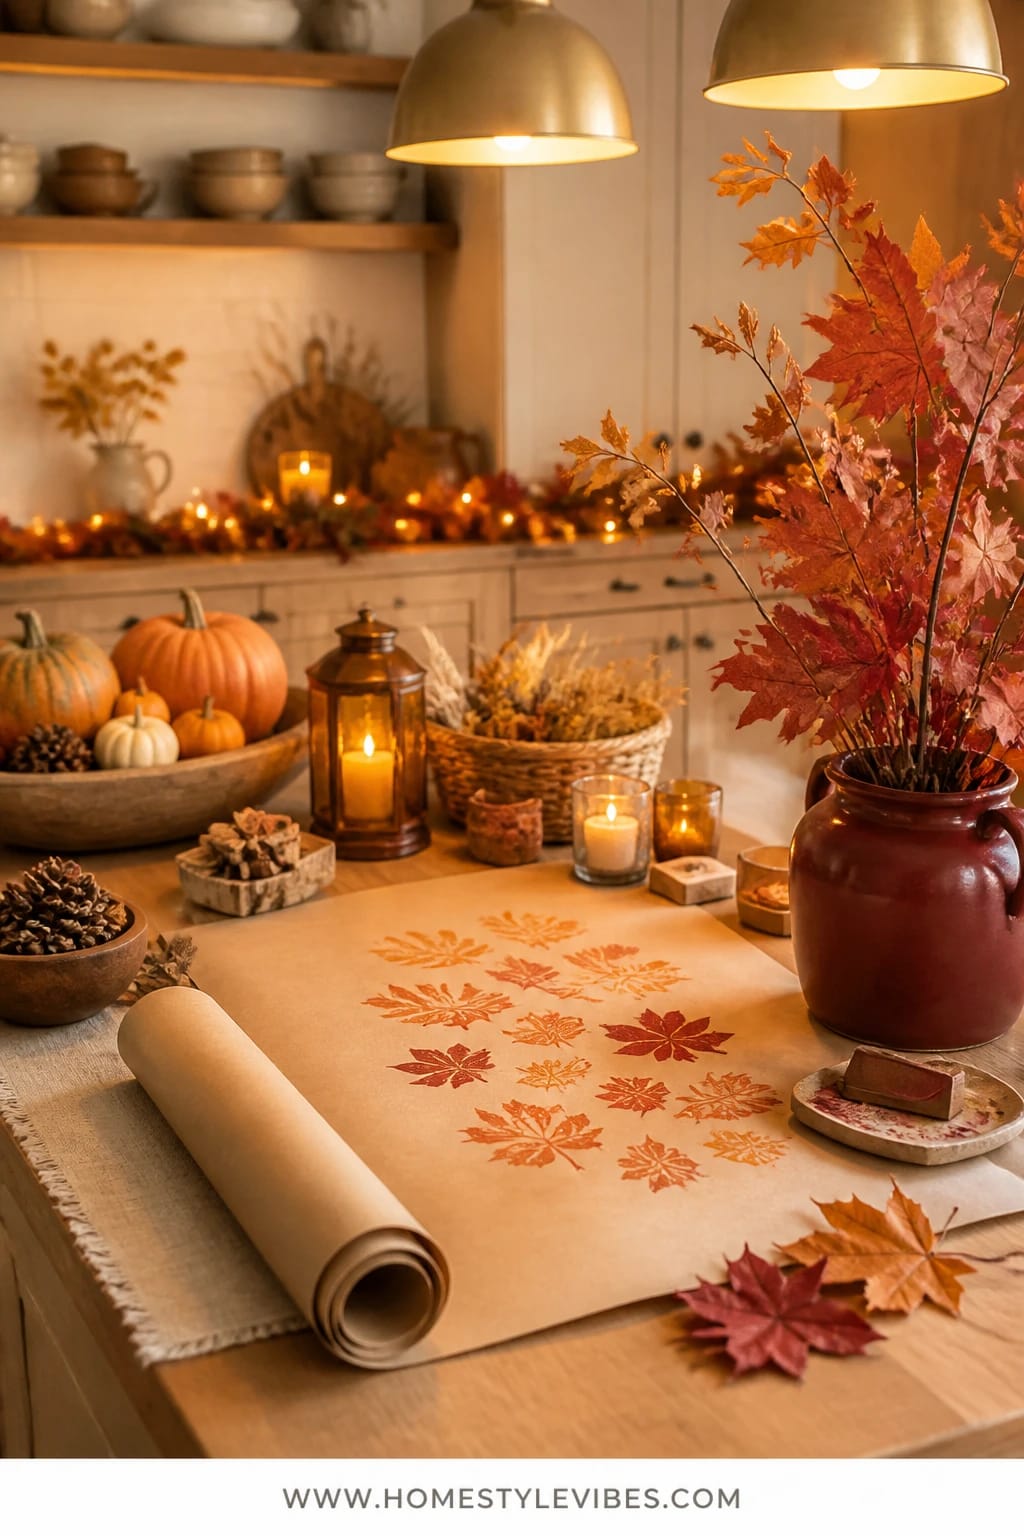
Ever pull out paint and immediately regret it? Sticky sleeves, splotches on the chairs, chaos. Leaf stamping is paint with training wheels: kids paint the underside of a leaf, press it, lift with a wow. The mood feels bustling and creative — a true fall workshop under your kitchen’s task lights — but still contained.
It works in real homes because you control the palette. Stick to rusts, cranberry, and mustard to stay in that cozy bright lane. A roll of kraft paper under everything becomes both workspace and instant gift wrap. Stamped prints make cards, place settings, or mini art for the fridge. Photography tip: the texture of the leaf veins prints like a dream; close-ups look high craft for basically no effort.
Variations: use sponge daubers for smaller kids; do metallic accents with a single swipe of bronze paint for older kids. If you’re low on storage, stamp onto a single long runner you’ll use all season on the dining table.
Budget Breakdown:
- Washable craft paint (3–4 fall tones): $8–$15
- Kraft paper roll: $5–$12
- Small paintbrushes or sponge daubers: $4–$8
- Cardstock or blank cards: $4–$10
- Leaves: free
Total Estimated Cost: $21–$45
Best For: A weekend craft on the kitchen island with good cleanup access and barstool seating for little artists.
Key Design Elements:
- Main seasonal props: broad leaves for clean prints (maple, sycamore)
- Color palette: cranberry red, mustard, rust, pumpkin orange
- Lighting strategy: bright task lights above the island for crisp detail
- Textile layers: dish towels designated as “paint towels” (choose oxblood or rust ones to hide stains)
- Natural elements: collected leaves with defined veins
- Accent details: enamel trays to corral paint and brushes
How To Recreate This Look:
- Start by taping down kraft paper to the island as your work mat.
- Add a limited paint palette in shallow plates; set a “rinsing” cup and towels.
- Layer paint on the leaf underside with a brush; press onto paper, vein-side down.
- Place clean prints on a cooling rack to dry flat; rotate through kids for turns.
- Style final prints as placemats or cut-and-fold cards for the week’s dinners.
Why This Looks Intentional: Limiting to 3–4 saturated colors keeps things cohesive. Repeat the same leaf shape across multiple items and you’ll get that pulled-together look instantly.
Don’t Do This: Avoid heavy paint globs. They smudge and blur the vein detail — thin coats give the prettiest prints.
Pro Styling Tip: For a Pinterest-ready shot, scatter a few unpainted leaves and one open paint pot near the finished print to tell the “in-progress” story.
Quick reminder: you don’t need a craft room. You need one flat surface and a plan for where projects will dry. A dish rack, a spare sheet pan, or the top of the bookcase all work — choose what your home can quietly hold.
5. Gilded Leaf Place Cards in Amber Mason Jars on the Dining Table
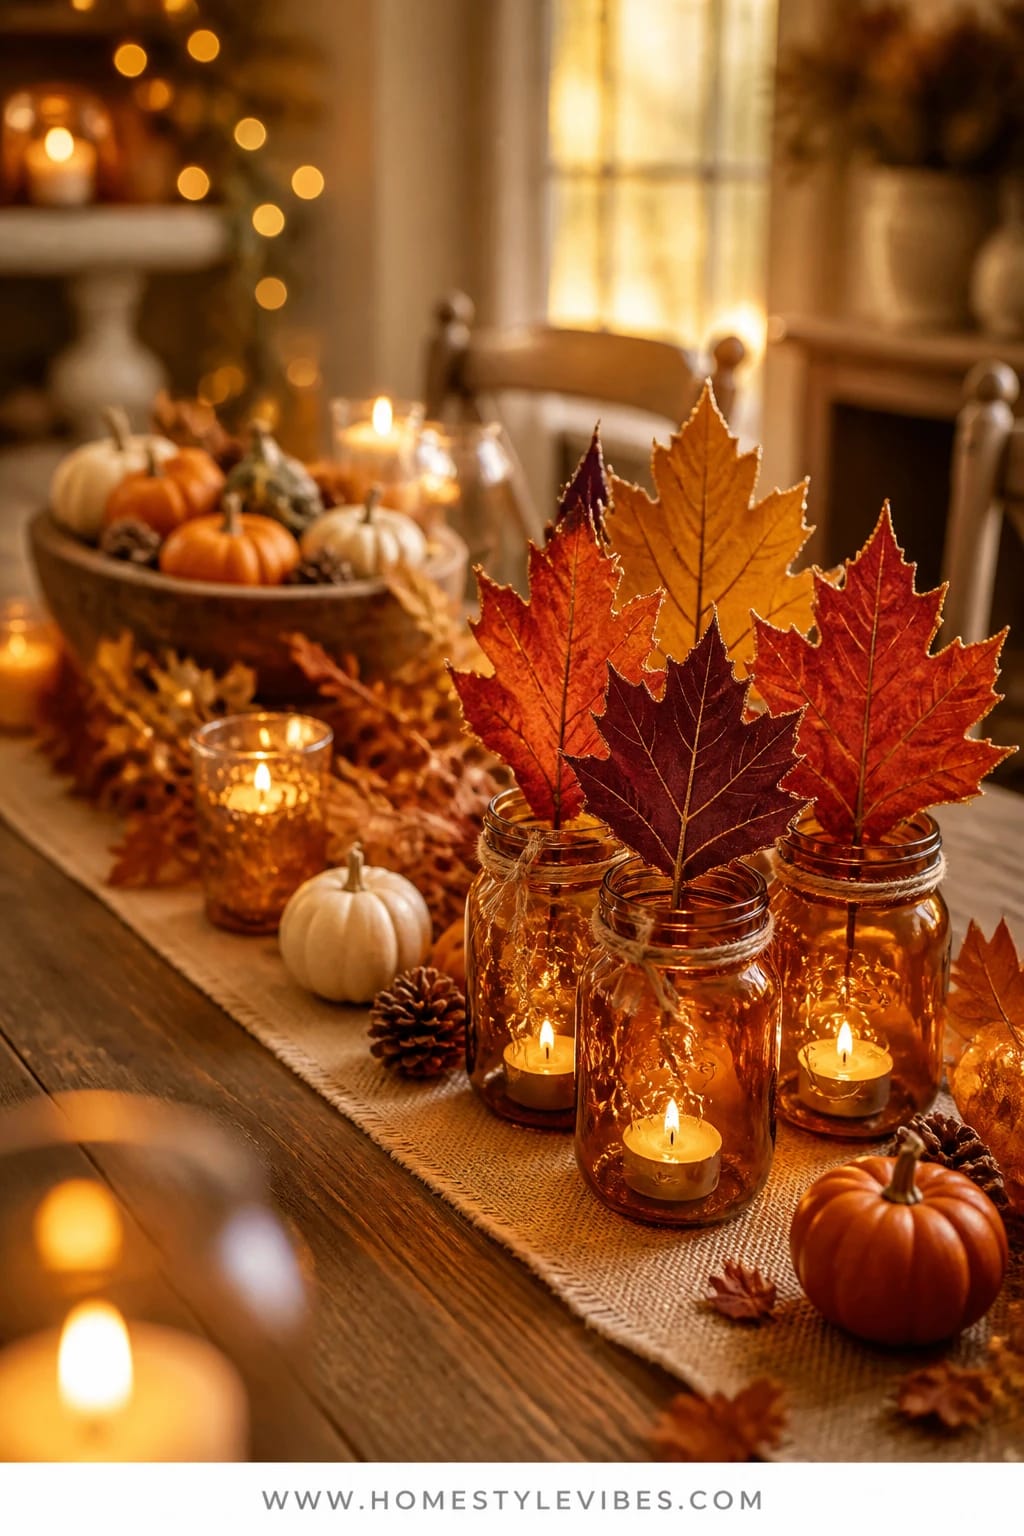
Hosting jitters are real. The table feels bare, but a full centerpiece is too much with kids and spaghetti. Enter: leaf place cards perched in amber mason jars with a single tea light. It’s tiny scale, big glow — perfect for weeknight dinners that feel a touch special.
The mood leans classic cozy bright: small flames, glass catching the light, a bit of gold leaf or metallic pen on the leaf edges for a subtle sparkle. It works beautifully for real families because each jar is a self-contained vignette — no sprawling centerpiece to knock over. At cleanup, lids on the jars keep the dust away, and the leaves tuck into a book for next year.
Variations: use battery tea lights for absolute peace of mind, or swap amber jars for clear mason jars with a ribbon in rust plaid. If you’re a neutrals person, keep the metallic to a thin champagne edge and choose pale tan leaves only.
Budget Breakdown:
- Mason jars (set of 6): $10–$16
- Tea lights (real or battery): $5–$12
- Gold paint pen or metallic marker: $3–$6
- Cardstock strips for names: $2–$4
- Leaves: free
Total Estimated Cost: $20–$38
Best For: Dinner tables with little hands and limited space; weeknight family meals or casual friendsgiving.
Key Design Elements:
- Main seasonal props: oak or maple leaves with strong stems
- Color palette: amber glass, warm gold, cream, soft rust
- Lighting strategy: a low line of candles to keep sightlines open
- Textile layers: a simple cream runner with a narrow plaid ribbon down the center
- Natural elements: a sprinkle of acorns or wheat heads around jar bases
- Accent details: handwritten name tags tied with twine
Why This Looks Expensive: The repetition of identical jars creates ceremony. That thin metallic edge reads luxe, especially when it catches candlelight. It’s the restraint — same jar, same candle — that sells it.
How To Recreate This Look:
- Start by choosing leaves with intact stems; press for a day for slight flattening.
- Add a thin metallic edge outline with the paint pen; let dry 10 minutes.
- Layer a tea light into each jar; tie a small place card around the neck with twine.
- Place one leaf per jar, stems tucked under the twine or propped inside the rim.
- Style the jars evenly along the runner, spacing a hand’s width apart.
One Thing To Avoid: Don’t crowd the jars. Negative space lets the glow breathe and keeps wax heat away from dry leaves if using real candles.
Pro Styling Tip: Photograph from kid-height; the horizon line of amber jars and tiny flames looks storytelling-rich from that lower angle.
6. Rust Leaf Rubbing Gallery on the Hallway Wall With Warm Lantern Light
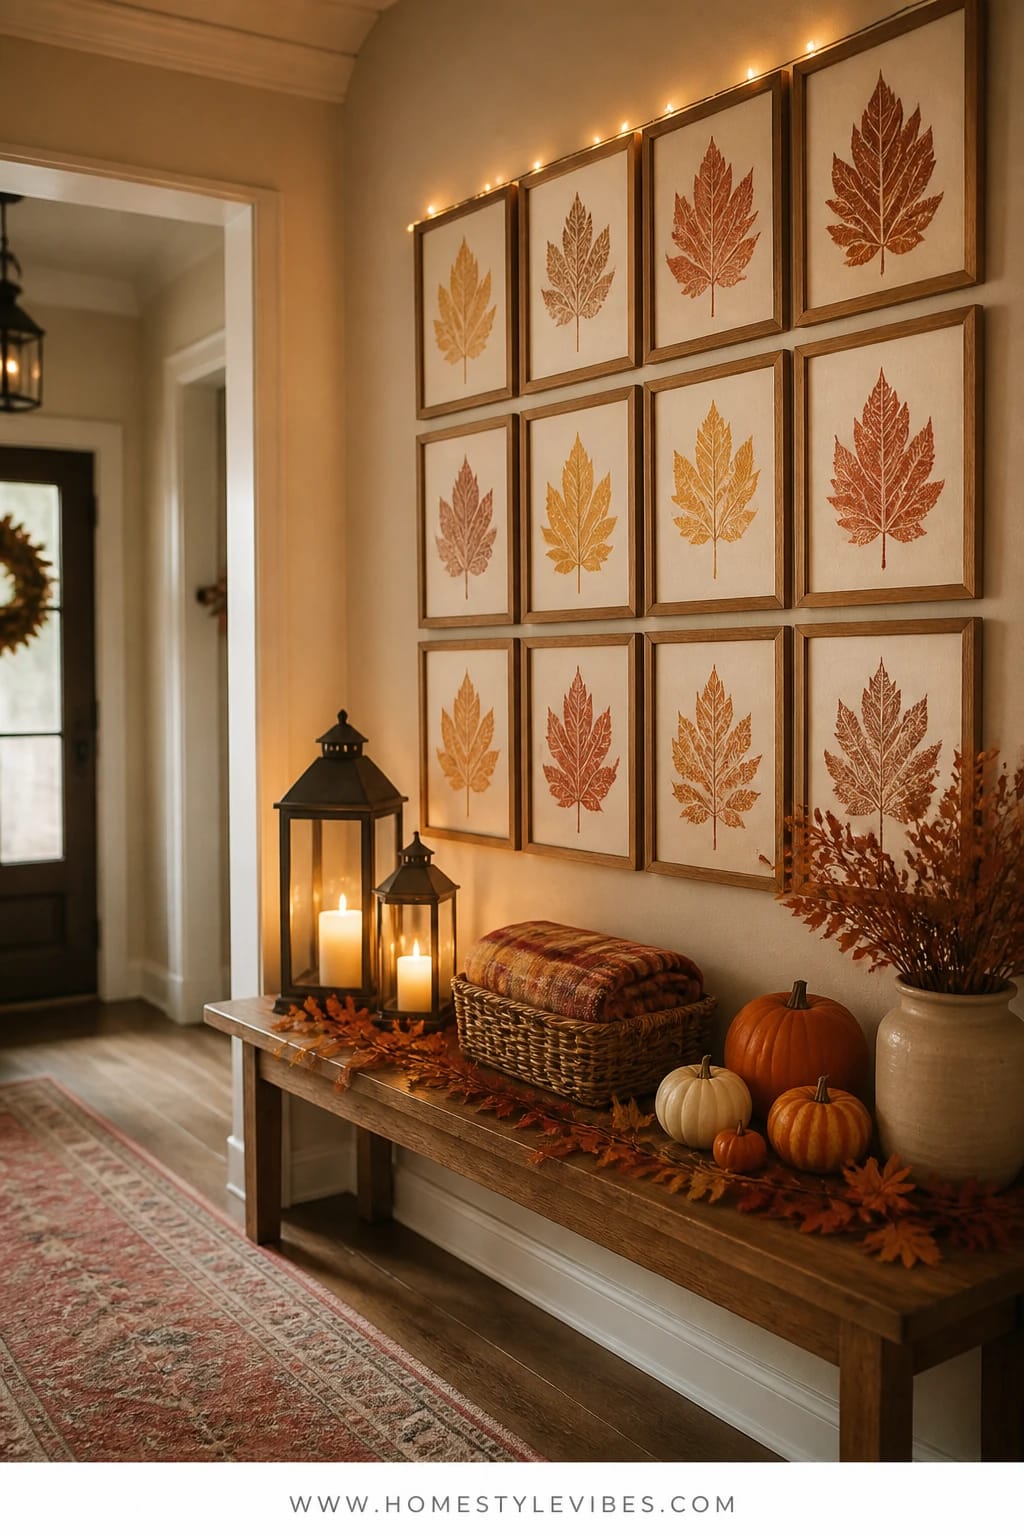
Hallways can feel like dead space — just a pass-through. Turn it into a gallery of leaf rubbings the kids make themselves. Remember the thrill of watching veins appear under a crayon? Same magic, new palette: rust, burgundy, mustard, and soft brown on cream paper. The vibe is playful-meets-polished once you hang them in a grid.
This idea thrives in real homes: materials are basic (paper and crayons), the mess is minimal, and the finished art is flatter-than-flat — super easy to display with painter’s tape or magnetic frames. Lighting matters here. A warm wall lantern or a plug-in sconce gives a gentle golden wash that makes the colors richer and shadows softer. Photographs pop because of the repetition and tidy grid layout.
Variations: tiny 4×6 rubbings for a petite gallery or oversized 11×14 sheets if you have a long wall. For a neutral read, try soft tan crayons on off-white paper — tonal and calming.
Budget Breakdown:
- Crayon set (fall tones): $3–$6
- Drawing paper or sketch pad: $4–$10
- Painter’s tape or washi tape: $3–$6
- Optional plug-in sconce or lantern: $20–$40
- Leaves: free
Total Estimated Cost: $10–$62
Best For: Narrow halls or stair landings where you want personality without protruding decor.
Key Design Elements:
- Main seasonal props: a mix of leaf shapes for pattern variety
- Color palette: rust, mustard, cranberry, chocolate brown
- Lighting strategy: a single warm wall light or lantern to soften shadows
- Textile layers: none needed — let the paper texture shine
- Natural elements: pressed leaves used as stencils tucked into a nearby bowl
- Accent details: slim black or wood-tone frames if you want permanence
How To Recreate This Look:
- Start by placing a leaf vein-side up on a hard surface; cover with paper.
- Add the crayon on its side, rubbing gently to build the leaf’s shape and veins.
- Layer multiple leaves per page or keep one per sheet for a cleaner gallery.
- Place finished pieces under a book for 10 minutes to flatten rolls.
- Style in a grid with even spacing; if framing, choose identical frames for unity.
Why This Looks Intentional: A consistent border margin and even spacing are the secret. Even kid-art feels gallery-worthy when it’s hung like it matters.
Watch Out: Don’t skip the flattening step; paper curl ruins the crisp gallery look and pops tape off the wall.
Pro Styling Tip: When photographing, step back so you capture the entire grid with a sliver of the lantern glow entering frame from one side.
Real talk: I once built a hallway gallery and realized the “meh” wasn’t the art; it was the cold light bulb. I swapped in a warm 2700K bulb, and suddenly the rubbings looked rich and cozy. Lighting isn’t an accessory — it’s the ingredient.
7. Harvest Leaf Keepsake Clay Ornaments With Soft Lamp Light on the Family Room Coffee Table
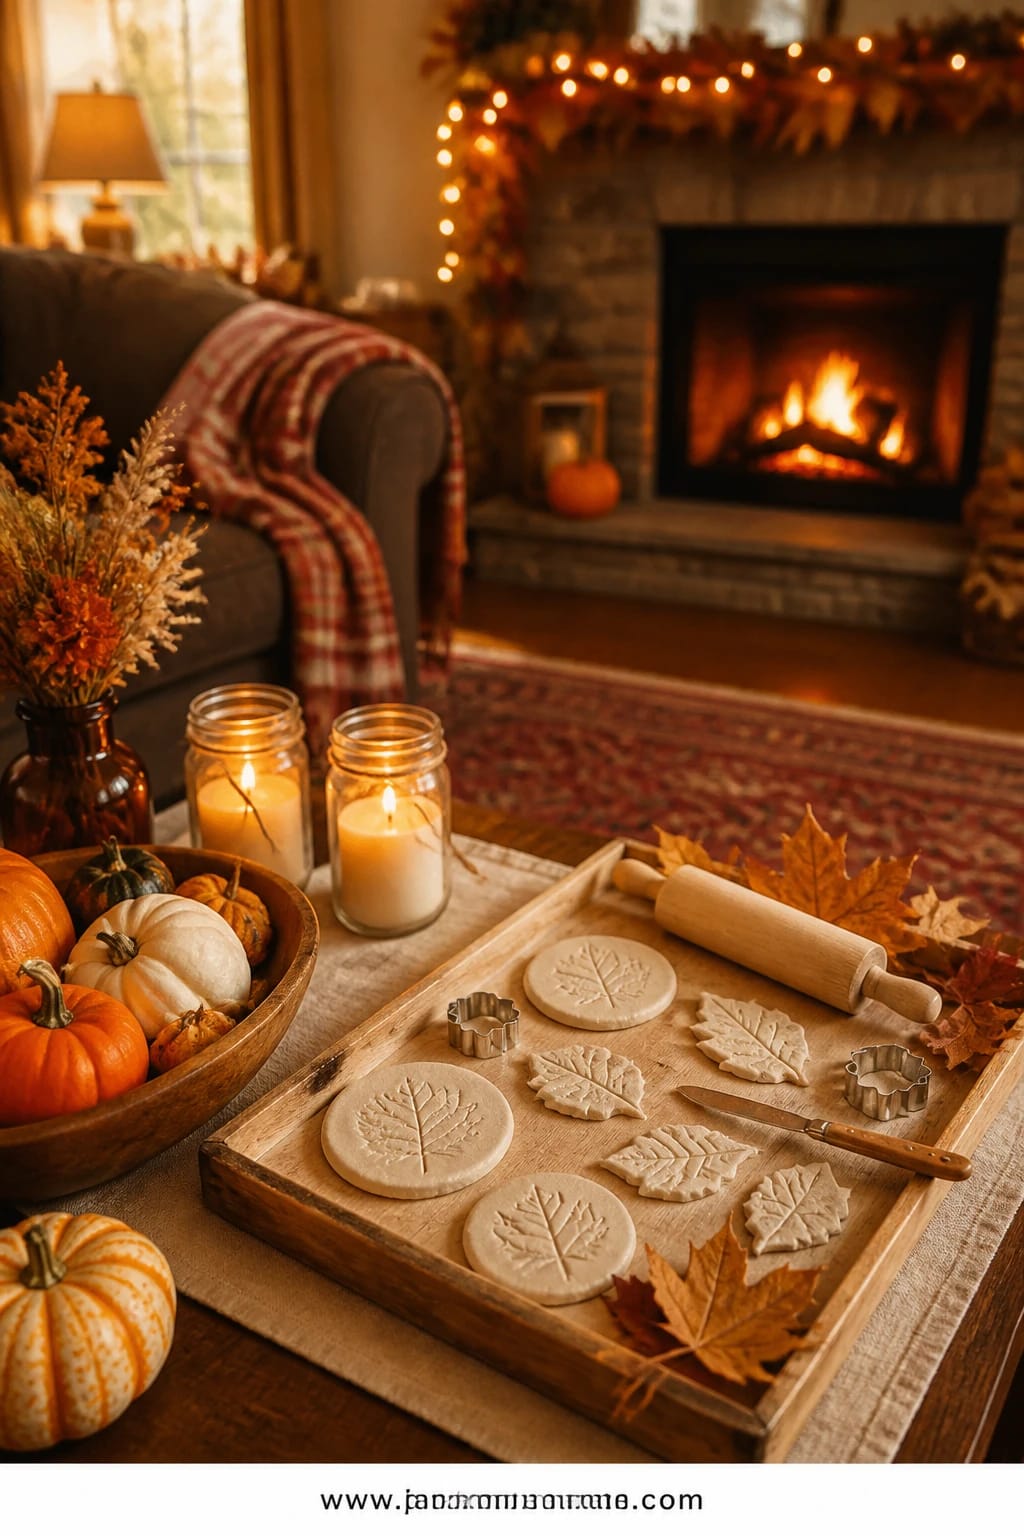
End-of-season energy can get wobbly — kids are wired, you’re tired, and the décor feels scattered. A slow craft on the coffee table under a soft lamp, with everyone pressing leaves into air-dry clay, is the reset. The mood is calm and connected. You’re making small keepsakes that come back out every year, with the kids’ chubby-hand fingerprints literally part of the texture.
It works in any family room because you only need a tray to contain it. Air-dry clay is tidy, presses beautifully with strong-vein leaves, and dries on a side table without being underfoot. You can thread them on twine for a mini garland, stack them in a bowl, or tie one to each bedroom door knob. Photographs love the matte clay next to the glossy leaf impression — simple and tactile.
Variations: add letter stamps for names and dates, or paint a thin wash of rust watercolor into the veins once dry for contrast. If your palette leans neutral, leave the clay unpainted and finish with natural twine only.
Budget Breakdown:
- Air-dry clay (1 lb): $8–$12
- Rolling pin or bottle: free if you use a jar
- Twine: $3–$6
- Small letter stamps (optional): $6–$12
- Leaves: free
Total Estimated Cost: $11–$30
Best For: A cozy Sunday afternoon project in the family room; great for keepsakes or grandparent gifts.
Key Design Elements:
- Main seasonal props: clay discs with leaf impressions
- Color palette: warm white clay, soft rust wash, natural twine
- Lighting strategy: a single table lamp for mellow, even light
- Textile layers: a wool throw on the sofa and a plaid coaster under your cider mug
- Natural elements: strong-vein leaves like oak, birch, or fern
- Accent details: a shallow wooden tray to corral tools and finished pieces
How To Recreate This Look:
- Start by rolling clay to 1/4-inch on parchment set on a tray.
- Add a leaf vein-side down and press firmly with your palm for a clear imprint.
- Layer a cookie cutter to create a clean circle; remove leaf; poke a hole at top with a straw if hanging.
- Place pieces on the tray to dry 24–48 hours; rotate halfway for even drying.
- Style with twine through the holes or stack in a bowl on the coffee table.
Why This Looks Expensive: Matte texture plus restrained color equals artisan. The embossed detail reads like boutique ceramics, even though it took minutes.
The Most Common Mistake: Rolling too thin. Thin clay warps as it dries. Stick to 1/4-inch and dry on a flat, breathable surface.
Pro Styling Tip: For photos, sprinkle a few loose leaves around the tray and crack a window — that hint of daylight softens the lamp light and brings out the clay texture.
Remember, this isn’t about recreating a showroom. It’s about building a cozy bright autumn rhythm that belongs to your family — one leaf, one little project, one warm light at a time.
Quick Checklist
- Collect leaves in varied sizes and colors
- Press leaves between parchment and books
- Pick a 3–4 color palette and stick to it
- Set up a protected crafting surface (tea towel or kraft paper)
- Choose kid-safe adhesives and paints
- Use warm light bulbs (2700K) for cozy glow
- Plan drying space before you start
- Display art in repetition for a pulled-together look
- Photograph near windows for rich, warm color
- Store finished pieces flat in a folder for next year
Frequently Asked Questions
How can I keep the cost down on these fall leaf crafts for kids?
Use what you already own: brown paper bags for collage bases, repurpose jars, and borrow paint from the kids’ art bin. Limit your palette to 3–4 colors so you don’t buy extra. Most of the “wow” comes from the leaves and warm light, not pricey supplies.
Are real leaves better than faux for these projects?
For these specific crafts, real leaves win IMO. They press flatter, the veins stamp better, and the colors shift beautifully in the light. If you need longevity (like for year-after-year garlands), press and laminate real leaves or use high-quality faux only for garlands.
What if I have a small space — where do I dry everything?
Use vertical surfaces: a fridge side with magnets for suncatchers, a hallway wall for taped rubbings, or a dish rack for prints. A spare baking sheet under a bed works in a pinch. Pick one project at a time so you’re not drowning in drying art.
How do I store these pieces after the season?
Flat is best. Slip collages and rubbings into a large envelope or portfolio. Coil garlands between tissue inside a shallow box. Clay ornaments can stack with parchment between layers. Label the box “Fall Kid Art” and stash it with seasonal decor.
Are candles safe around kids and dried leaves?
Use battery tea lights when kids are within reach or when leaves hang close to flames. If you love real flame, keep jars spaced, trim wicks short, and never leave them unattended. The warm look is the goal — you can get that with battery lights too.
When should we start these crafts during the season?
Begin as soon as leaves have good color, usually late September. The stamping and collage projects are fun early-season; keepsake clay ornaments and place card jars feel special closer to Thanksgiving.
Here’s Your Cozy Finish
Pick one idea and set it up this week — just one. Maybe it’s the maple leaf collage at the kitchen table or the gilded leaf jars for Friday night pasta. You’ll get that cozy bright autumn glow the moment the kids dig into a bowl of leaves and the paper starts to rustle.
The secret isn’t complicated supplies — it’s warm light, a restrained fall palette, and repeating simple elements so your home looks intentionally seasonal. Layer in texture, keep the mess contained, and let the rich russets and ambers do their job. Your house will feel like fall because it will smell like glue sticks and cider, look like sunshine on leaves, and sound like small voices saying, “I made this.”
You’ve got this. Tie on the plaid tea towel, crack the window to let in that cool October air, and turn your next nature walk into art you’ll love living with.

About the Author

Krisztina P.Rendes, Founder of Home Style Vibes
Founder of Home Style Vibes
Krisztina Puskásné Rendes created Home Style Vibes as a cozy-modern lifestyle space where homemaking meets inspiration. Her goal is to help women create beautiful, organized, and peaceful homes they truly love — without overwhelm. You’ll find here heart-driven content on home decor, cleaning tips, easy family recipes, organization and decluttering, DIY home projects, plants, and seasonal ideas — all designed to bring more calm, comfort, and style into everyday life.