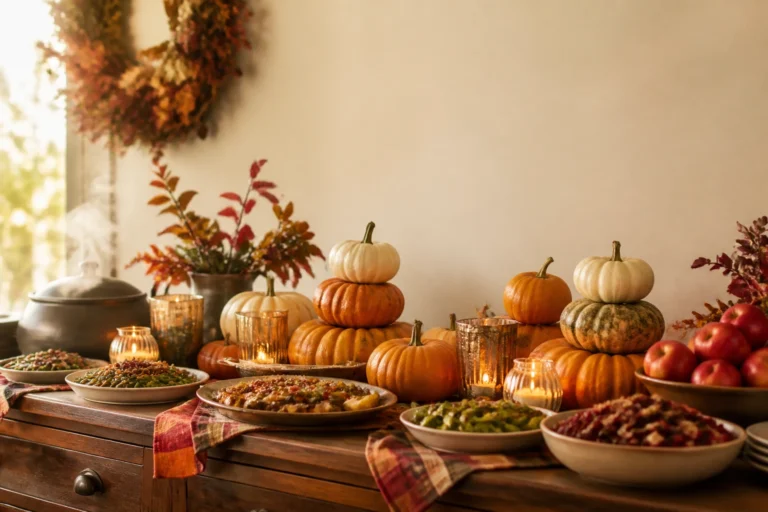
5 Fall Herb And Companion Planting Ideas For A Thriving Autumn Garden
You want a lush, fragrant fall garden bed that actually produces—fresh herbs snipped at dusk, tidy greens that don’t flop, and little pockets of color that look Pinterest-ready. But your reality? Patchy soil, herbs that bolt or sulk after summer, and pests that treat your parsley like a salad bar. You crave that glowing, golden-hour aesthetic—coppery sunlight on feathery dill, marigolds tucked between basil, the quiet rustle of dried seed heads—but you’re over guesswork. These 5 herb and companion planting ideas will help you build a thriving autumn garden that looks abundant, smells incredible, and feeds both your plate and your soul, all on a realistic budget and timeline. Expect vibrant color, smart pairings that reduce pests, and an easy weekly rhythm: plant, snip, savor.
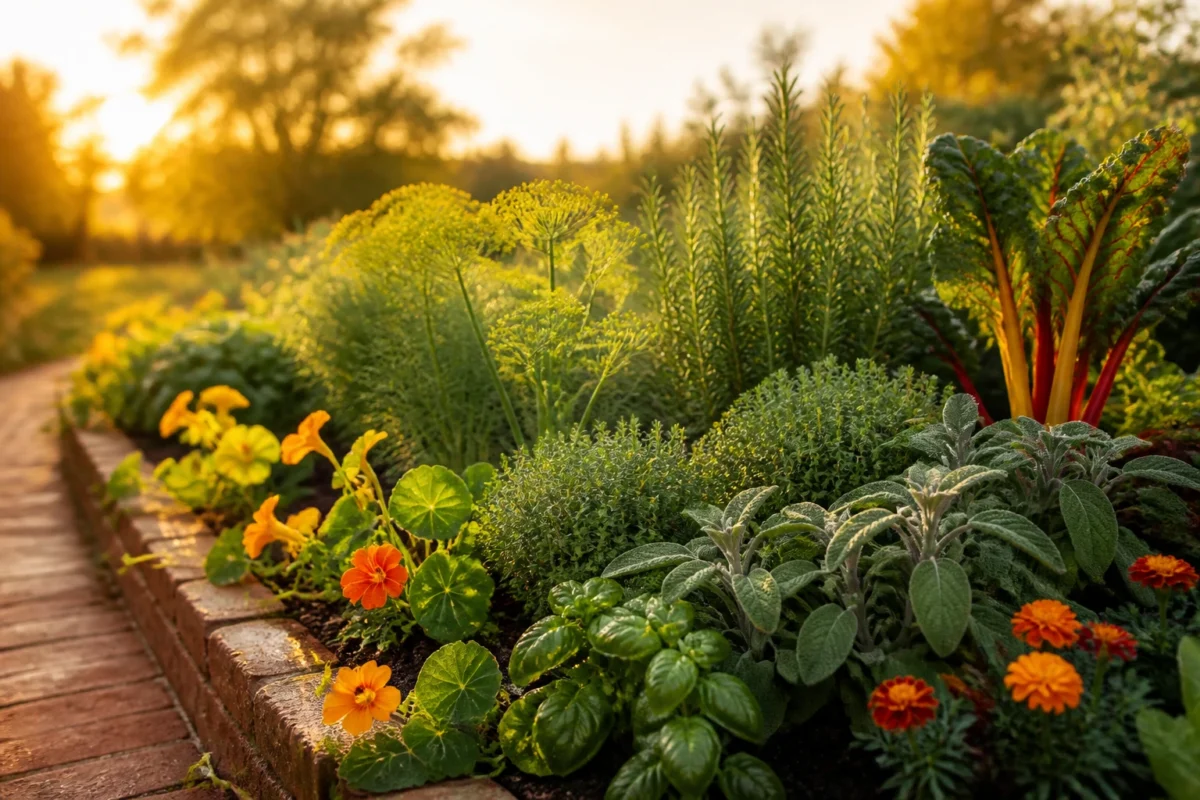
Think amber-gold nasturtiums trailing off the edge of a bed, thyme mounded like little pillows, and vertical rosemary catching warm afternoon light. These ideas photograph beautifully because they layer textures and heights—foamy cilantro, glossy chard ribs, and the velvety green of sage—so every glance feels like a still life. If you love big fall energy that’s as practical as it is pretty, this is your season.
1. Amber Marigold and Garlic Chive Border With a Brick-Edged Garden Bed
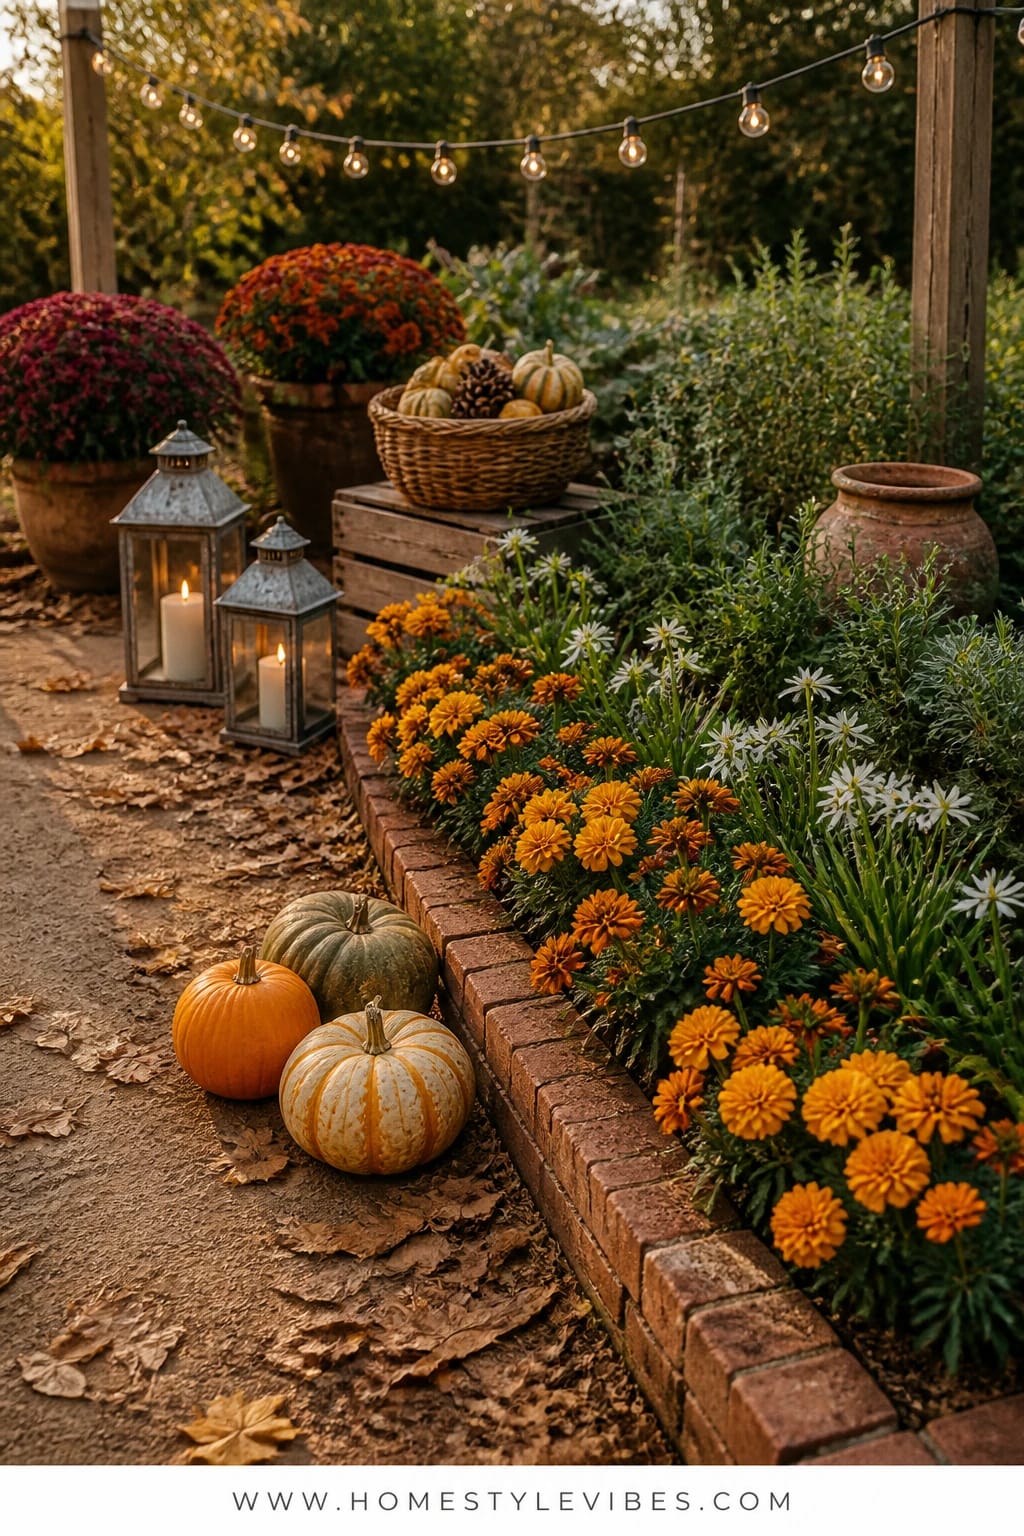
We’ve all been there: your fall herbs look okay in the center, but the edges turn weedy and sad, like a haircut that never quite grows in. This border strategy cleans up that “edge chaos,” adds season-long color, and quietly supports the herbs inside. Marigolds pull double-duty in fall—rich amber blooms broadcast warmth while their roots help deter nematodes and their scent confuses certain pests. Garlic chives bring a mild, garlicky fragrance and edible shoots, plus they flower in white starbursts that look like fairy lights sprinkled along the bed.
The mood is golden-hour tidy: a brick-edged bed cradling a ring of amber marigolds and garlic chives, framing your inner herbs like a picture. It works in real homes because the border becomes a living mulch—reducing weeds, softening irrigation splash, and giving you a “finished” look fast. Lighting-wise, late afternoon sun bouncing off brick and marigold petals gives a warm, saturated feel that photographs like a dream. The materials are practical—marigolds, chives, reclaimed brick or stone, and a blend of compost and leaf mold. You’ll get saturated color, a defined line, and depth from the inside-out layering of short border plants leading to taller herbs.
Variations: For a budget-friendly approach, use volunteer marigolds from summer (transplant them) and divide a mature clump of chives into several plugs. Prefer a softer, neutral palette? Swap amber marigolds for cream calendula and white alyssum, and let the garlic chives be the star.
Budget Breakdown:
- Marigold six-packs: $3–$6 each (2–4 packs)
- Garlic chive starts: $4–$8 per pot (2–6 pots, or divide from a neighbor)
- Reclaimed brick/stone edging: free–$1 per brick (check reuse stores)
- Compost/leaf mold: $10–$25 per bag or free if homemade
- Mulch (optional): $5–$12 per bag
Total Estimated Cost: $35 – $120
Best For: Gardeners who want a clean, defined bed that fights pests naturally. Ideal from mid-September through late fall in zones where marigolds still bloom; garlic chives carry the structure after a light frost.
Key Design Elements:
- Main seasonal props: Amber marigolds, garlic chives, reclaimed brick edge
- Color palette: Amber, warm green, soft white blooms late-season
- Lighting strategy: Plant where it catches 3–6 pm sunlight for glow
- Textile layers: None, but cluster brick in a staggered, “woven” pattern for texture
- Natural elements: Compost-rich soil, leaf mulch for a soft, matte finish
- Accent details: Small copper plant markers for a subtle metallic pop
How To Recreate This Look:
- Start with a clean bed edge and lay your brick or stone border in a gentle curve.
- Add 2–3 inches of compost and rake smooth, forming a slight inward slope.
- Plant marigolds every 8–10 inches along the outer rim for a continuous ribbon of color.
- Tuck garlic chives just inside the marigolds, spacing 10–12 inches apart.
- Mulch lightly between plants and water in with a diluted fish/seaweed mix.
Why This Looks Intentional: The tidy brick line frames the warm marigold glow while garlic chives add a crisp white note later, so the bed reads curated—not random. Repetition and rhythm along the edge mimic professional borders.
Watch Out: Don’t overpack the border. Crowding leads to leggy marigolds and floppy chives. Leave breathing room so each plant forms a defined tuft and bloom cluster.
Pro Styling Tip: For photos, shoot low along the brick at golden hour so the marigold petals catch backlight and the chive seed heads sparkle like confetti.
2. Rust Nasturtiums and Kale Understory Beside a Garden Bench
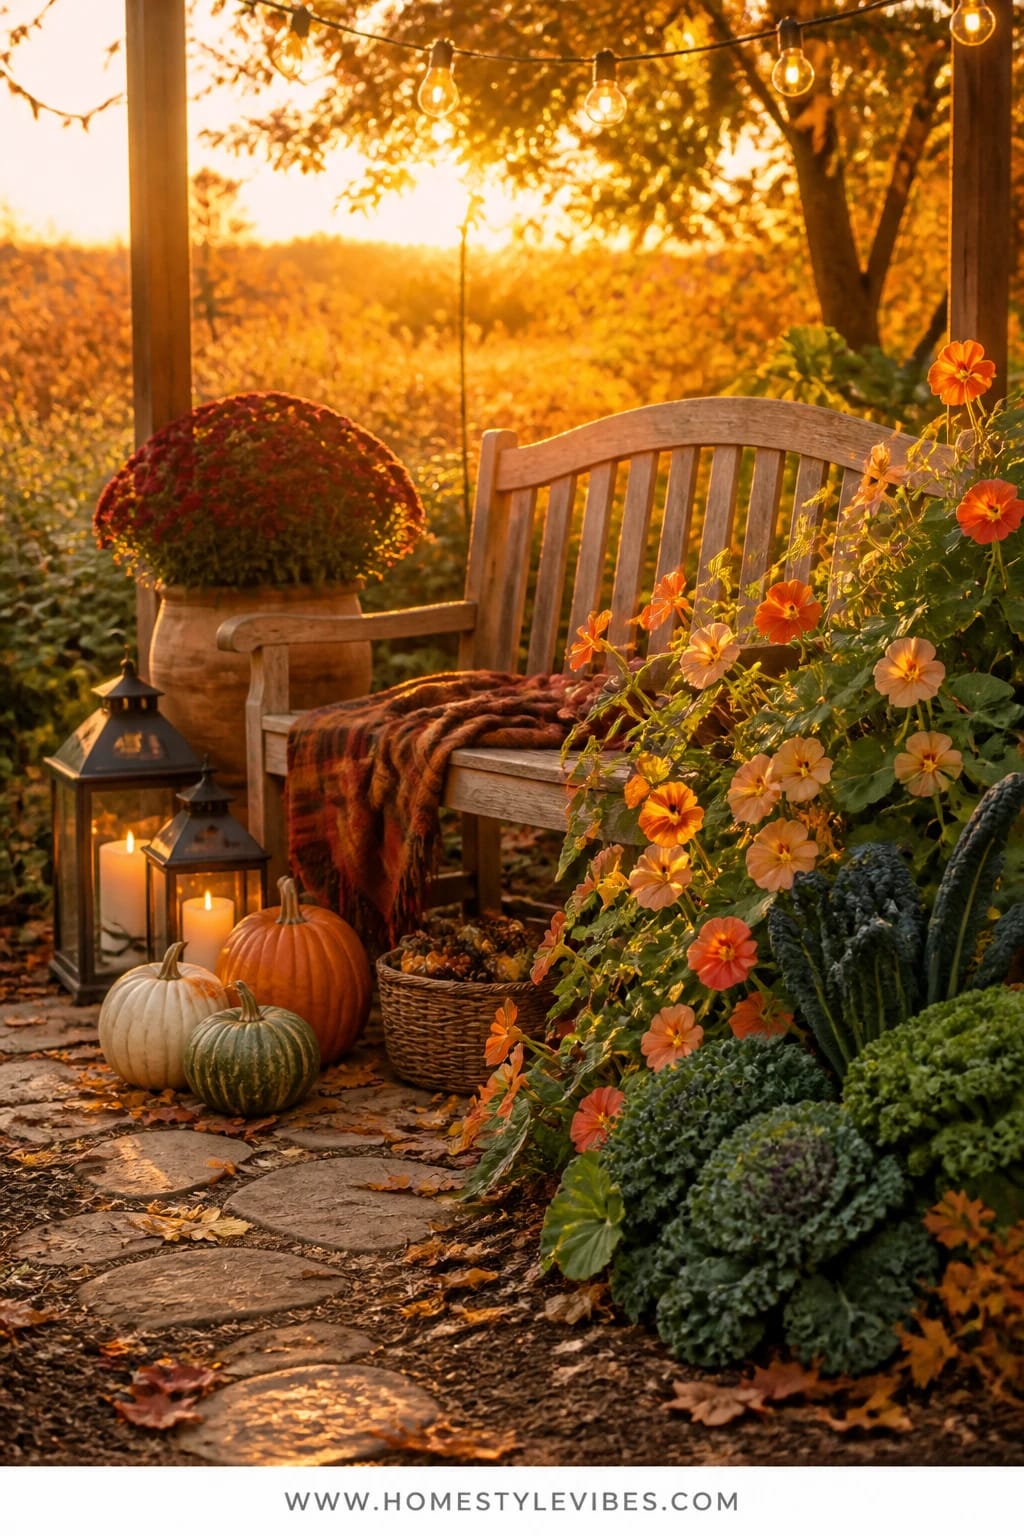
It’s that one corner that always feels off—shady-ish, a little forgotten, where you’ve tried basil three times and it just pouts. Enter the coolest fall understory: nasturtiums in rust and peach tumbling at the edges with dwarf curly kale or lacinato kale popping up like ruffled fans. Nasturtiums love the gentle sun and cooler nights of fall, while kale thrives on it. The pairing suppresses weeds, keeps soil shaded, and brings a painterly mix of round leaves and serrated frills.
The vibe leans cottage garden meets harvest pantry: edible flowers spilling like a scarf next to firm, glossy kale. It works because nasturtiums act as a trap crop for aphids while kale gives structure and longevity. Lighting shimmer matters here—slanting morning light through the bench picks up the velvety finish of kale leaves and the satiny sheen on nasturtiums. Add a small clay pot or two of thyme near the bench legs for scent when you sit. It photographs beautifully thanks to overlapping circles (nasturtium leaves), vertical ribbing (kale), and the warm patina of a wood or metal bench.
Variations: Small-space version? Use one long trough planter behind your bench with dwarf kale in the center and trailing nasturtiums flanking both sides. Prefer a muted palette? Choose pale apricot nasturtiums and blue-green dinosaur kale for a cool, moody mix that still reads autumn when paired with a rust-toned cushion.
Key Design Elements:
- Main seasonal props: Rust nasturtiums, kale (dwarf curly or lacinato), thyme in clay pots
- Color palette: Rust, deep blue-green, soft sage
- Lighting strategy: Catch morning light; avoid baking afternoon sun if possible
- Textile layers: Outdoor cushion in rust or terracotta on the bench
- Natural elements: Clay pots, straw mulch under kale
- Accent details: A small copper watering can tucked beside the bench
Budget Breakdown:
- Nasturtium seeds: $2–$5 per packet
- Kale starts: $3–$6 each (4–6 plants)
- Thyme starts: $4–$8 each (2–3 pots)
- Straw mulch: $6–$10 per bundle
- Outdoor cushion (optional): $15–$35
Total Estimated Cost: $30 – $90
Best For: Corners that get morning sun and partial afternoon shade. Great from early fall into winter in mild zones; kale holds through frost.
How To Recreate This Look:
- Start by defining a curved bed behind or beside the bench and amend with compost.
- Plant kale in a loose zigzag, 12–16 inches apart for airflow and balanced height.
- Sow nasturtium seeds 6 inches from the bed edge, spacing 8–10 inches apart.
- Tuck thyme in small clay pots near the bench legs for aromatics and mobility.
- Mulch lightly under kale, leaving bare patches for nasturtium seedlings to emerge.
Why This Feels Designer: Mixed leaf shapes and consistent color echoes (rust flowers with rust cushion, blue-green kale with sage thyme) create a visual conversation. The bench acts as architecture, giving the planting context and purpose.
One Thing To Avoid: Don’t overfertilize nasturtiums. Rich soil pushes leaves over blooms. Keep them slightly lean so flowers keep coming.
Pro Styling Tip: Place a single, weathered terracotta pot in the foreground of your shot to add depth and frame the kale’s texture.
Pause and breathe. You don’t need a sweeping overhaul to feel proud of your garden this fall. If one pairing sings to you, start there—edges, a corner by the bench, or even just a single trough planter that makes your morning coffee view happier.
3. Golden Calendula, Carrot, and Cilantro Row Beside a Farm-Style Gate
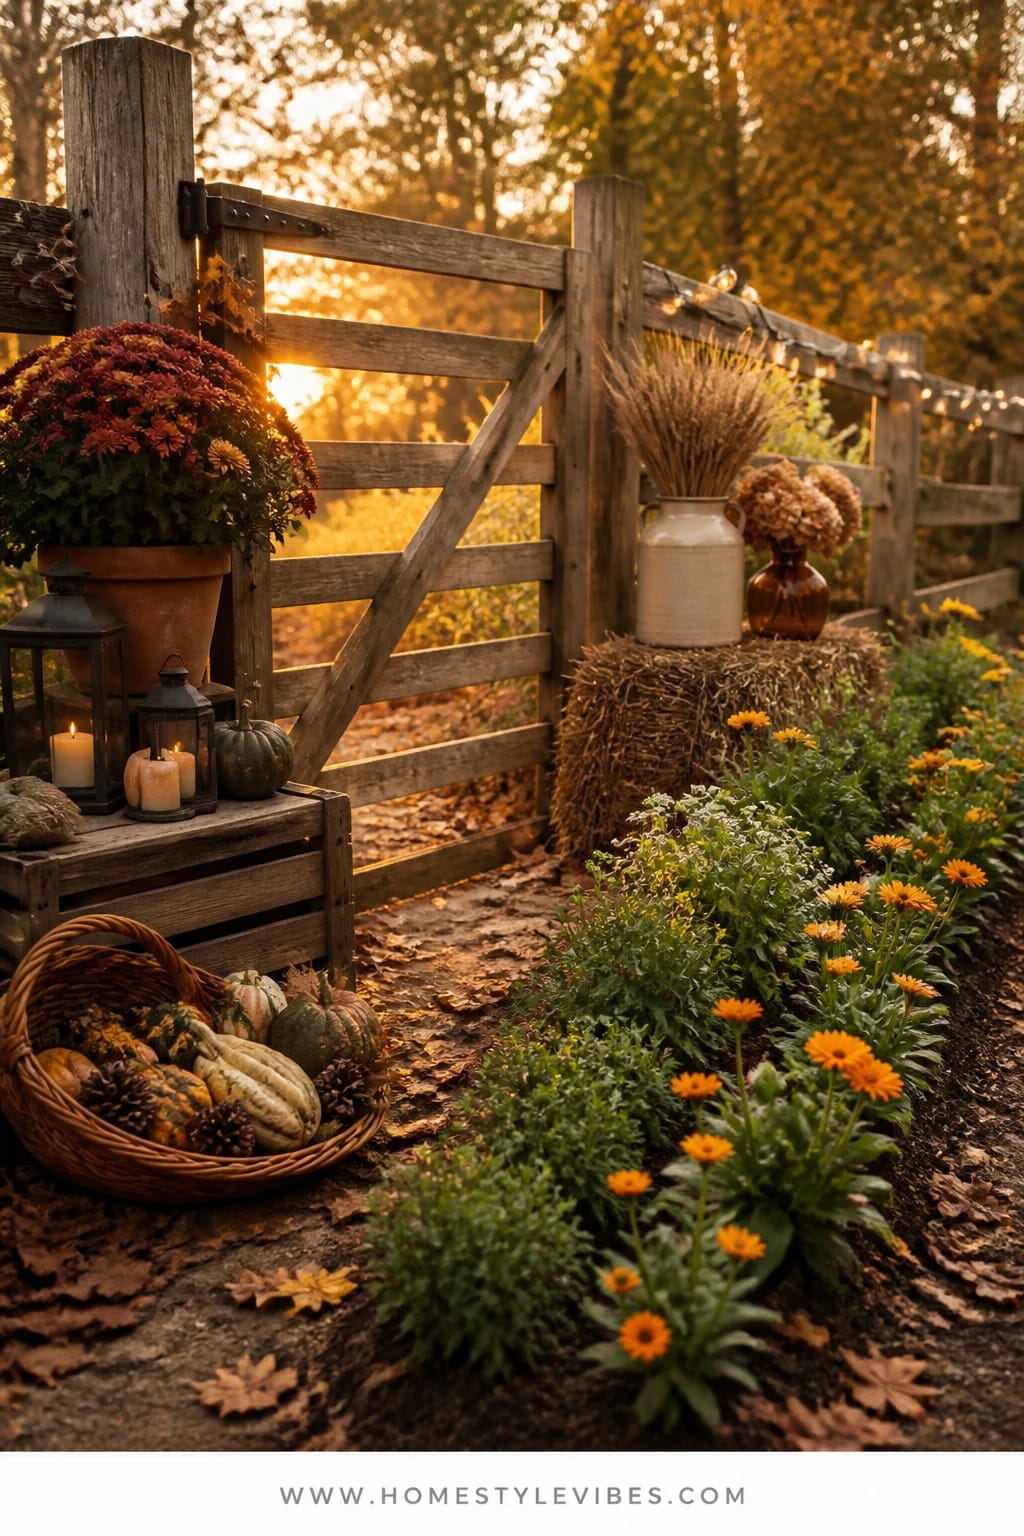
You want rows that actually look intentional, not like a random scatter of seedlings that never fill out. This trio—calendula for gold petals, carrots for crunch, and cilantro as a cool-season guard—plays well together in the same bed. Calendula draws in pollinators and beneficial insects. Cilantro confuses pests and gives you those bright, citrusy leaves right as the days cool. Carrots anchor the row with feathery greens that stay handsome into late fall.
The mood is golden-hour farmhouse: a tidy row catching sunlight near a simple gate, petals glowing like tiny lanterns. This works in real homes because the maintenance is forgiving—deadhead calendula, harvest cilantro by the handful, and thin carrots once—you’re set. Warm light threads through the carrot foliage, creating little shadows that add depth. Materials are basic and friendly: a rake, a string line to keep rows straight, compost, and a watering can. Photographs pop because of the triangle composition—tall calendula, mid-height cilantro, low feathery carrot tops—plus that golden bloom color that sings against weathered wood.
Variations: Micro-row version? Use a 6–8 inch wide strip along any path and plant in miniature. Prefer a more neutral scheme? Choose creamy calendula varieties (like ‘Ivory Princess’) with flat-leaf parsley instead of cilantro for a quieter look.
Budget Breakdown:
- Calendula seeds or six-packs: $2–$5 per packet or $3–$6 per pack
- Cilantro seeds: $2–$4 per packet
- Carrot seeds: $2–$4 per packet
- Compost: $10–$25 per bag (1–2 bags)
- String and stakes: $3–$8
Total Estimated Cost: $19 – $46
Best For: Sunny strips or bed edges that need order and production. Ideal from early fall to first hard frost; cilantro thrives in the cool and calendula pushes blooms until cold snaps.
Key Design Elements:
- Main seasonal props: Calendula blooms, carrot tops, cilantro mounds
- Color palette: Golden, bright green, soft wood tones
- Lighting strategy: Place parallel to evening sun for long, cinematic shadows
- Textile layers: A simple jute twine row guide gives rustic texture
- Natural elements: Fine, friable soil for clean carrot roots
- Accent details: A galvanized watering can near the gate for a functional vignette
Why This Reads High-End: Straight, repeated rows with a consistent color pop look curated. Pairing utility (carrots and cilantro) with blooms (calendula) says “working garden” but styled, like a small kitchen garden at a country inn.
How To Recreate This Look:
- Start by smoothing soil and snapping a straight line with jute between two small stakes.
- Sow carrots in a shallow furrow, sprinkle cilantro seed 6–8 inches to one side, and plant calendula every 10–12 inches on the opposite side.
- Water gently with a rose head to avoid dislodging seeds.
- Thin carrots to 2 inches once seedlings stand 2–3 inches tall, snipping extras with scissors.
- Deadhead calendula weekly and harvest cilantro often to keep it bushy.
Don’t Do This: Resist tilling deeply right before sowing—over-fluffed soil can cause carrots to fork. Keep it loose but firm, like a good cake crumb.
Pro Styling Tip: For an Instagram-ready shot, lay your thinning scissors and a few freshly snipped cilantro sprigs on the gate ledge—instant lifestyle moment.
Remember, this isn’t about recreating a botanical garden spread. It’s about building a backyard rhythm that feeds you—visually and literally. Start with one row, one border, one corner. Let confidence—and color—spread from there.
4. Burgundy Basil, Sage, and Tomato Finale Along the Patio Table
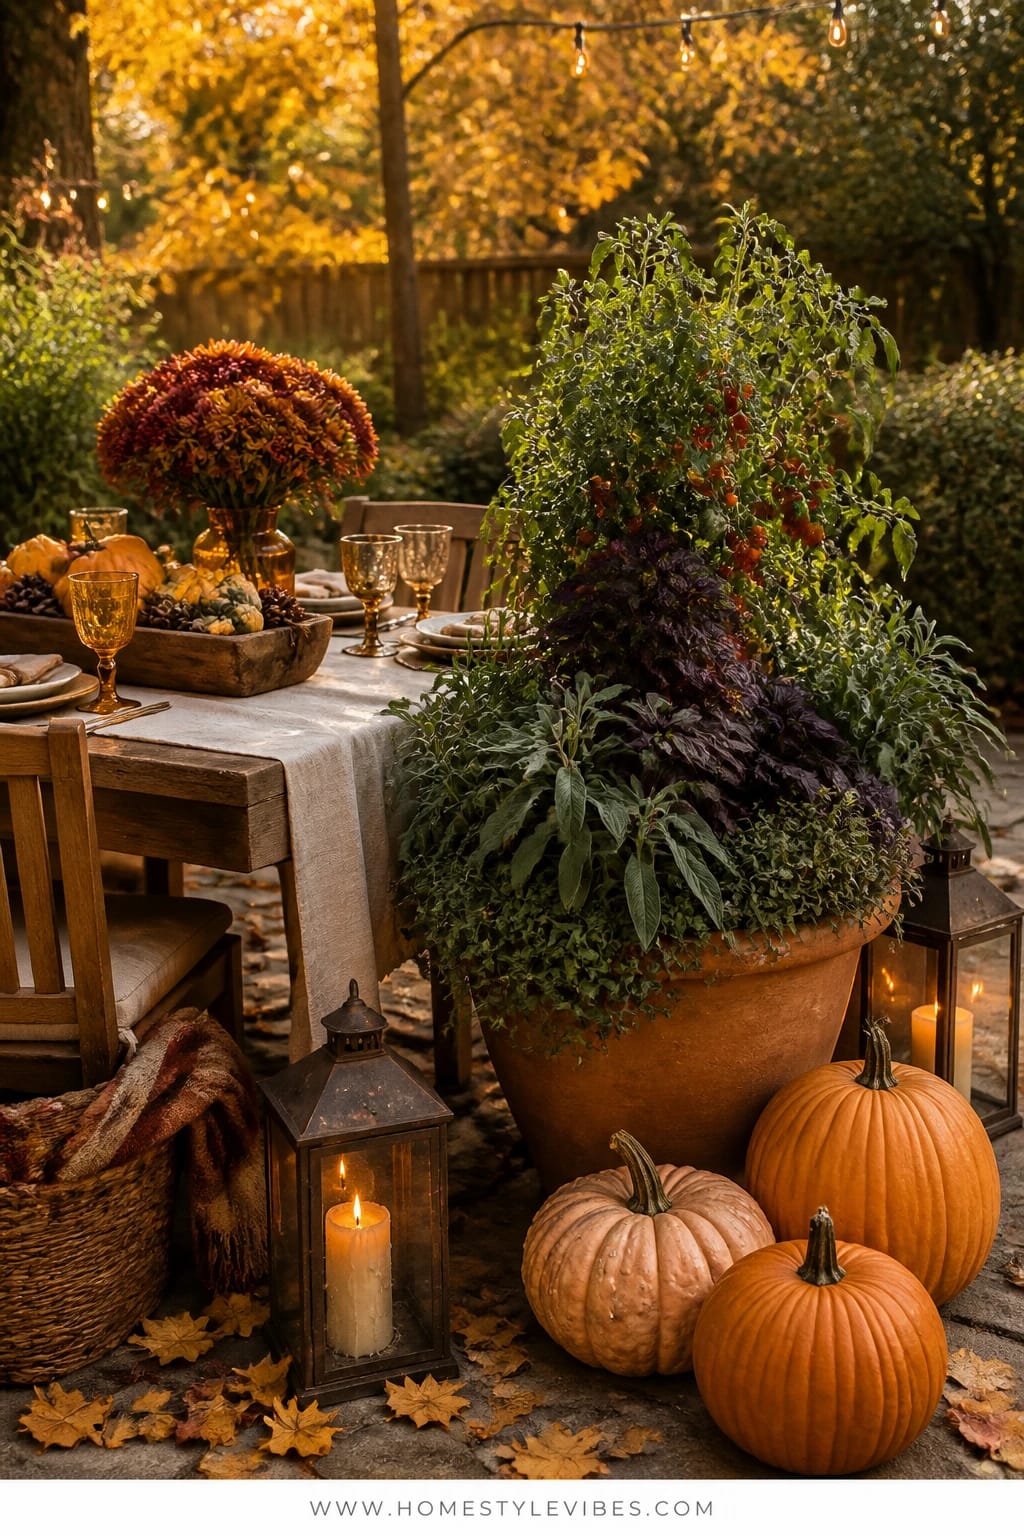
Here’s the truth: by fall, your tomatoes might look tired. Leaves spotted, vines unruly, fruit still coming but the vibe? A little end-of-summer hangover. This companion refresh puts the finale back into your tomato scene. Underplant with burgundy basil (or purple basil), ring with broad-leaf sage, and prune tomatoes for airflow. The deep wine tones of basil make late-season tomatoes look intentional, while sage acts as a silvery frame and natural pest deterrent.
We’re going for al fresco supper energy: the patio table nearby, a bowl for the last warm cherry tomatoes, the scent of basil on your fingers. It works because you’re not starting from scratch—you’re editing and dressing the stage. Warm lighting from a string of bistro lights or a lantern casts that gentle amber glow, pulling burgundy and green into a rich, moody palette. Materials are simple: a hand pruner, twine, a couple of new basil and sage starts, and maybe a fresh layer of compost. Photographs come out luscious—glossy purple leaves, matte sage, and that perfect red tomato as a focal bead.
Variations: Small-space? Use two large containers—one with a single tomato and underplanted basil; the other a generous sage mound. Neutral lover? Swap purple basil for dark green Genovese and add bronze fennel for a subtle, smoky tone shift.
Key Design Elements:
- Main seasonal props: Burgundy basil, broad-leaf sage, pruned tomato vines
- Color palette: Burgundy, sage green, ripe tomato red, warm wood
- Lighting strategy: Drape string lights above the patio table for a golden wash
- Textile layers: A natural linen table runner in oatmeal to catch fallen petals
- Natural elements: Compost top-dress, small pea gravel to tidy container surfaces
- Accent details: Simple terracotta or charcoal planters to ground the color story
Budget Breakdown:
- Purple/burgundy basil starts: $4–$8 each (2–4 plants)
- Sage starts: $5–$9 each (2–3 plants)
- Twine and soft ties: $3–$6
- Compost/topper: $10–$20
- String lights or lantern (if adding): $20–$50
Total Estimated Cost: $42 – $123
Best For: Patio edges or container clusters near your dining setup. Ideal in early to mid-fall when tomatoes are still producing but need polish.
How To Recreate This Look:
- Start by pruning tomato suckers and removing yellowed leaves for a clean silhouette.
- Underplant with burgundy basil at the drip line, spacing 10–12 inches apart.
- Ring the outer edge with sage, 12–16 inches apart to form a soft halo.
- Top-dress with compost and water deeply to settle roots.
- String warm lights overhead and set a bowl on the table for harvest-time snacking.
Why This Looks Expensive: Deep color contrast reads like a styled photo shoot. Repetition of burgundy basil around the base creates a tailored “skirt,” while sage gives that silvery, designer finish.
The Most Common Mistake: Ignoring airflow. Crowded bases invite mildew. Keep a fist-width gap between tomato stems and underplantings, and trim basil lightly every week.
Pro Styling Tip: Photograph at dusk with lights on and a single heirloom tomato sliced on a cutting board—rich color, texture, and a hint of story.
5. Golden Glow Thyme Walkway With Rosemary Columns by the Front Garden Path
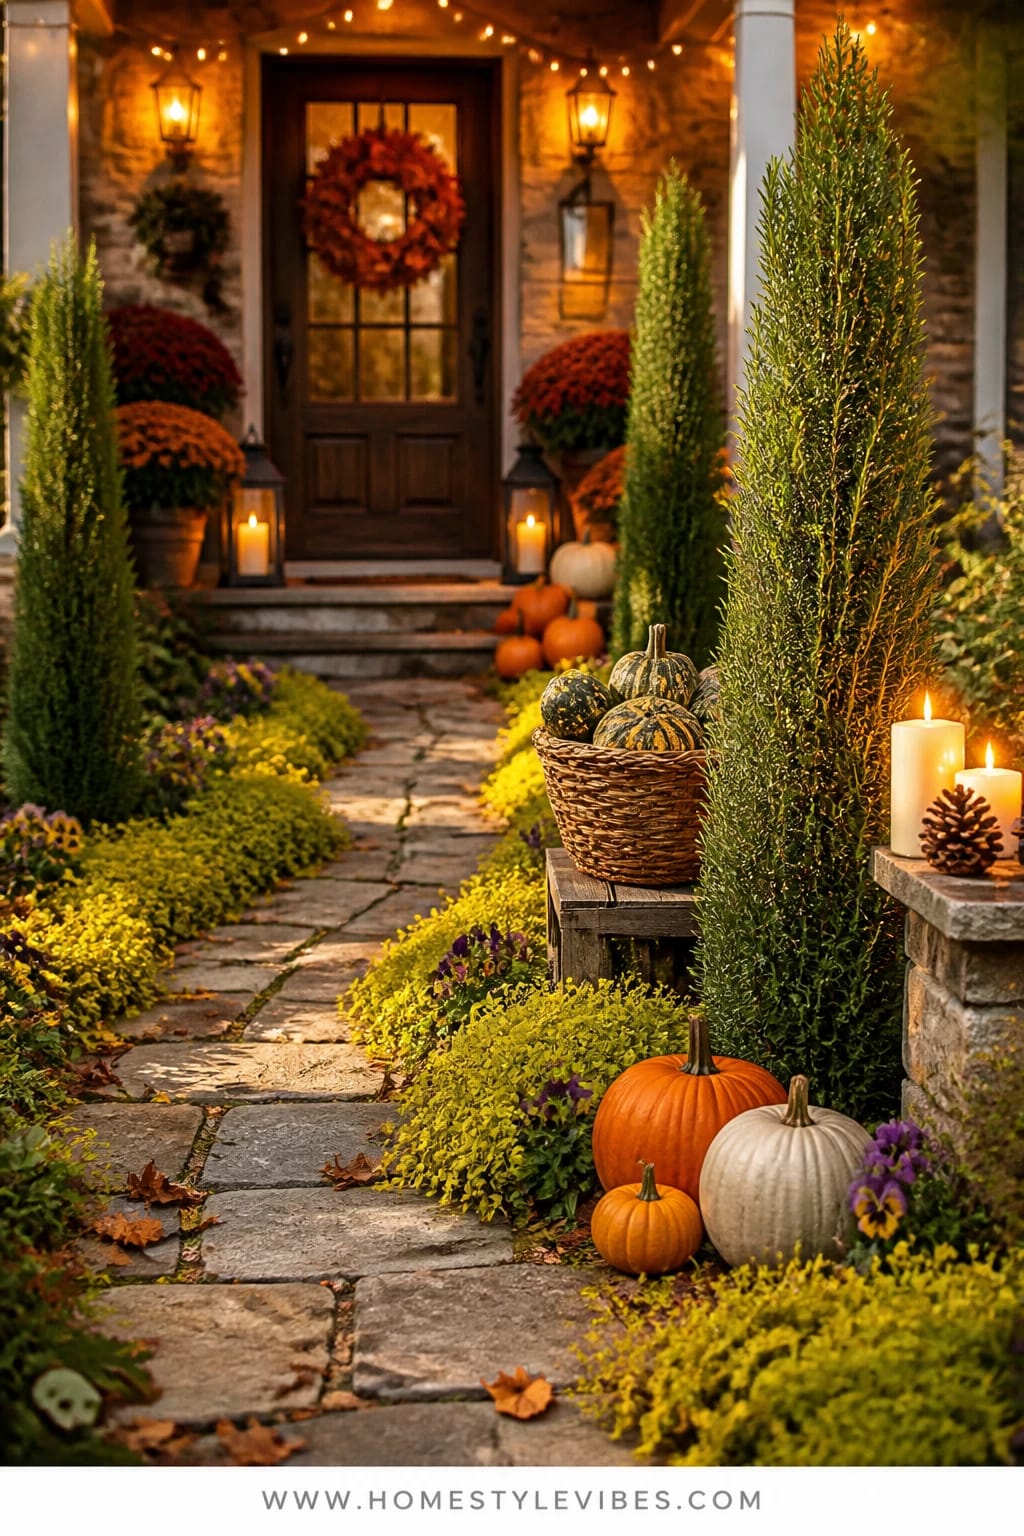
You’ve tried a dozen herbs along the path, but they either sprawl too much or never quite anchor the space. This duo turns your walkway into a fragrant runway. Line the path with golden or lemon thyme to soften the edges—its low, billowy habit spills just enough, and when you brush it, the scent is instant mood therapy. Punctuate the ends or intervals with upright rosemary “columns” (either ‘Tuscan Blue’ or trimmed common rosemary) to give structure. Toss in a few pans of late-season violas or dwarf mums in warm tones near the entries for a gentle nod to classic fall color.
The mood is old-world herb garden meets autumn glow: thyme pads like green-gold velvet and vertical rosemary like slim topiaries. It works because thyme stays low and neat, perfect for small spaces and pathways, while rosemary stands tall without being fussy. Lighting makes it magical—early evening light brushes the golden variegation on thyme and gives rosemary that sculptural shadow. Materials are modest: a flat of thyme plugs, a couple of rosemary starts, and gravel or mulch to define the footpath. This setup photographs beautifully with clear lines, repeated shapes, and the play of sun on fine textures.
Variations: If winters hit hard where you live, put rosemary in clay pots stashed at path stops so you can slide them into a sheltered spot before a freeze. Prefer ultra-minimal? Use all-green creeping thyme and two potted rosemary standards for a restrained, elegant read.
Budget Breakdown:
- Thyme plugs (golden or lemon): $1–$3 each (12–24 plugs depending on length)
- Rosemary starts or standards: $6–$15 each (2–4 plants)
- Path topper (pea gravel or decomposed granite): $30–$80 per area
- Mulch for thyme beds: $5–$12 per bag
- Seasonal violas/mums (optional): $3–$8 per pot
Total Estimated Cost: $70 – $220
Best For: Sunny to lightly dappled pathways where scent and structure matter. Perfect from September into late fall; thyme handles light footbrush, rosemary gives winter bones.
Key Design Elements:
- Main seasonal props: Golden thyme, upright rosemary, warm-toned violas/mums
- Color palette: Golden, deep evergreen, soft amber accents
- Lighting strategy: Aim for late-day sun along the path to paint long, elegant shadows
- Textile layers: None—let gravel and herb textures do the talking
- Natural elements: Pea gravel for a tidy, European feel
- Accent details: Slim copper or black metal path lights on low dimmer for subtle glow
How To Recreate This Look:
- Start by defining a crisp path edge with a spade or simple metal edging.
- Plant thyme 6–8 inches from the path, spacing 8 inches apart to knit into soft mounds.
- Set rosemary at intervals or as “gateposts” at path entrances, keeping 18–24 inches clearance.
- Top with gravel or mulch, brushing it level so thyme crowns sit slightly above grade.
- Spot in a few seasonal blooms near the start/end points for a warm welcome.
Why This Feels Designer: Repetition and restraint. One low, billowy texture plus one bold, vertical form looks curated. The consistent color story reads peaceful, not busy.
Watch Out: Don’t bury thyme crowns. If they sit too low, they sulk and rot. Keep them proud of the soil and water at the root zone, not over the foliage.
Pro Styling Tip: Snap photos right after lightly watering—the gravel darkens, thyme brightens, and rosemary glows against the path for satisfying contrast.
Can I admit something? I fussed with a pathway like this last October and planted the thyme too close to the edge. The mower chewed the first row by week two. I moved it back just three inches and everything settled—lesson learned, and my front walk now smells like lemon tea every time I bring in groceries.
If one garden moment from above made your shoulders drop, that’s your clue. Start with the border or the bench corner—somewhere you’ll actually see every day. When you tend a small, beautiful space, the rest of the garden starts to behave, almost like it remembers what tidy feels like.
Quick Checklist
- Marigold and garlic chive border plants
- Reclaimed brick or stone edging
- Nasturtium seeds in rust or apricot
- Dwarf curly or lacinato kale starts
- Thyme in clay pots for scent by seating
- Calendula, cilantro, and carrot seeds for a golden row
- Jute twine and small stakes for straight lines
- Burgundy basil and broad-leaf sage for tomato refresh
- String lights or a lantern for evening warmth
- Golden or lemon thyme plugs for pathways
- Upright rosemary for structure
- Pea gravel or decomposed granite for clean paths
- Compost and light mulch for fall planting
- Soft ties and pruners for tidy edits
- Copper or wooden plant markers
Frequently Asked Questions
How much should I budget to refresh a small fall herb bed with companions?
Plan on $50–$150 for a modest bed refresh using starts, compost, and a few accent blooms. Seeds drop costs further. Reuse edging, divide existing chives or thyme, and focus spending on a signature color plant like burgundy basil or calendula.
Are real or nursery-grown herbs better than ornamental fall plants for these ideas?
Go real and edible for the core herbs—thyme, sage, cilantro, basil—then sprinkle in ornamentals like marigolds or violas. You’ll get beauty and harvest. IMO, real herbs always win because they earn their keep on the plate.
I have a small space—can I still do companion planting in containers?
Absolutely. Use wide, shallow planters for combos like kale with trailing nasturtiums, or a tomato pot underplanted with basil. Keep spacing proportional and feed lightly. A single trough by a bench looks intentional and productive.
What about storage and cleanup after the season?
Pull annuals like marigolds and calendula after frost and chop them into the compost. Trim and pot up rosemary if your winters bite. Perennials like thyme and chives can be cut back and mulched. Clean tools and roll up your jute line for next year.
Are candles or lanterns safe around herbs on the patio?
Use enclosed lanterns or LED candles near foliage, especially on breezy nights. Place them on the table or a stable paver, not tucked into plants. Herbs’ oils can be flammable—better safe, still cozy.
When should I start fall planting for the best results?
Start as summer heat wanes—typically late August to mid-September—so roots establish before cold snaps. In warmer zones, you can keep planting into October. Check your first frost date and aim to have most starts in the ground 4–6 weeks beforehand.
Your Cozy-Fall Garden, Within Reach
Pick one idea—just one—and plant it this weekend. A marigold-and-chive edge that makes your bed look finished, a thyme-and-rosemary path that smells like a warm kitchen, or a simple tomato refresh that brings back patio dinner energy. You don’t need a perfect plan. You need a fresh start and a small, satisfying win.
The secret to a thriving fall garden isn’t dozens of plants. It’s good companions, generous layers, and warm light. Color, shape, and scent working together—calendula gold against carrot fronds, rust nasturtiums folding into kale, the upright calm of rosemary. Do that once, and suddenly your whole garden starts to feel abundant again.
Take a breath, grab a trowel, and lean into the season. You’ve got this—and your autumn garden is about to smell amazing, look photogenic, and deliver the kind of small daily joy that makes fall feel like home.
About the Author

Krisztina P.Rendes, Founder of Home Style Vibes
Founder of Home Style Vibes
Krisztina Puskásné Rendes created Home Style Vibes as a cozy-modern lifestyle space where homemaking meets inspiration. Her goal is to help women create beautiful, organized, and peaceful homes they truly love — without overwhelm. You’ll find here heart-driven content on home decor, cleaning tips, easy family recipes, organization and decluttering, DIY home projects, plants, and seasonal ideas — all designed to bring more calm, comfort, and style into everyday life.