How To Grow An Indoor Herb Garden In Mason Jars The Easy Way
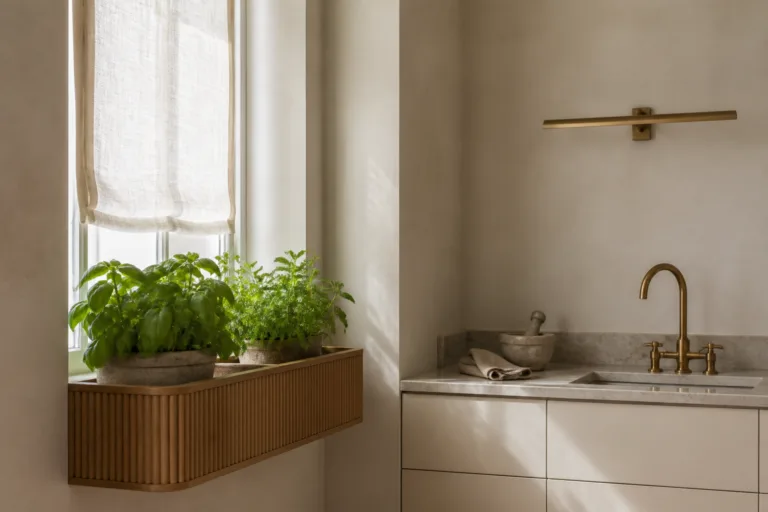
You want fresh basil on your pasta, mint in your mojito, and thyme for your roast—without a trip to the store? Let’s turn those humble mason jars into a tiny, delicious jungle. This setup looks cute, saves cash, and makes your kitchen smell like heaven. Grab a few jars and a sunny windowsill—we’re doing this the easy way.
Why Mason Jars Make Killer Herb Pots
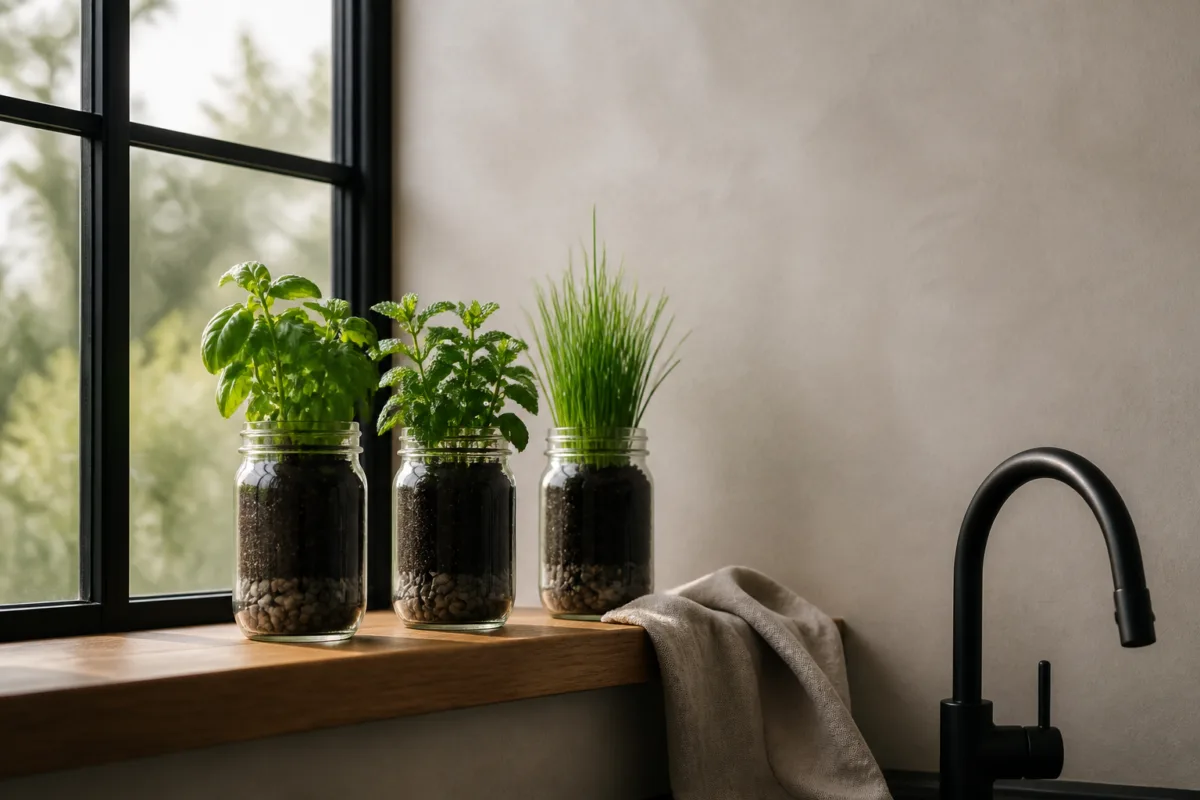
Mason jars check all the boxes: cheap, sturdy, and aesthetically pleasing in that “I make sourdough” kind of way. They fit on sills and shelves, and you can see the soil moisture through the glass. That said, jars don’t have drainage holes. No panic—just add a drainage layer and water smartly. You’ll get the Pinterest look without drowning your plants.
What You’ll Need (Keep It Simple)
Basic supplies:
- 3–6 mason jars (8–16 oz for compact herbs, 24–32 oz for basil or mint)
- Small rocks, pebbles, or aquarium gravel (for drainage)
- Activated charcoal (optional but clutch for odor and moisture control)
- High-quality indoor potting mix (not garden soil)
- Herb seeds or starter plants
- Plant labels or washi tape (because mystery herbs are chaos)
- Spray bottle or narrow-spout watering can
Great beginner herbs:
- Basil (sun-lover, thirsty)
- Mint (hard to kill, spreads like gossip)
- Chives (tough, mild onion flavor)
- Parsley (curl or flat, slower but reliable)
- Thyme (low and woody, minimal fuss)
- Cilantro (fast, but bolts if hot—still worth it)
Set Up Your Jars Like A Pro
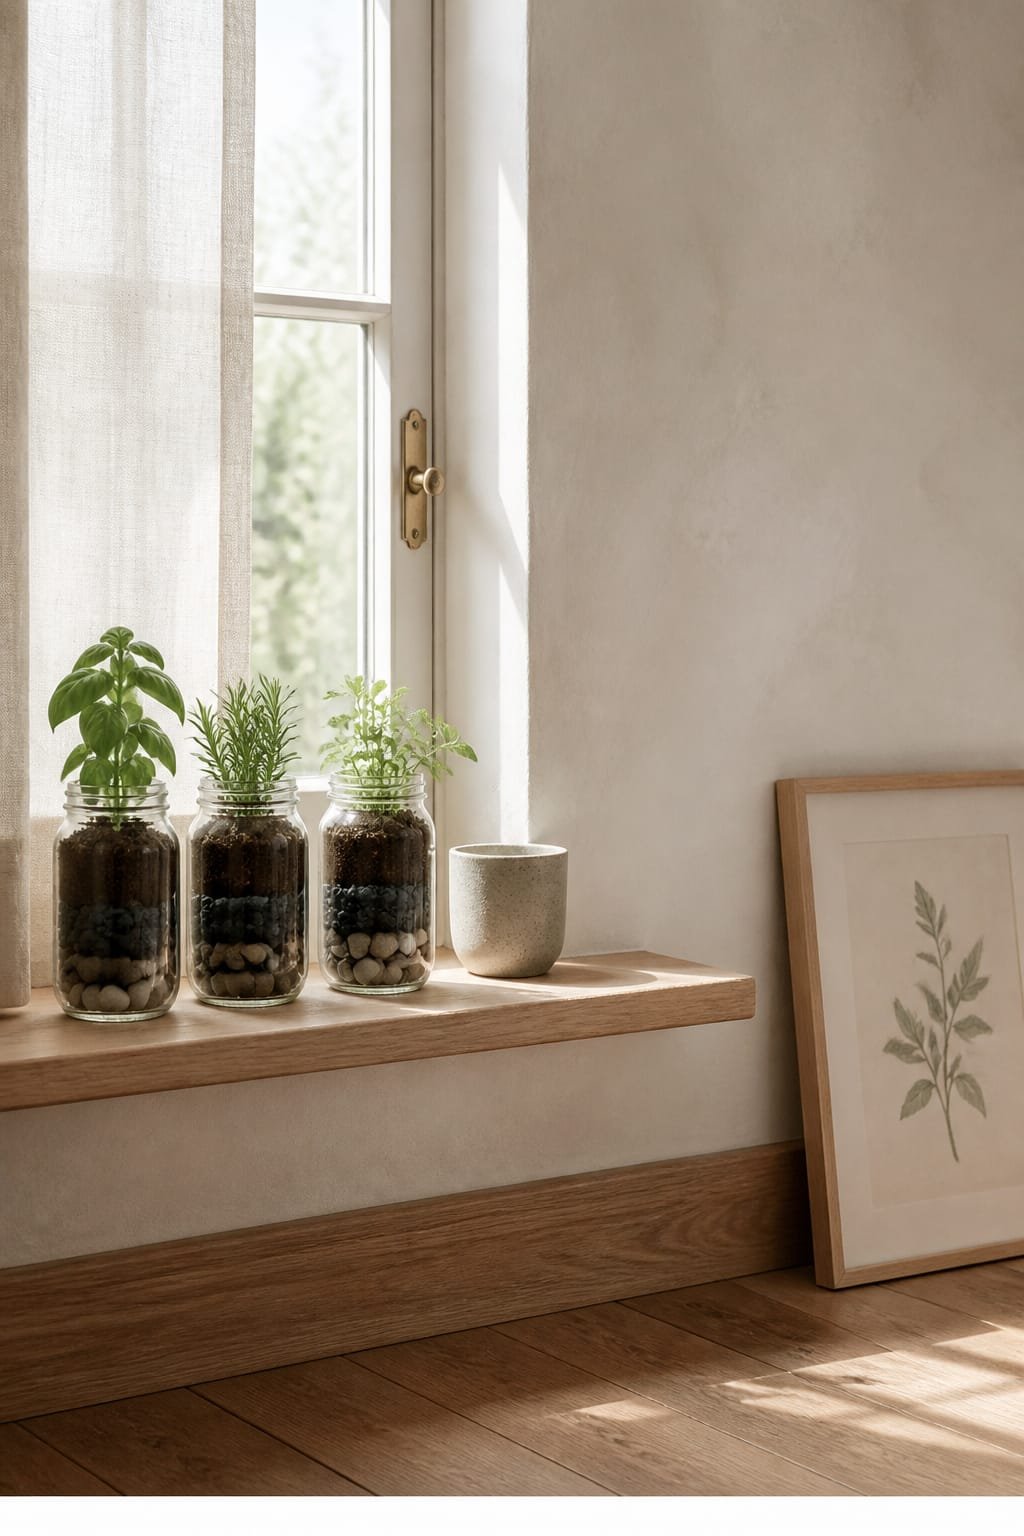
Follow this order and you’ll avoid soggy sadness.
- Clean your jars. Rinse and dry thoroughly.
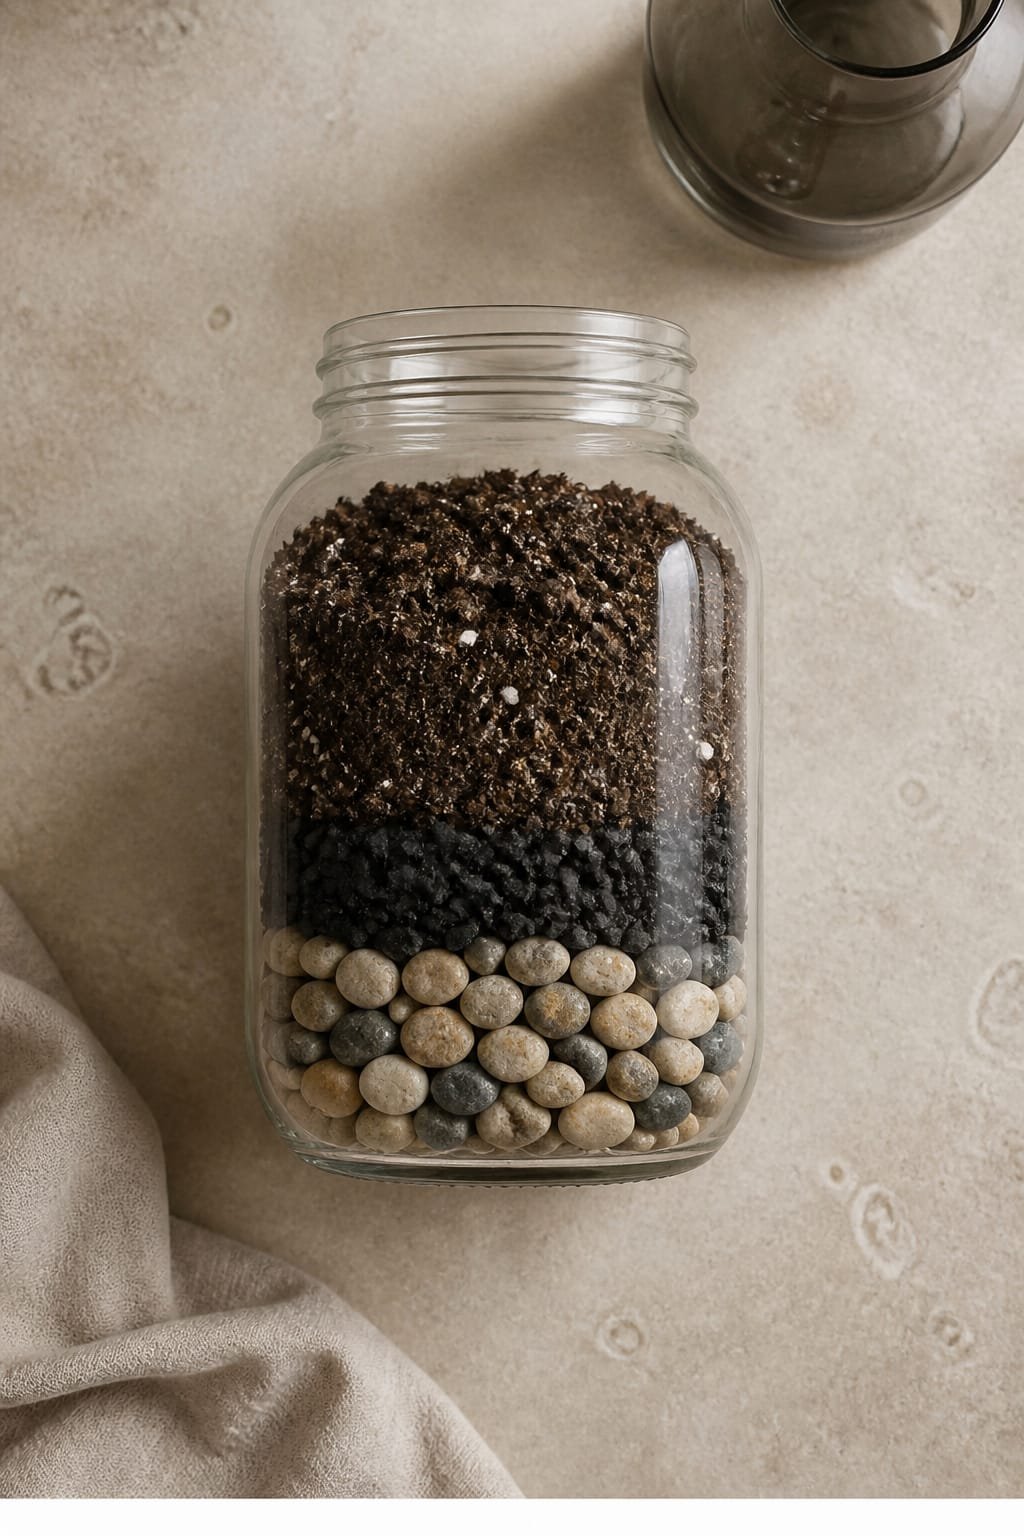
- Add a 1–1.5 inch layer of pebbles. This creates a faux-drainage zone.
- Optional: Sprinkle a thin layer of activated charcoal. It keeps things fresh and reduces funk.
- Fill with potting mix. Leave about an inch of headroom at the top.
- Plant your seeds or starters. For seeds, follow the packet depth (usually 1/4 inch). For starters, gently tease roots and tuck them in.
- Label each jar. Future you will thank you when parsley and cilantro look suspiciously similar.
- Water lightly. Moisten the soil evenly without flooding the pebble layer.
Seed vs. Starter: Which Should You Use?
– Starters: Instant gratification, especially for basil, mint, and thyme. Great for beginners.
– Seeds: Cheaper, fun to watch grow, and easy for cilantro, parsley, and chives. IMO, mix both for variety.
Light, Water, And Temperature (AKA The Keep-It-Alive Trio)
Herbs love consistency more than a cat loves naps.
- Light: Aim for 6–8 hours of bright, indirect sun. A south or west window works. If your place feels cave-like, use a small LED grow light 6–10 inches above your jars for 12–14 hours daily.
- Water: Check with your finger. If the top inch feels dry, water lightly until you see moisture approach the pebble line—don’t flood it. Mist basil leaves if air runs dry.
- Temperature: 65–75°F is ideal. Keep jars away from cold drafts, radiators, and the oven’s blast zone.
Pro Tip: Rotate Weekly
Turn jars a quarter turn every few days. Your herbs won’t lean like they’re auditioning for a windblown photoshoot.
Fertilizer And Maintenance (Low Effort, Big Payoff)
You don’t need a chemistry degree—just a little schedule.
- Fertilize lightly every 3–4 weeks. Use a balanced liquid fertilizer at half strength. Overfeeding makes leggy, bland herbs. We want flavor, not gym bulk.
- Trim regularly. Frequent harvesting keeps plants bushy and prevents flowering (which can wreck flavor).
- Refresh soil every 4–6 months. Add an inch of fresh mix on top or repot entirely if roots fill the jar.
How To Harvest Without Hurting The Plant
– Basil: Pinch right above a pair of leaves (node). Never strip the top bare.
– Mint, Thyme: Cut stems just above a leaf pair.
– Parsley, Cilantro: Snip outer stems first; leave the center to keep growing.
– Chives: Grab a handful and cut an inch above the soil—like giving the plant a neat haircut.
Smart Jar Hacks For Better Results
You can keep it minimal, or you can go nerdy (in a good way).
- Use wide-mouth jars. Better airflow, easier trimming.
- Add a fabric or coffee filter circle on top of pebbles. It prevents soil from sinking into the drainage layer.
- Paint or wrap the lower half of the jar. This blocks light and reduces algae in the pebble zone. Washi tape counts as “design,” FYI.
- Self-watering hack: Place a cotton wick from soil down into the pebble layer. Water wicks up slowly—less babysitting.
- Group by water needs. Basil and mint together; thyme and rosemary together. Drama avoided.
Best Spots In Your Home
– Kitchen windowsill with bright light
– Under-cabinet grow strip for stealth gardeners
– Bookshelf near a sunny window (hello, aesthetic)
– Desk companion herb jar because productivity vibes
Common Problems (And Easy Fixes)
– Yellow leaves? Overwatering or poor light. Let soil dry slightly and move closer to light.
– Leggy, floppy stems? Not enough light. Add a grow light or shift windows.
– Mold on soil? Increase airflow, remove top layer, add a bit of dry mix, and water less. A tiny sprinkle of cinnamon can help, IMO.
– Algae on glass? Normal with light + moisture. Wipe the inside carefully or block light on the lower jar.
– Pests? Rinse leaves, then use a mild soapy water spray. Isolate the troublemaker jar like it’s in time-out.
Design Ideas That Don’t Scream “Craft Project Gone Wrong”
– Label Like A Boss: Minimalist black labels or chalk tags.
– Trio Trays: Group three jars on a narrow tray with pebbles to catch drips and boost humidity.
– Hanging Option: Macramé jar slings—cute and space-saving.
– Color Coding: Green tape for frequent-water herbs, blue for drought-tolerant. Your brain will love it.
FAQ
Do mason jars work without drainage holes?
Yes—if you add a pebble layer and water carefully. The pebbles and optional charcoal mimic drainage. Go slow with watering and you’ll be golden.
Which herbs struggle in jars?
Large woody herbs like rosemary and sage can work, but they prefer bigger containers and drier roots. If you try them, use larger jars, very well-draining mix, and water sparingly.
How often should I water?
Usually 1–3 times per week, depending on light and temperature. Check the top inch of soil—if it’s dry, water lightly. In bright summer windows, basil drinks more; in winter, most herbs sip.
Can I keep herbs alive through winter?
Definitely. Use a grow light for 12–14 hours daily if daylight fades. Keep temperatures around 65–70°F and reduce watering slightly. Harvest less aggressively so plants keep energy.
Seeds or store-bought plants—what’s easier?
Starters are easiest and fastest. Seeds cost less and offer more variety. Do a mix: start with basil and mint as plants, sow chives and cilantro from seed for quick wins.
How do I prevent that swampy smell?
Use the pebble layer, add a pinch of activated charcoal, don’t overwater, and keep airflow moving. If it smells off, pull back on watering and scrape off any soggy topsoil.
Wrap-Up: Your Countertop Herb Haven Awaits
You don’t need a backyard or a green thumb—just jars, light, and a little routine. Start with two or three herbs you’ll actually cook with, harvest often, and tweak water and light as you learn. Before you know it, you’ll snip basil like a pro and flex on store-bought sprigs. Fresh flavor on demand? Chef’s kiss.

About the Author

Krisztina P.Rendes, Founder of Home Style Vibes
Founder of Home Style Vibes
Krisztina Puskásné Rendes created Home Style Vibes as a cozy-modern lifestyle space where homemaking meets inspiration. Her goal is to help women create beautiful, organized, and peaceful homes they truly love — without overwhelm. You’ll find here heart-driven content on home decor, cleaning tips, easy family recipes, organization and decluttering, DIY home projects, plants, and seasonal ideas — all designed to bring more calm, comfort, and style into everyday life.