How to Clean Wood Cabinets Kitchens: a Step-by-Step Guide for Homeowners That Shine
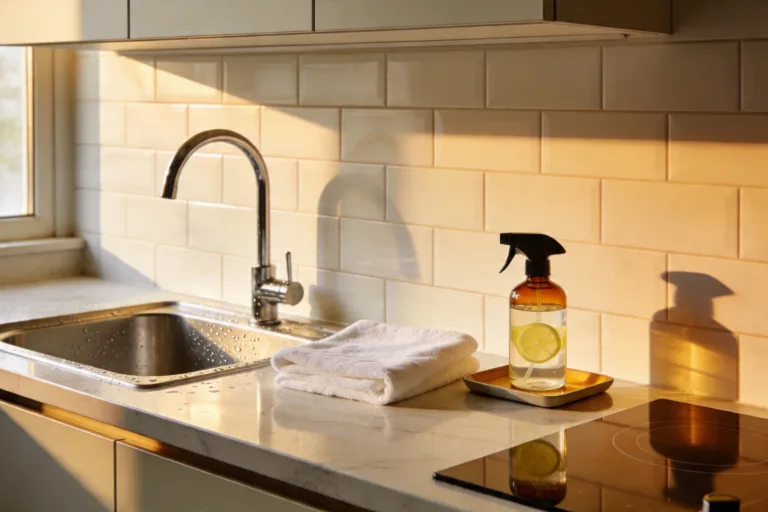
You want a kitchen that feels warm, light-catching, and quietly luxurious. You hate the sticky film, the fingerprints, and the mystery splatters that make your wood cabinets look tired. The good news: with the right method and a weekend window, you can deep-clean and revive your wood cabinets for under $30 using simple supplies from Target or Home Depot. This guide is practical, photogenic, and totally doable — a routine you’ll repeat every season because it works.

What’s Inside
Know Your Finish First: The Secret to Cleaning Wood Cabinets Safely
This one step determines everything else and saves you from cloudy streaks or stripped finish.
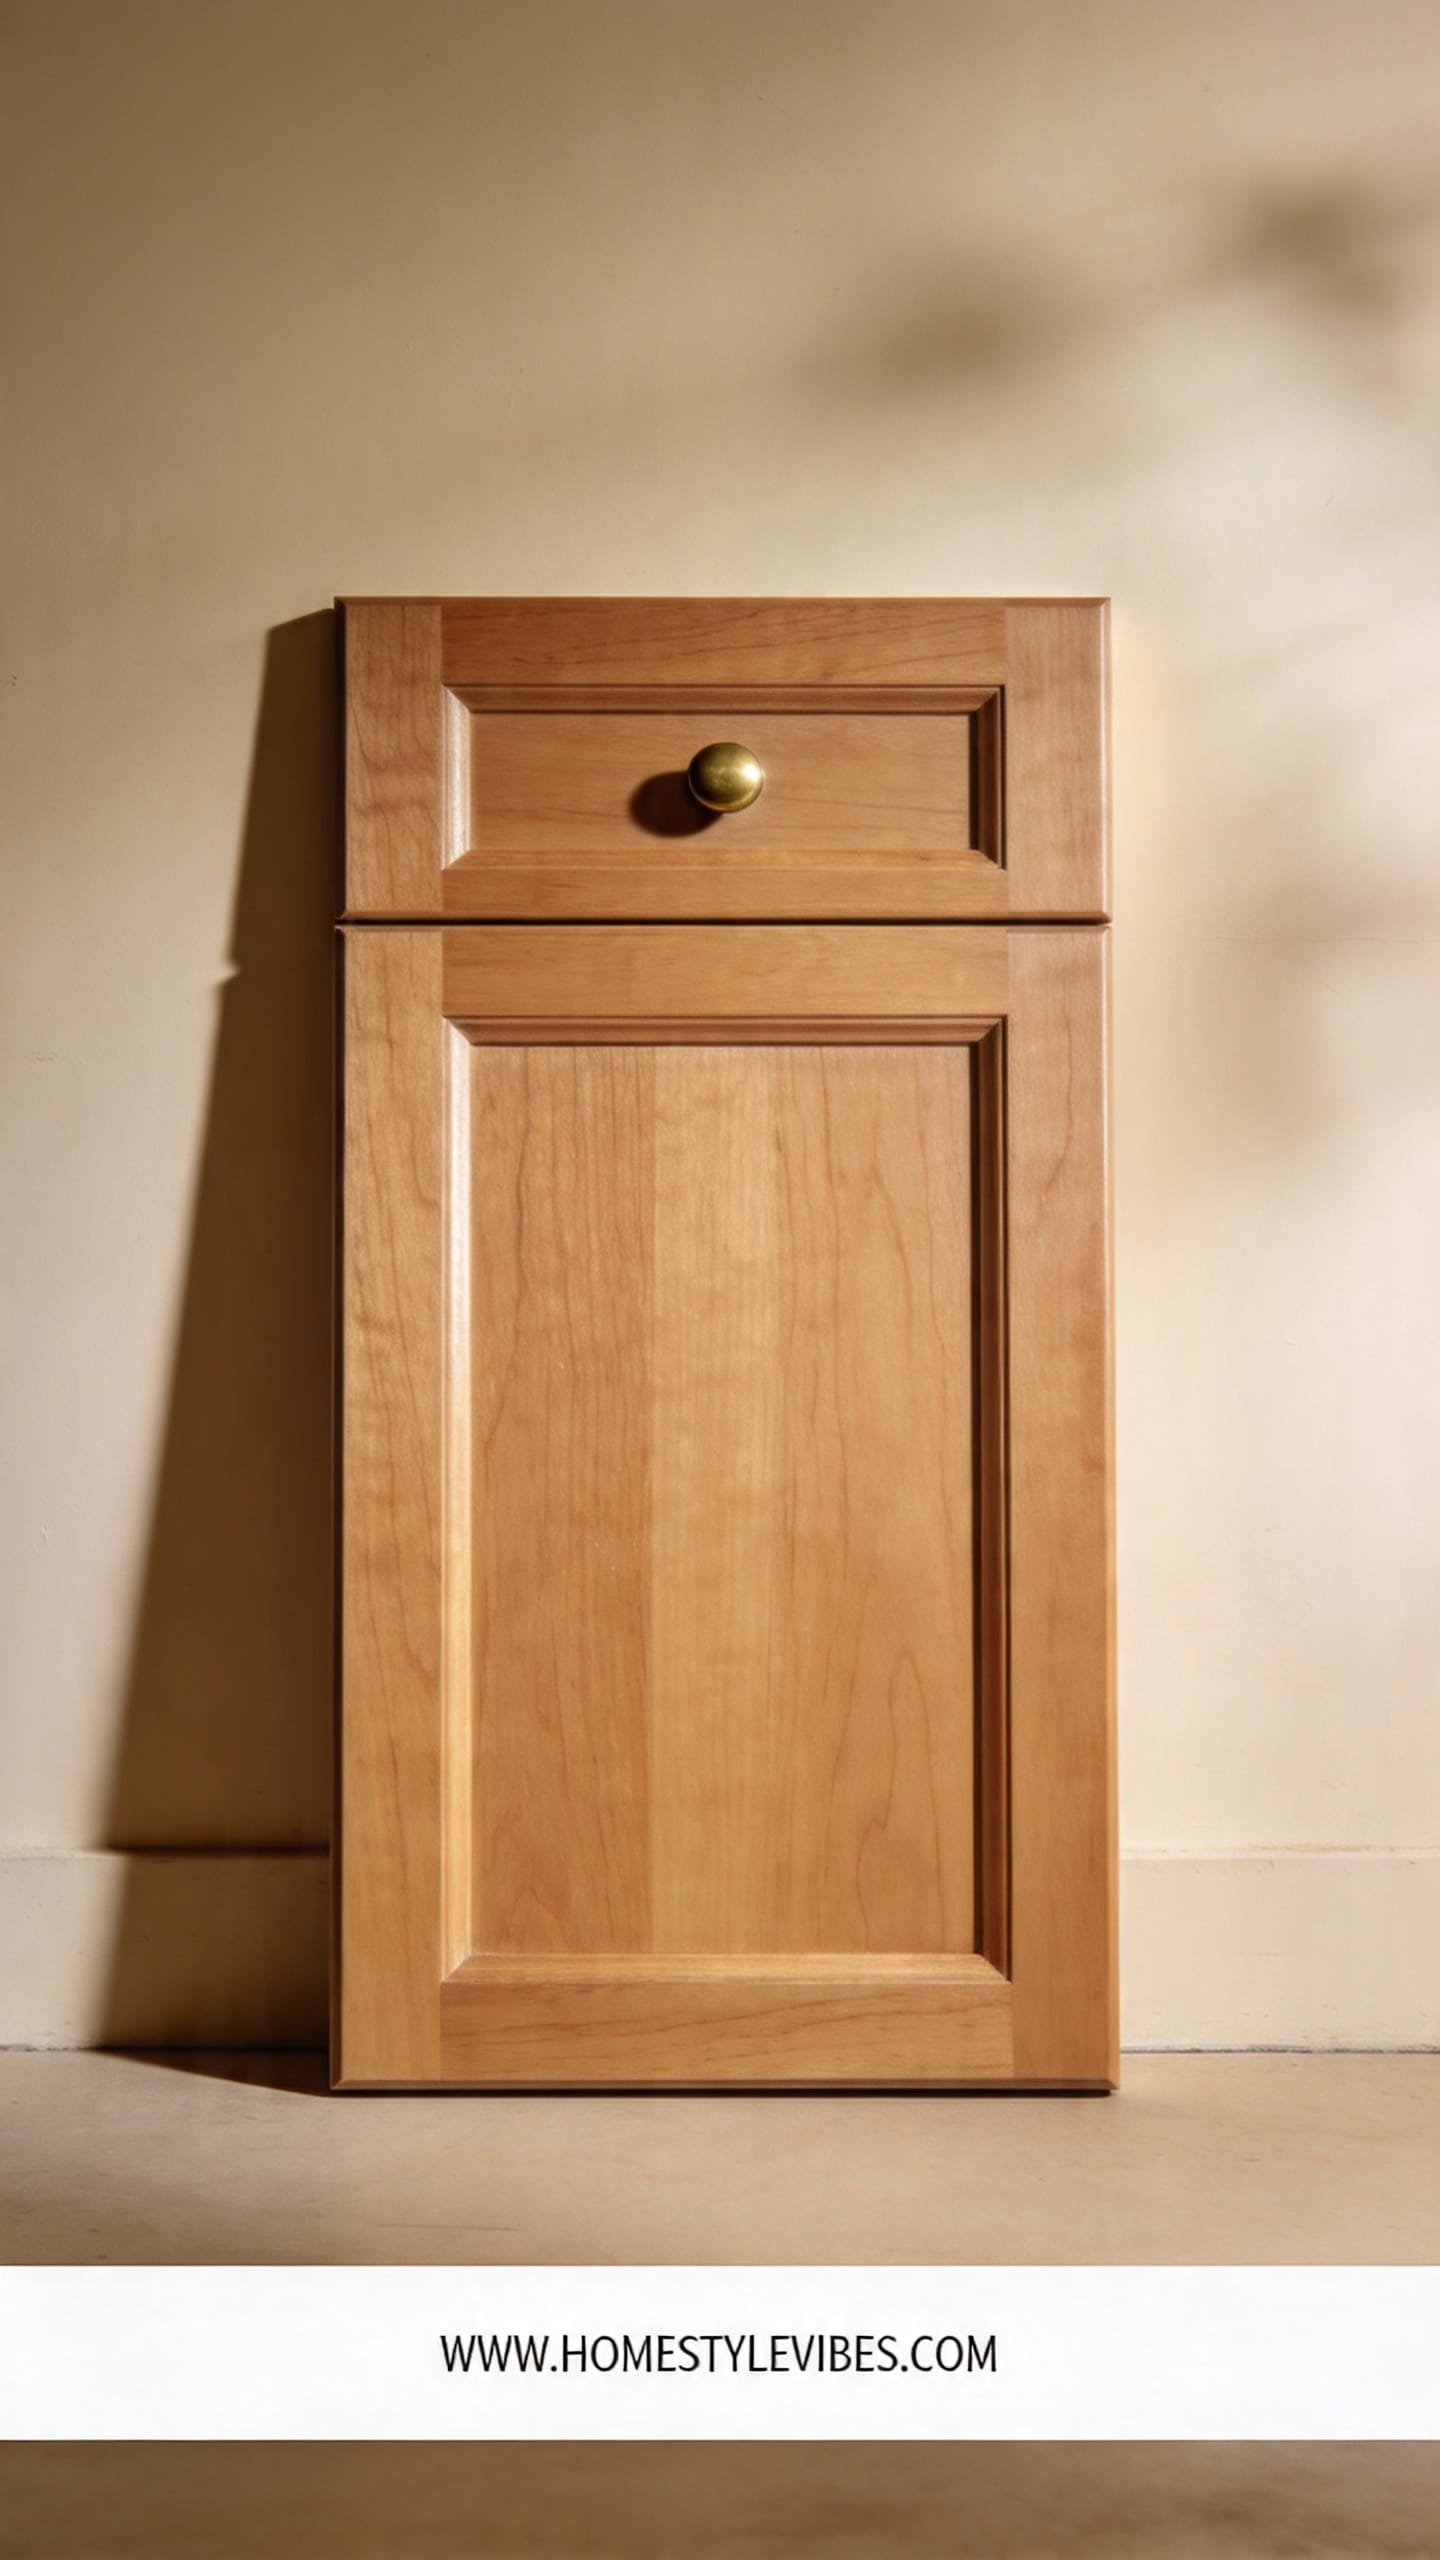
We’ve all been there: you scrub hard, stand back, and your cabinets look… patchy. The truth is, how to clean wood cabinets well starts with understanding the finish you’re working with. Is it lacquer, polyurethane, shellac, or an oil/wax finish? Each one reacts differently to water, soap, and degreasers. A quick test on an inside door near the hinge tells you what you’re dealing with — and what to avoid.
Here’s why this matters: a polyurethane or lacquer topcoat can handle a diluted dish soap wipe-down without blinking, while an oil-rubbed or waxed finish hates excess moisture and harsh cleaners. You’ll feel the difference under your fingers — slick like glass or softly velvety. You’ll see it too: glossy reflection or a matte glow. Start here, and everything that follows becomes easier, faster, and safer.
- Renter-friendly swap: If you can’t confirm the finish, stick to the gentlest route — barely damp microfiber plus a drop of mild dish soap. You’ll remove grime without risk.
- Budget alternative: Skip specialty test kits. Use your senses: tap for hardness (poly is hard), look for high gloss (often lacquer), and smell near a hidden spot (oil/wax may have a faint, warm scent).
This isn’t about achieving a magazine-perfect kitchen. It’s about learning your specific cabinets and creating a rhythm that fits your life. If you miss a week, nothing breaks — you simply start where you are.
Smart Supplies: What to Use (and What to Skip) on Wood Cabinets
Having the right kit makes cleaning feel like a 10-minute reset instead of a chore you dread.
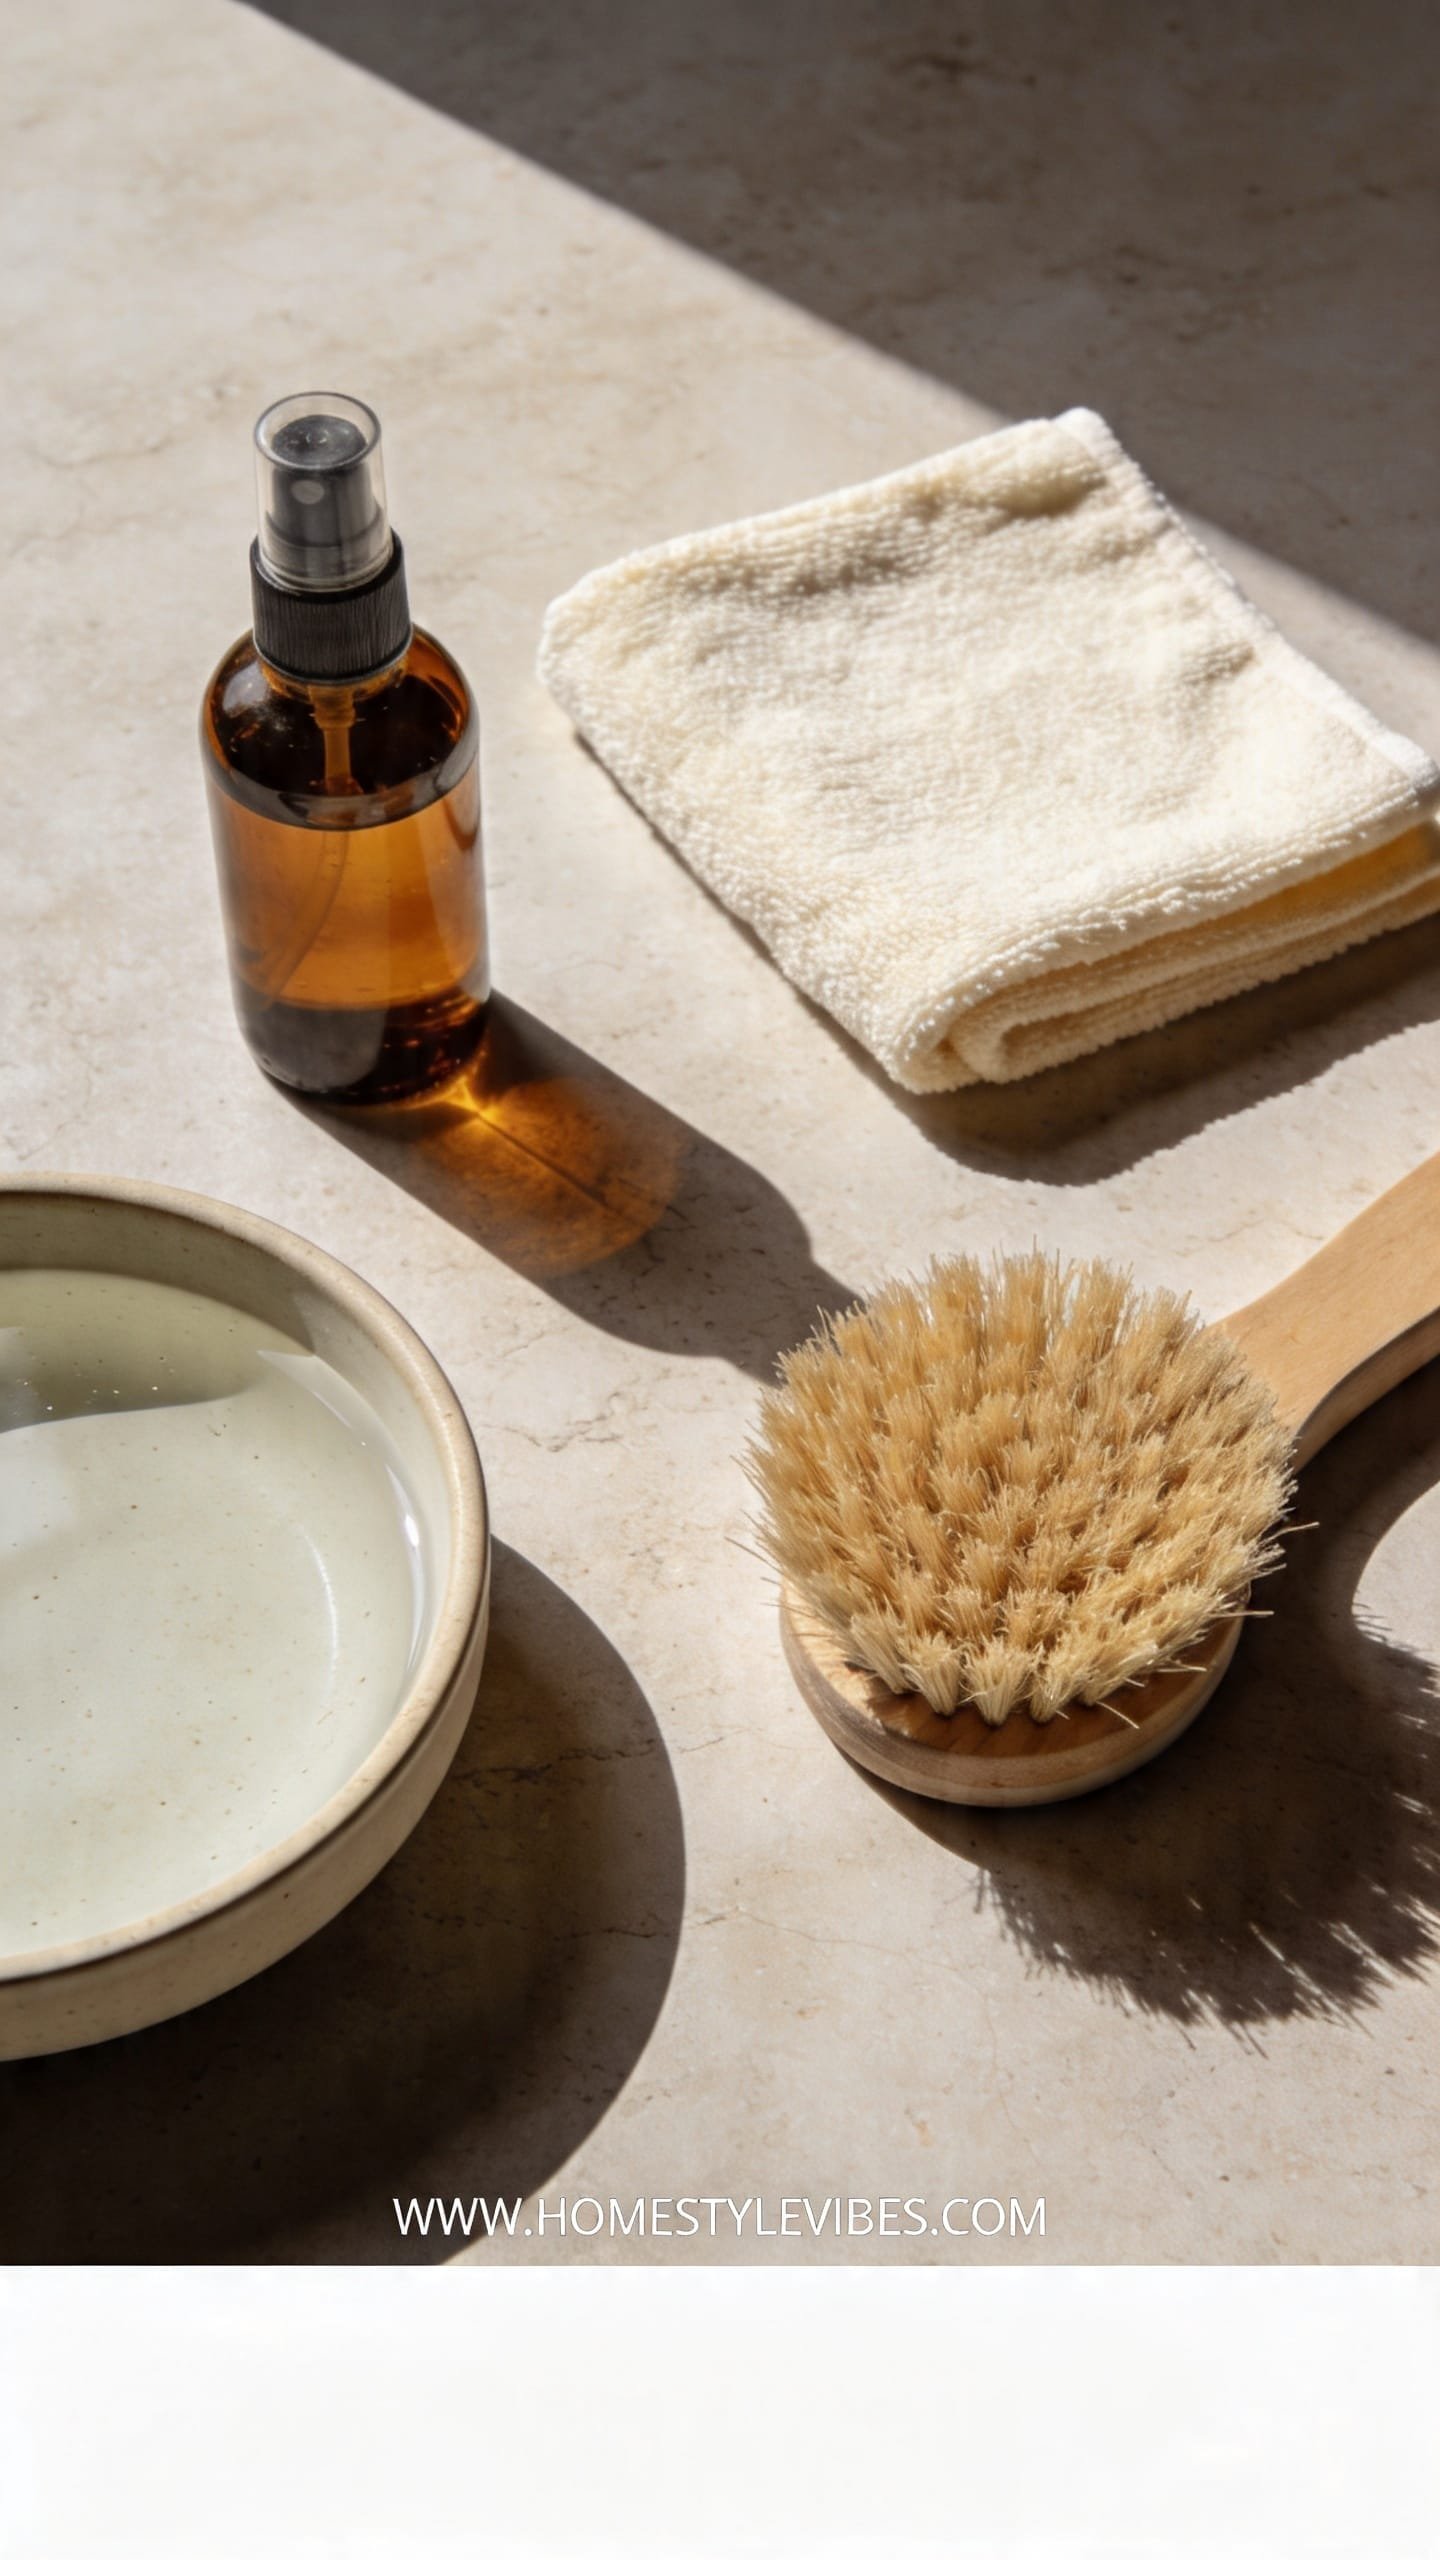
You’ve tried random sprays and too-scratchy sponges and it still feels streaky. This is the part most people get wrong: using heavy-duty degreasers on every mess. Instead, build a simple tiered kit — gentle for daily, targeted for grease, restorative for finishing touches. The textures matter: plush microfiber grabs dust, a soft-bristle toothbrush loosens crumbs from grooves, and a barely damp sponge lifts splatters without drenching the wood.
Here’s the curated, US-store-friendly list that works every time. Best overall? Mild dish soap (Dawn or Seventh Generation), warm water, and a high-quality microfiber cloth. Budget pick? Walmart’s Mainstays microfiber multi-packs. Worth the splurge? A wood-cleaning concentrate like Murphy Oil Soap for occasional deeper cleans on sealed finishes. Skip this one: abrasive powders or green scrub pads that leave micro-scratches catching light like tiny cobwebs.
- Budget-friendly kit (Target/Amazon): Microfiber cloths, Dawn dish soap, warm water spray bottle, soft toothbrush, melamine sponge (for hardware only), cotton swabs, and a small step stool.
- Renter-safe add-on: A gentle wood polish/conditioner like Howard Feed-N-Wax for non-painted doors with tired sheen — use sparingly and buff well.
Daily Quick Clean: A 2-Minute Routine That Prevents Buildup
This fast, gentle wipe keeps the warmth and luster without ever feeling like a deep clean.
It sounds obvious, but here’s where it usually falls apart: we wait until cabinets feel tacky. By then, steam and oil have already settled into a thin, shiny film that steals the wood’s glow. Instead, think of this as face wash for your cabinets — small, consistent effort beats the occasional scrub. After dinner, when the kitchen is still warm and fragrant, give the high-touch zones a 2-minute reset.
Focus where hands and heat live: doors near the stove, sink, trash pull-out, and top rails you instinctively grab. Mist a microfiber with warm water (add a single drop of dish soap for smudges), wipe with the grain, then immediately dry with a second cloth. You’ll see the wood’s true tone return — softer highlights, cleaner shadows along the panel edges, no haze. It’s quick, it’s gentle, and it works.
- Budget-friendly alternative: Keep a $1 spray bottle (Walmart) filled with warm water and a single drop of soap under the sink. No excuses, no full clean required.
- Renter-friendly swap: If your lease is strict, use water-only on painted or mystery-finish cabinets most days — save soap for the weekend pass.
If you skip a day, you didn’t fail. You’re human. Tidy kitchens are built on repeatable habits, not perfection. Pick up tonight, even if it’s just the two doors by the stove.
Weekly Degrease: Cut Through Film Without Dulling the Wood
This is your Sunday reset — the one that makes everything feel cleaner, brighter, and lighter.
You’ve wiped daily, but the invisible stuff — atomized oil from sautéing, sauce mist from simmering — still settles. Weekly, you’ll do a gentle degrease that lifts that film without stripping the finish. The method is simple: warm water, a drop or two of dish soap, and patience. Think gentle massage, not scrubbing. You’ll feel the difference as the cloth glides more easily and the surface loses that tacky drag.
Best for beginners: dish soap and warm water. Best overall on sealed finishes: Murphy Oil Soap diluted per label. Skip anything citrus-heavy on unknown finishes (lovely scent, risky chemistry). Work in sections — left of range, right of range, sink run — and always end with a clean water rinse cloth, then a dry cloth. You’ll see the grain read crisper, like fine lines in oak or the soft shimmer of maple catching evening light.
- Budget pick: Dawn + warm water wins for cost and performance. You already own it.
- Renter-safe trick: Use painter’s tape to protect inside hinge edges if you’re worried about moisture creeping into the door core. Remove immediately after drying.
Deep Clean the Details: Hinges, Knobs, Grooves, and the Greasy Zones

These are the tiny places that hold grime and make a whole kitchen feel tired.
You’ve cleaned the obvious surfaces, but something still looks dim. Look closer: the shadowed grooves on shaker doors, the softened shine around knobs, and the hinge edges right where fingertips land. This is the part most people skip, but it’s the difference between “clean enough” and “Wow, your kitchen looks amazing.” The details don’t take long — just focused tools and a little rhythm.
Use a soft toothbrush dipped in your cleaning solution to trace grooves and profiles. Wipe immediately with a damp cloth, then dry thoroughly. For hardware, remove knobs and pulls if possible — soak for a few minutes in warm soapy water, scrub with a soft brush, then buff dry with a microfiber. Hinges? Keep water to a minimum. Clean with a barely damp cotton swab and dry fast. Move strategically: top to bottom so drips don’t hit areas you’ve already perfected.
- Budget-friendly helper: A pack of cotton swabs and an old soft toothbrush. Under $5 and wildly effective.
- Renter-friendly hack: If you can’t remove hardware, use painter’s tape around the base to protect the finish while you scrub edges.
Perfection isn’t the goal. Progress is. Do the heavy-traffic doors this weekend and the pantry next time. Cleaning in chapters still tells a beautiful story.
Restore the Sheen: Conditioning and Protecting Wood Without Grease
This is the glow-up — a soft, even luster that makes the wood look nourished, not shiny.
You’ve seen oily polishes leave streaks and dust magnets. Hard pass. The secret isn’t slathering on product — it’s using a minimal, high-quality conditioner sparingly and buffing thoroughly. If your cabinets have a strong polyurethane or lacquer topcoat, you might only need a final dry buff with a plush microfiber to restore a satin glow. For oiled or older finishes that look thirsty, a light application of a reputable wood conditioner can revive depth without the greasy feel.
Best overall: a dry buff for sealed finishes. Worth the splurge for older wood: Howard Feed-N-Wax or a similar beeswax/orange oil blend used once or twice a year, lightly applied with a lint-free cloth, then buffed until the surface feels silky, not slick. Skip anything that promises “instant high gloss” — that’s a dust trap and often looks uneven in morning light. You want a whisper of sheen, like a candlelit highlight along the grain.
- Budget-friendly alternative: If you’re unsure, skip conditioner and use a clean, dry microfiber to burnish the surface. The friction alone revives luster.
- Renter-friendly swap: Ask your landlord about past products. If unknown, keep it to buffing only to avoid conflicts with prior finishes.
Set It and Keep It: Maintenance Schedule and Small Habit Shifts
This is how you protect your work so the kitchen stays photo-ready without marathon cleans.
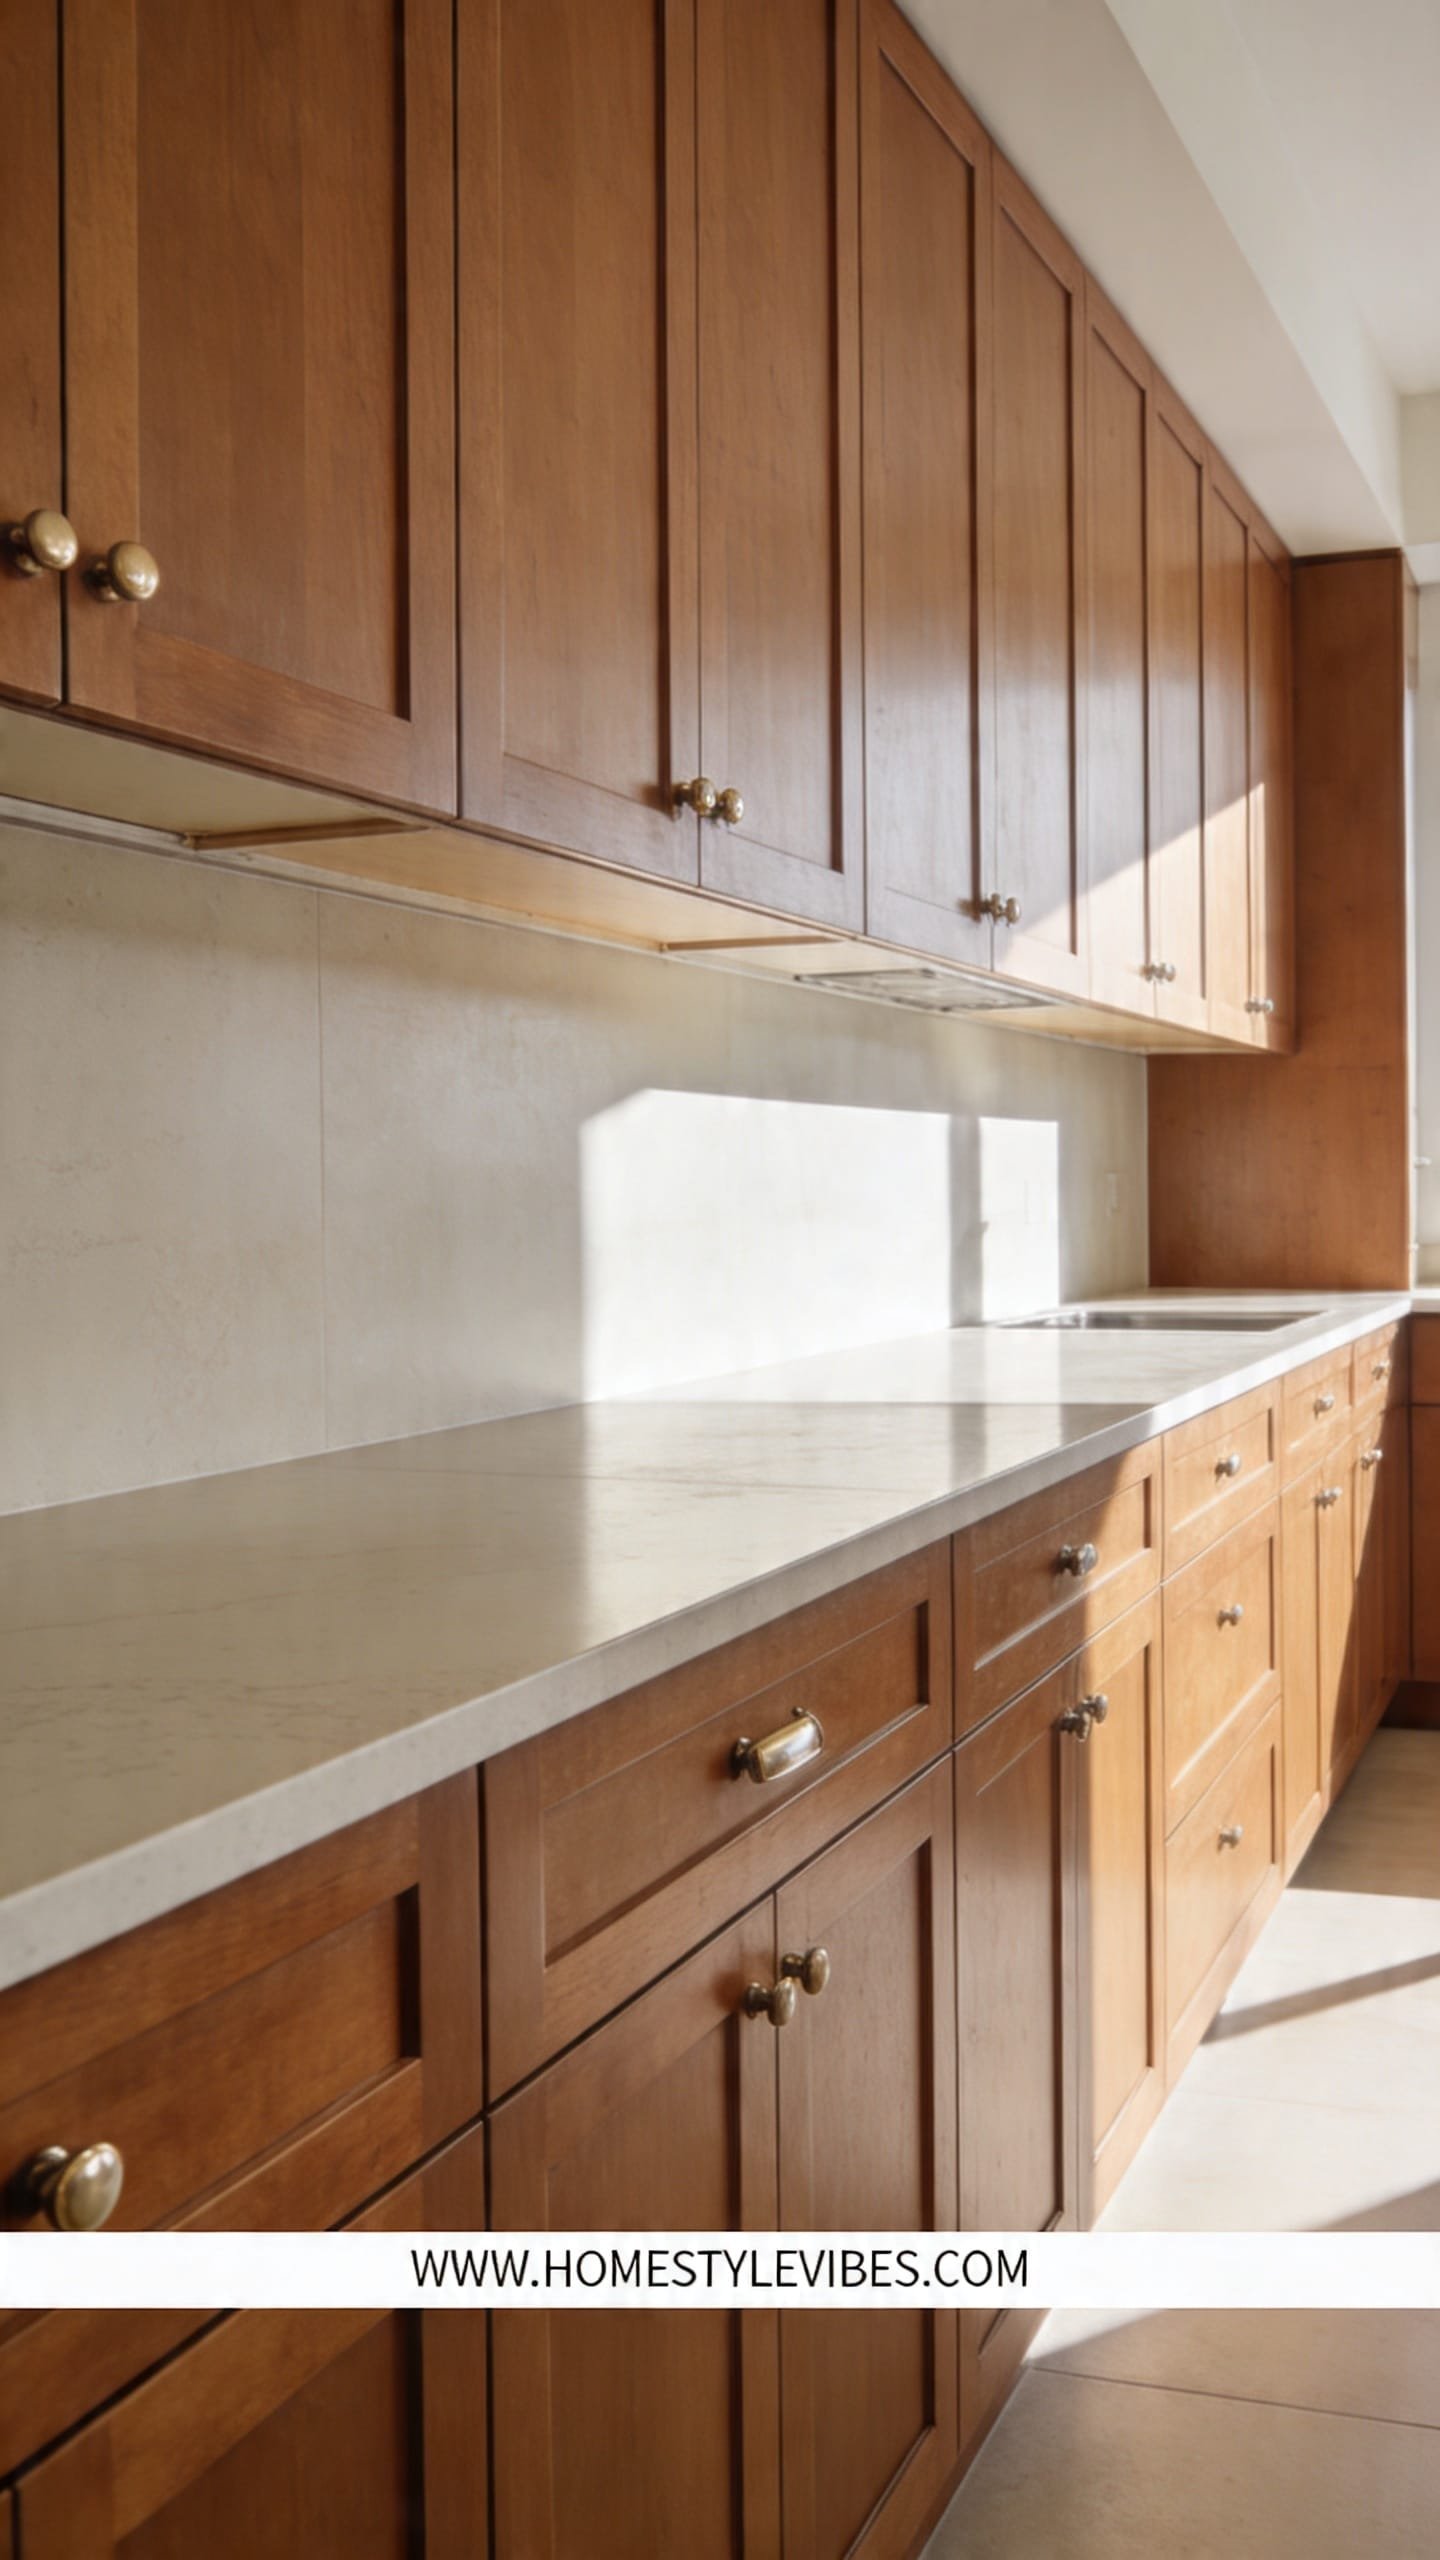
You’ve done the hard part. Now consistency keeps your cabinets glowing. The schedule is simple: daily quick wipe on high-touch zones, weekly degrease near the stove and sink, and a seasonal deep clean with hardware refresh and a careful condition or buff. Tie these moments to routines you already have — wipe while the kettle heats, degrease on laundry day, deep clean at the change of seasons.
And yes, habits matter. Use your range hood every time you sauté, even for eggs. Keep a small cloth in a drawer right next to the stove so grabbing it is muscle memory. Wipe splatters while they’re still warm and soft. Tiny choices create that subtle, high-end look: wood that reads rich and even, hardware that gleams, seams that stay tight and crisp.
- Budget-friendly tweak: Add a $15 under-cabinet LED strip (Amazon) above the stove area. Better light shows smudges early so cleaning stays quick.
- Renter-friendly routine: Set phone reminders for your weekly pass. Five minutes beats the dreaded Sunday scrub.
Quick Checklist
- Identify your cabinet finish on a hidden spot
- Stock microfiber cloths in three colors (clean, rinse, dry)
- Fill a spray bottle with warm water and 1 drop of dish soap
- Keep a soft toothbrush and cotton swabs for grooves
- Daily: wipe high-touch doors and immediately dry
- Weekly: gentle degrease near stove and sink, then rinse and dry
- Remove and clean hardware during seasonal deep cleans
- Buff to restore sheen; condition sparingly if finish allows
- Always spray cloth, not cabinets; avoid oversaturation
- Turn on the range hood whenever you cook
Frequently Asked Questions
Can I use vinegar to clean wood cabinets?
Use it only very diluted (at least 1 cup per 1 gallon of warm water) and only on sealed finishes. Avoid on waxed or oiled cabinets — it can strip or dull the surface. When in doubt, stick to mild dish soap and water.
What if my cabinets feel sticky even after cleaning?
That tacky feel is usually cooking oil residue. Do a targeted weekly degrease: warm water with a few drops of dish soap, wipe with the grain, rinse with clean water, and dry. If residue persists, try a wood-safe cleaner like Murphy Oil Soap (diluted) on a test spot.
Are “orange oil” polishes safe for all wood cabinets?
No. They’re fine for older, oil-finished woods in small amounts, but they can create buildup or a too-glossy look on sealed finishes. If you use one, apply sparingly to a cloth, never the cabinet, and buff thoroughly.
How do I clean heavily carved or grooved doors without damaging them?
Use a soft toothbrush with diluted dish soap, work gently with the grain, and immediately wipe with a damp cloth to lift loosened grime. Dry right away. Patience wins here — multiple light passes beat aggressive scrubbing.
What’s the best routine if I have almost no time?
Do the daily quick wipe on the two doors you touch most (usually near the stove and sink). It’s a 90-second habit that prevents the heavy buildup. Add a 5-minute weekly pass on those same doors and handles.
Your Fresh Start
Look around your kitchen for a second. The warmth of the wood. The way light hits the panels. This isn’t about chasing perfection — it’s about creating a calm, cared-for space where dinner feels easier and mornings feel brighter. Start with one door tonight. Spray the cloth, not the cabinet, wipe with the grain, then dry. You’ll see the original tone reappear like a quiet reveal.
From there, keep it simple. A daily swipe, a weekly reset, a seasonal deep clean. It’s not a project you dread; it’s a ritual that pays you back every single day with a kitchen you’re proud to show off. You’ve got this — and trust me, once you feel that smooth, clean wood under your fingertips, you won’t want to stop.