How to Clean Kitchen: a Step-by-Step Guide for Homeowners Fast
You want a kitchen that feels like a fresh start every morning — gleaming counters, sun bouncing off a tidy sink, a faint hint of citrus in the air. You hate the sticky floors, the greasy film on the stove, and that mysterious fridge smell you can’t quite name. This guide shows you exactly how to clean your kitchen in a calm, methodical way — in one focused session or broken into bite-size blocks — using affordable products you can grab at Target or Amazon. Expect a Pinterest-pretty result and a workflow you’ll actually want to repeat.
What’s Inside
Prep Like a Pro: Set a Timer, Set the Vibe, and Clear the Clutter
This first five minutes makes or breaks your momentum — and your mood.
We’ve all been there: you start to clean the kitchen, then get stuck reorganizing a spice drawer from 2012. It sounds obvious, but here’s where it usually falls apart — no clear plan and too much visual clutter. Before you touch a sponge, get the stage set so your energy goes into progress, not decision fatigue.
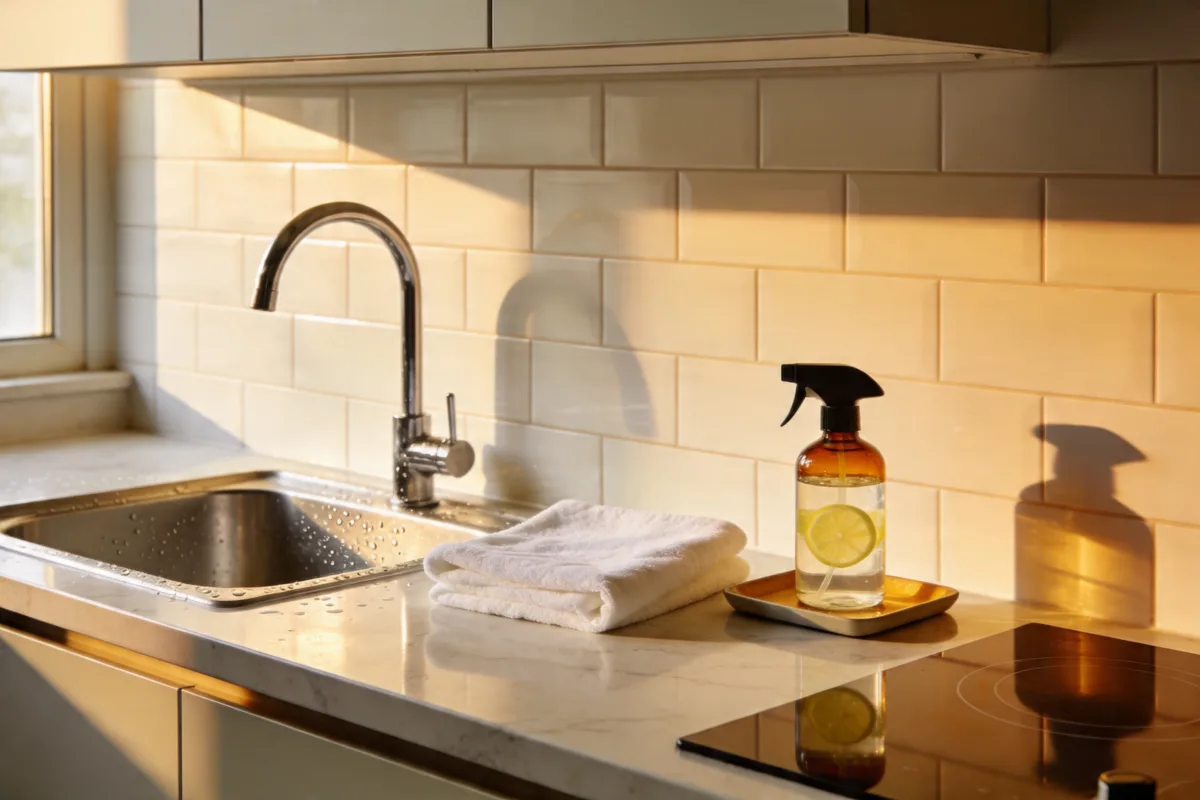
Start with a trash bag and a laundry basket. Trash and recycling in the bag; anything that doesn’t belong in the kitchen goes in the basket for later. Queue a 30- to 60-minute playlist and crack a window if you can — a whisper of fresh air makes grease-smells less relentless. Fill the sink with hot water that steams a little and add a squeeze (about 1 tbsp) of Dawn Powerwash or Mrs. Meyer’s dish soap. Drop in dirty utensils and removable parts of small appliances to soak while you work. The heat softens stuck-on sauces and the lemony scent lifts that “after-dinner” heaviness.
If you rent or you’re on a tight budget, a simple kit is all you need:
- Microfiber cloths (grab a 12-pack from Costco or Amazon Basics)
- All-purpose cleaner (Method All-Purpose or Lysol Kitchen Pro)
- Glass cleaner (Windex or a vinegar-water DIY)
- Baking soda and white vinegar
- Scrub brush and old toothbrush
- Vacuum with hard-floor setting or a good broom
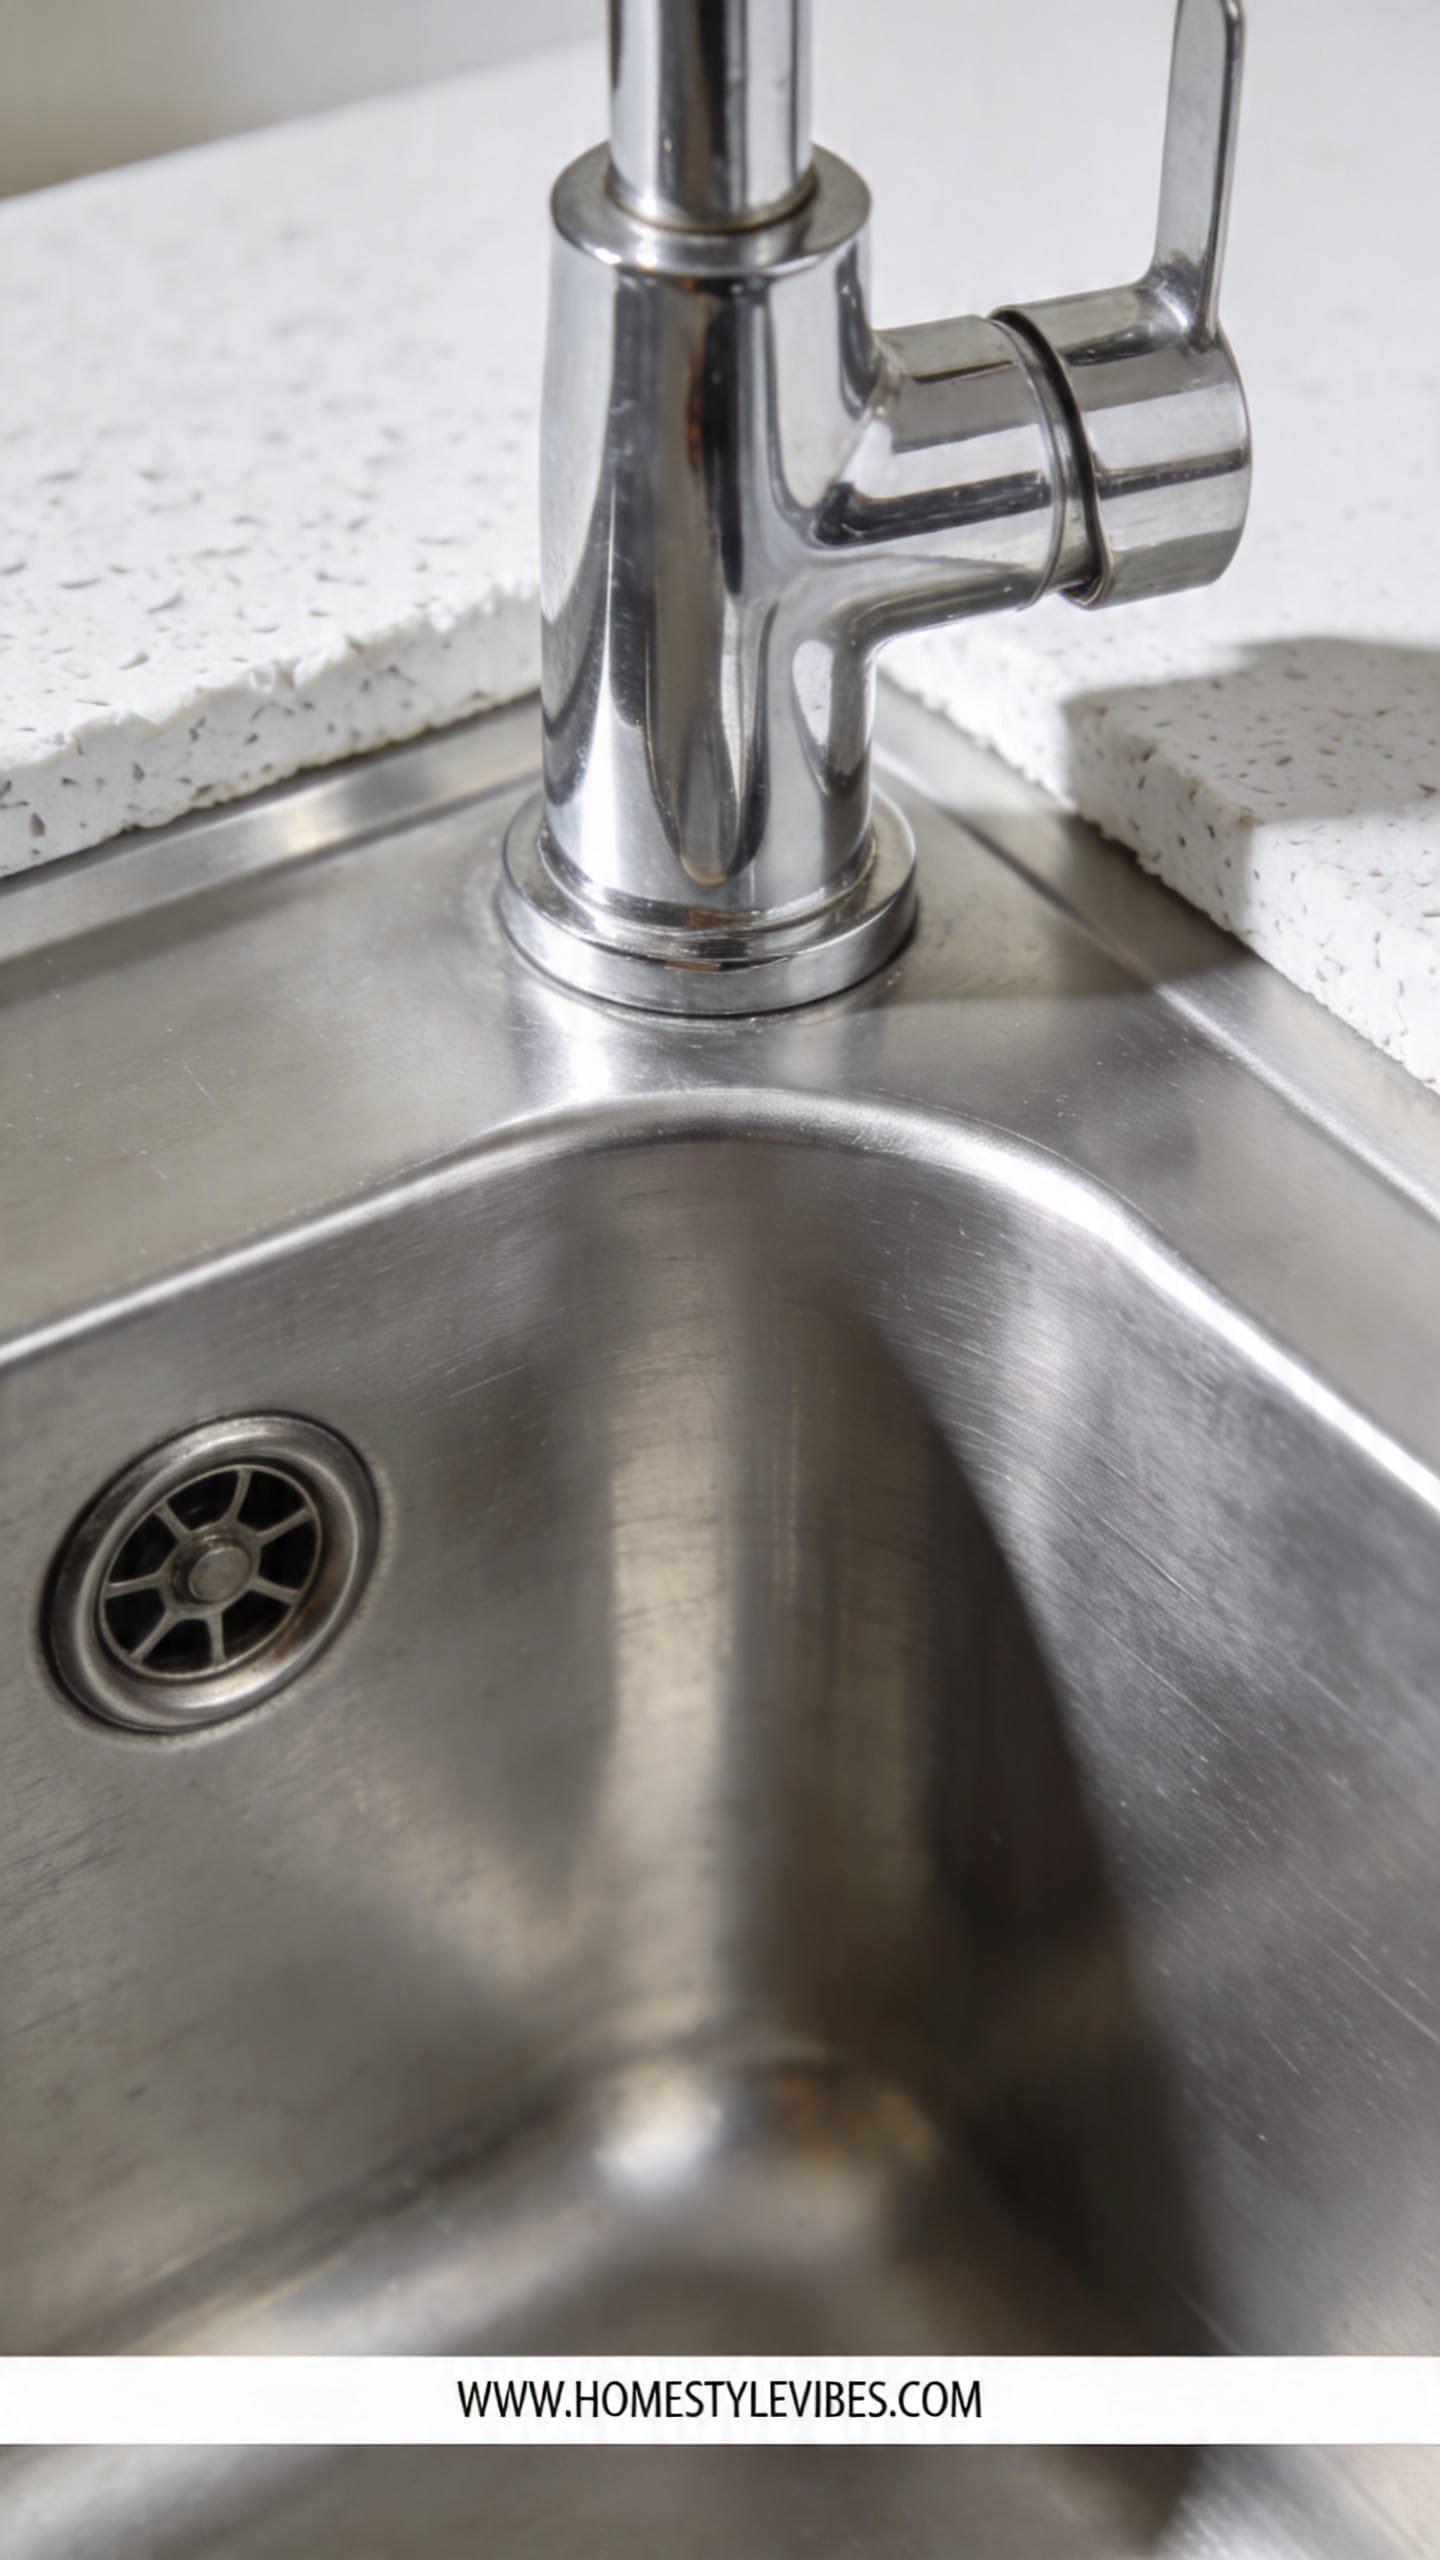
Your Sink Strategy: Degunk, Disinfect, and Make Stainless Steel Shine
When the sink sparkles, the whole room suddenly feels under control.
You’ve tried wiping the sink a hundred times, but it still looks cloudy and smells a bit off. The truth is, stainless steel and drains need a different approach than dishes. Once you nail this sequence, you’ll get that cool metallic gleam and a fresh, neutral scent instead of lemon-over-garbage.
First, empty the soaking sink water. Sprinkle baking soda over the wet basin — the texture should feel like a fine beach sand under your fingertips. Scrub in circles with a damp sponge, working with the grain of the steel to avoid streaks. For the drain and disposal, pour 1/2 cup baking soda followed by 1 cup hot white vinegar. It will fizz like a tiny science fair; let it work for 10 minutes, then flush with a kettle of boiling water for a clean, steamy finish. Polish stainless with a few drops of mineral oil on a microfiber cloth for that slick, mirror-like sheen.
On a budget? Skip specialty polish and use a pea-sized bit of olive oil. If you’re in a rental with a composite sink, choose a soft sponge and a non-abrasive cleaner like Soft Scrub to protect the finish.
- Best overall cleaner: Bar Keepers Friend for stainless (gentle but effective)
- Budget pick: Baking soda + dish soap paste for daily scrubs
- Skip this one: Steel wool — it scratches and dulls finishes
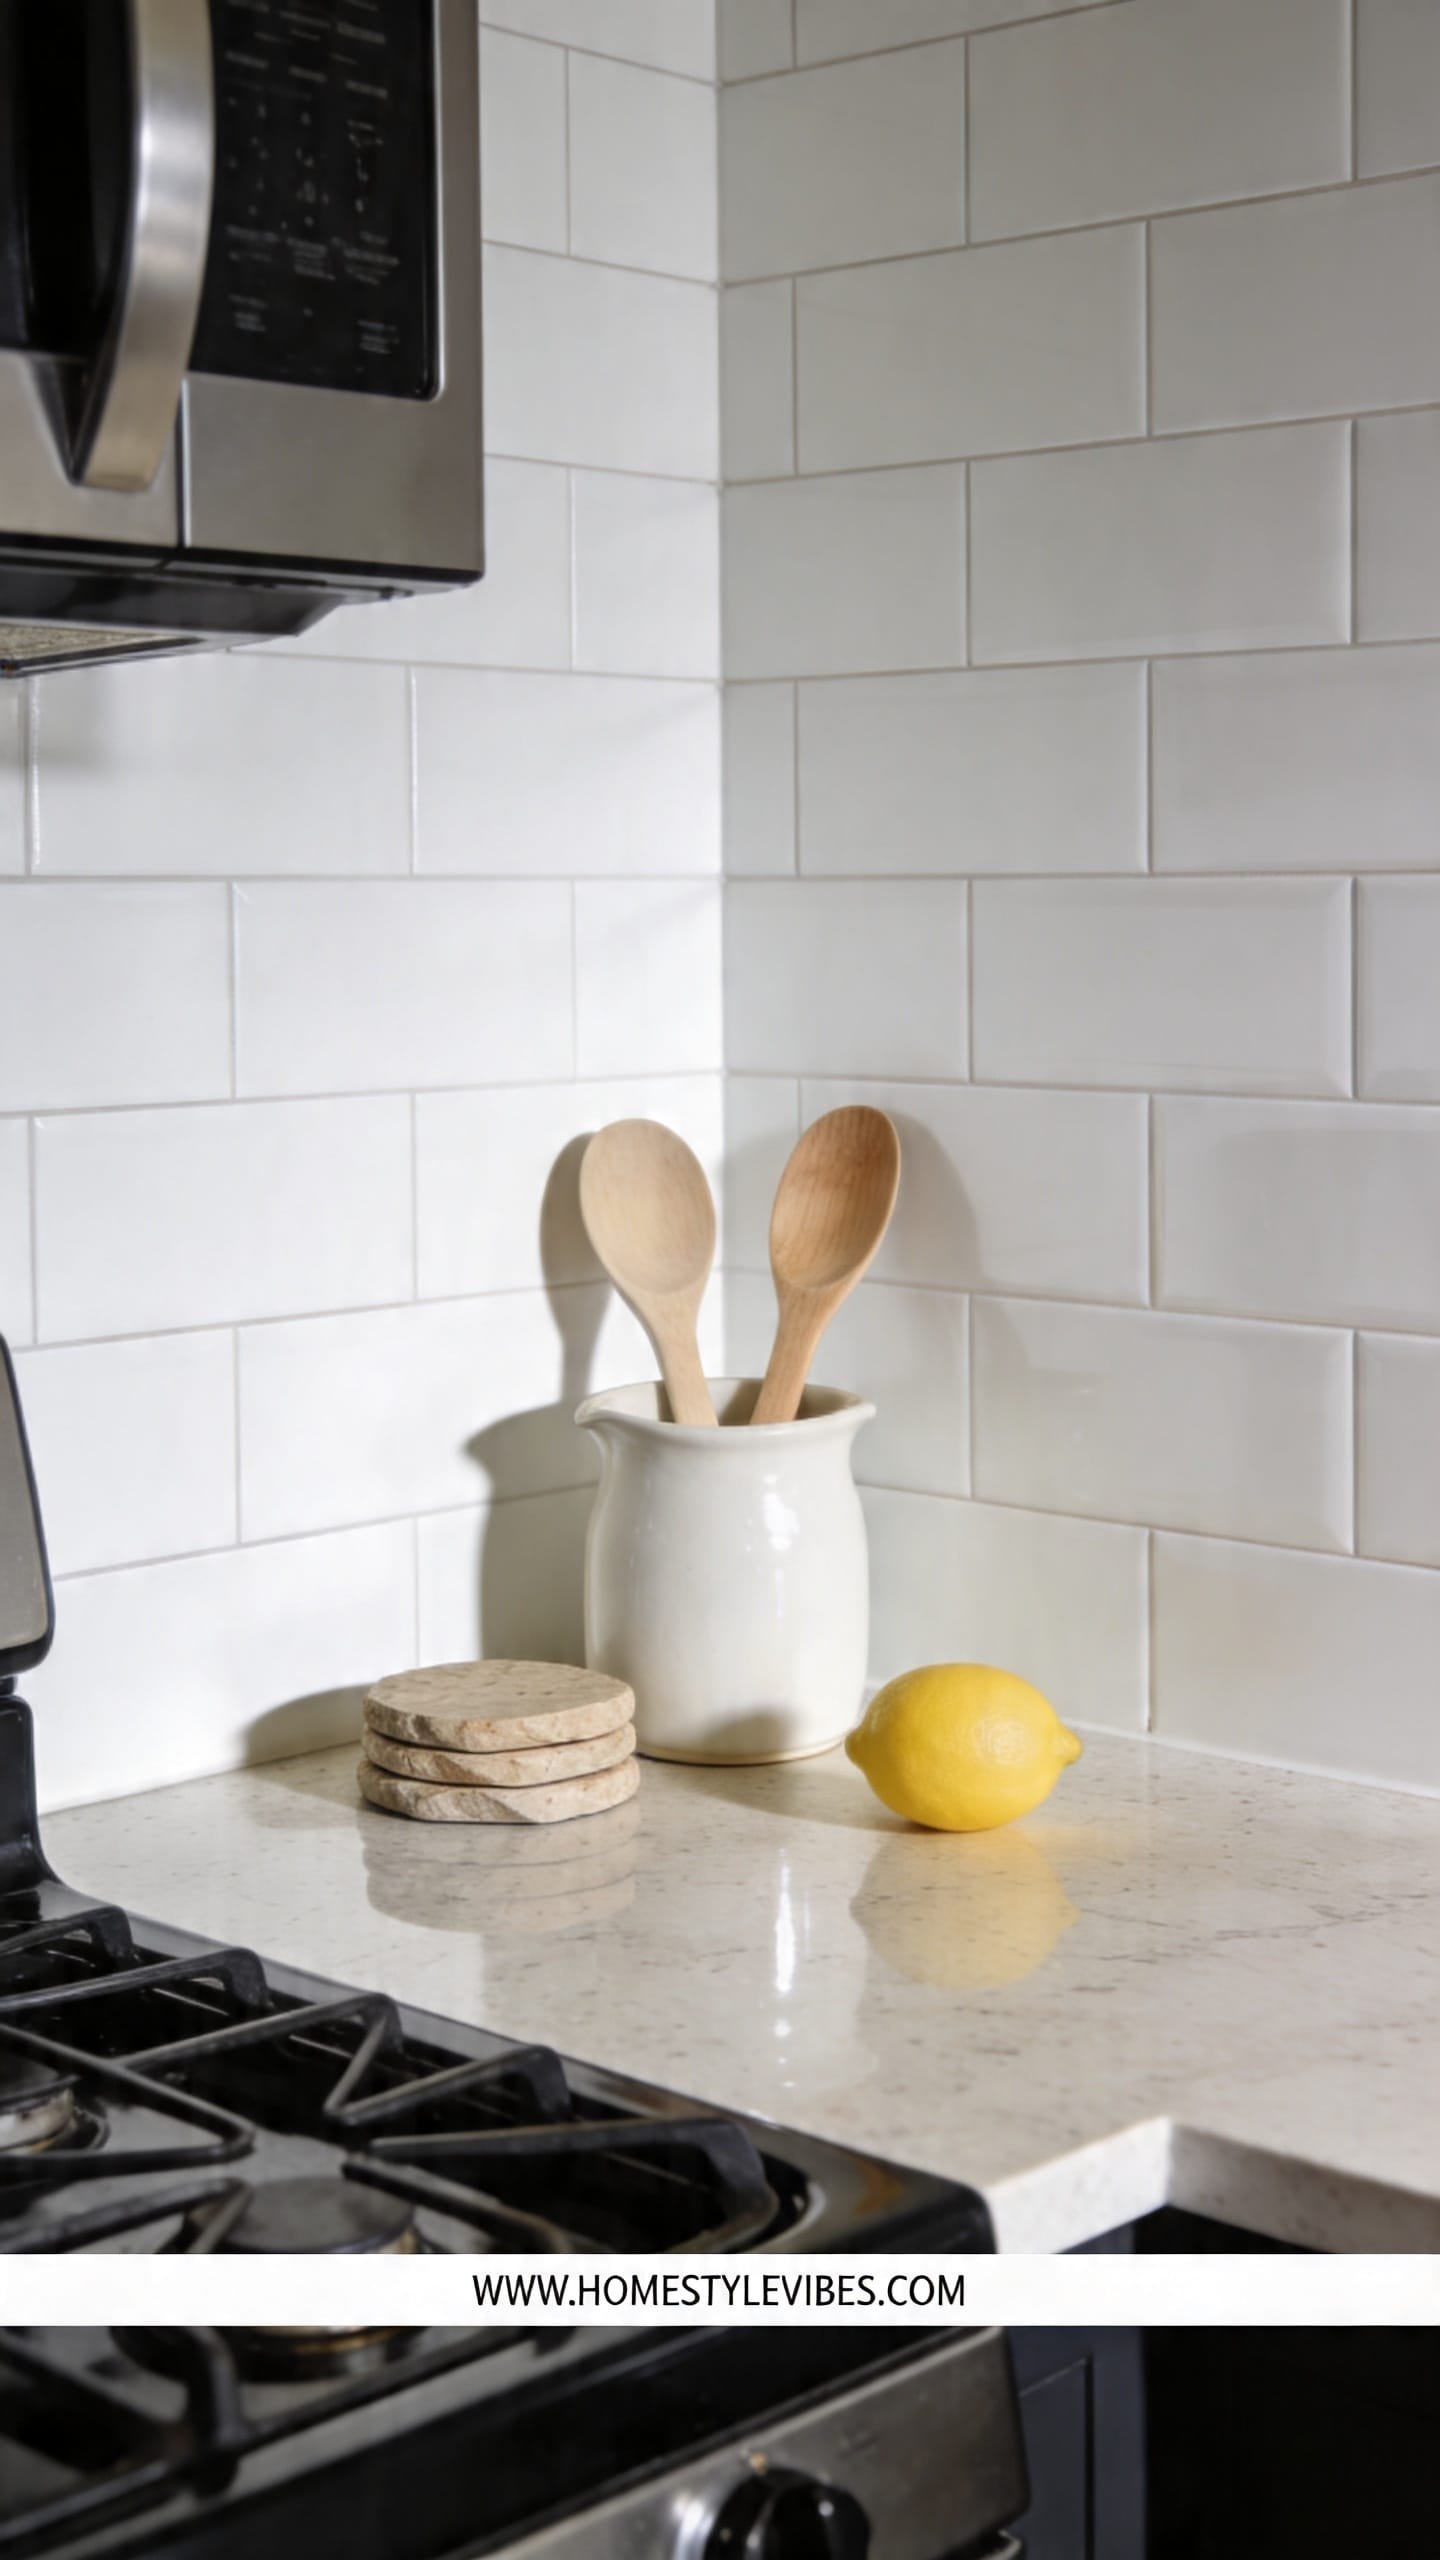
Countertop Method: Degrease, Disinfect, and Protect the Finish
Your counters are the stage — clean them well and everything you place on top looks better.
This is the part most people get wrong: using the same cleaner on every surface. Granite, butcher block, laminate, and quartz each have different needs. Here’s why this works — matching cleaner to surface prevents film, streaks, or dullness, so light can skim along the surface instead of catching on residue. The result? Smooth to the touch, a satin or soft-gloss glow, and no sticky edges by the stove.
Work left to right or top to bottom, always in the same direction. Start with a degreaser near the stove (Krud Kutter or Dawn diluted in warm water), then switch to your surface-safe cleaner: a pH-balanced stone spray for granite/quartz, a mild soapy wipe for butcher block followed by a food-safe oil once a month, and a standard all-purpose for laminate. Wipe edges and undersides where fingers grip — that’s where crumbs hide. Finish with a dry cloth to eliminate moisture shadows.
Renter-friendly swaps and budget ideas:
- DIY glass and laminate spray: 1 cup water + 1 cup vinegar + a few drops of dish soap in a spray bottle
- Butcher block refresh: mineral oil from the pharmacy aisle at Walmart — cheap and effective
- Granite safe: avoid vinegar; use Method Daily Granite or Weiman Granite Cleaner
- Best for beginners: One multi-surface cleaner plus a separate degreaser — minimal decisions
- Worth the splurge: A dedicated stone cleaner for granite or quartz — preserves the finish
- Skip this one: Abrasive powders on laminate — they haze and scratch
This isn’t about achieving a magazine-perfect home — it’s about building a kitchen that works for your life. If a step takes longer today, no big deal. You’ll move faster next time because your muscle memory kicks in.
Appliance Deep Clean: Oven, Stovetop, Microwave, and Fridge Done Right
Grease, heat, and steam create stubborn messes — but they’re predictable and beatable.
We all want appliances that gleam without smelling like a chemical plant. Here’s why this actually works: heat softens grime, steam releases splatters, and timed soaks do the heavy lifting. You’ll spend less time scrubbing and more time finishing touches that make everything look crisp and intentional.
Microwave: Steam and Wipe
Fill a microwave-safe bowl with 1 cup water and 2 tbsp white vinegar. Heat on high for 3-5 minutes until the window fogs like a warm shower mirror. Let it sit for two minutes — the citrusy-vinegar steam melts sauce splatters. Remove the turntable, wash it like a dinner plate, and wipe the interior with a microfiber cloth. Finish with a quick dry wipe for a streak-free glow.
Stovetop: Grates, Burners, and Glass
Gas grates go into hot, soapy water for a soak. For baked-on residue, paste Bar Keepers Friend and a non-scratch pad is best overall. If you have glass, use a razor scraper held at a low angle to lift caramelized sugars; follow with a dedicated glass cooktop cleaner. Knobs? Remove and wash in warm soapy water; use a toothbrush around their posts. You’ll feel a satisfying grit-to-satin shift as buildup releases.
Oven: Gentle But Thorough
Self-clean is powerful but can be hard on gaskets and your indoor air. IMO a safer routine clean wins: sprinkle baking soda inside, spritz with water to create a paste, let sit overnight if you can, then scrape and wipe. For grease lines on the door glass, a Magic Eraser is the budget pick. If you go with an oven cleaner, ventilate well and follow the label strictly.
Fridge: Fast, Cold, and Organized
Turn the temp a notch colder before you start so items stay safe while you work. Pull food by zones (door, top shelf, drawers) to limit exposure. Wipe shelves with a warm soapy cloth, then a clean water rinse to remove suds, and dry to prevent icy streaks. Line crisper drawers with a paper towel layer to catch moisture and keep things smelling neutral, like cool air after rain.
- Best overall degreaser: Krud Kutter for stovetop and hood
- Budget pick: Baking soda + vinegar steam for the microwave
- Worth the splurge: Glass cooktop cream — gives a showroom sheen
- Skip this one: Bleach inside the fridge — it’s overkill and smells aggressive
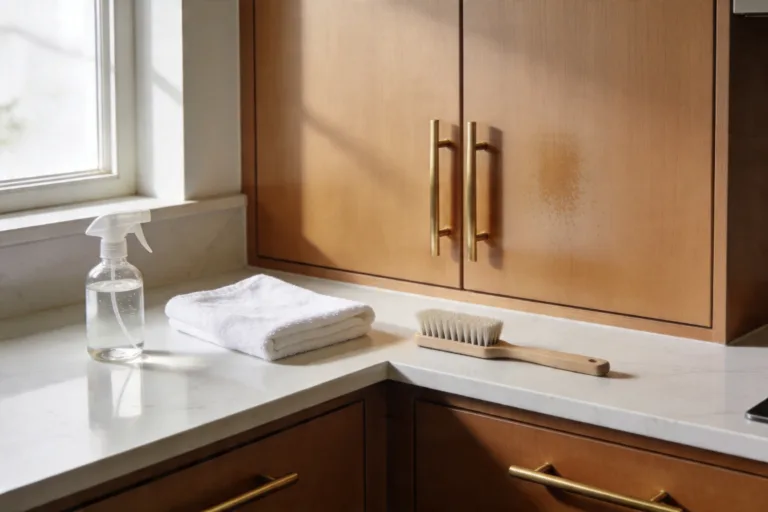
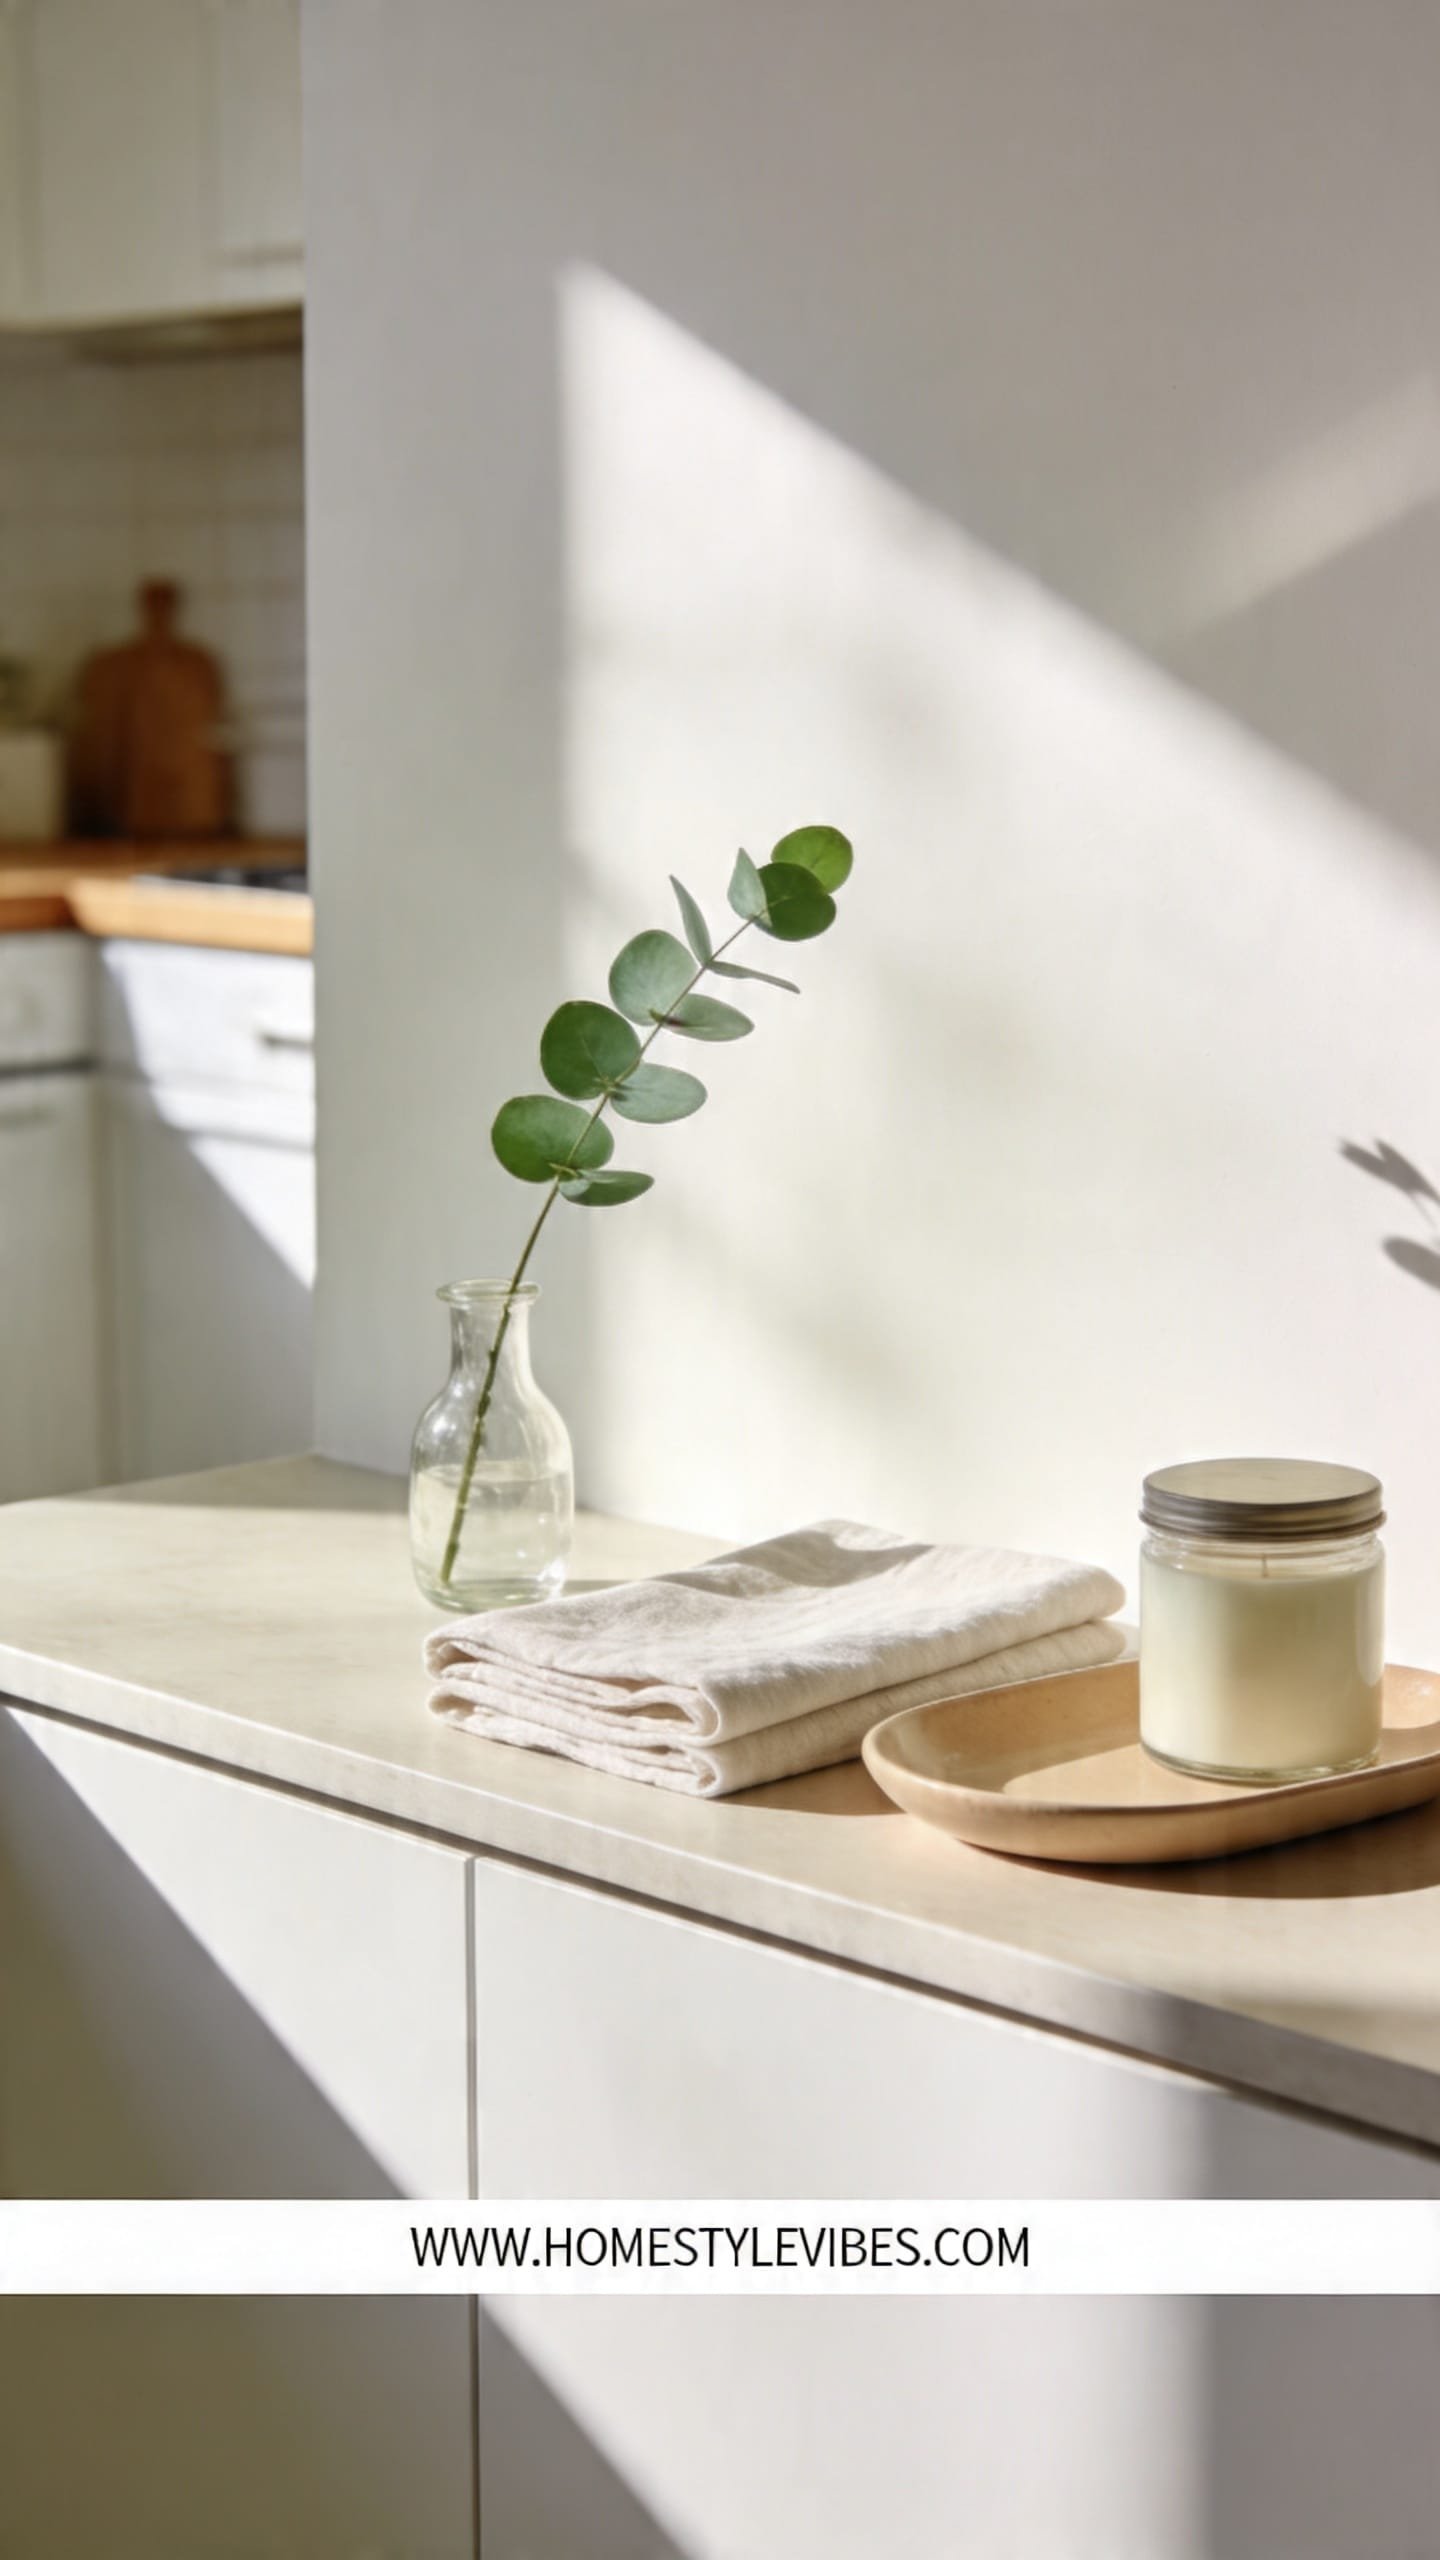
Cabinets, Handles, and Backsplash: The Touch-Point Glow-Up
These are the details you feel every day — literally — and they set the tone.
You wipe the doors, but grime near the pulls lingers like a shadow. Grease atomizes when you cook and settles on vertical surfaces, especially along the backsplash where heat meets air. Address the touch points and everything starts to feel lighter, like slipping into a freshly pressed shirt.
For painted cabinets, use a gentle cleaner like Method or a few drops of dish soap in warm water. Work from the bottoms up to avoid drips, and dry immediately to prevent water marks. Around handles and edges, a soft toothbrush and a mild degreaser lift that satiny, sticky layer without dulling the paint. For wood cabinetry, use a wood-safe cleaner (Murphy Oil Soap diluted per label) and follow the grain so the light reads as smooth, not streaked. On tile backsplashes, a degreaser spray and a grout brush work wonders; finish with a rinse and a towel dry so the tile glaze reflects clean, sharp highlights.
Renter-friendly ideas:
- Swap grimy knobs with budget-friendly pulls from Home Depot — you can reinstall the originals before you move
- Use removable peel-and-stick backsplash film as a grease shield behind the stove if you lack tile
- Magic Eraser sparingly on scuffs at kick plates — always test in a corner
- Best overall: Degreaser + toothbrush around hardware
- Budget pick: Warm water + a drop of Dawn on a microfiber cloth
- Skip this one: Furniture polish on painted cabinets — it creates a smeary film
If you skip one of these steps, nothing falls apart. You simply pick up where you left off. A clean kitchen is built in layers, and every pass makes the next one faster.
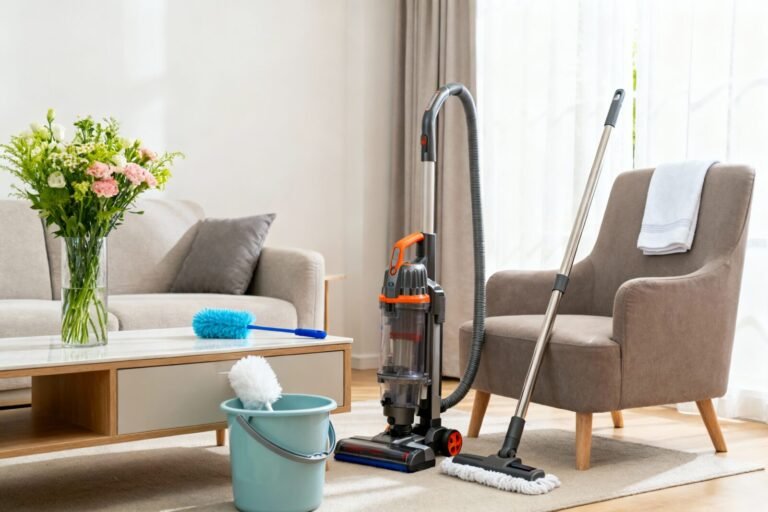
Floors Last: Sweep, Vacuum, Mop — In the Right Order
Gravity brings everything down — catch it all at the finish line.
It sounds simple, but this is where crumbs and greasy dust undo your hard work. Floors collect what you just wiped from counters and appliances, so hit them last and hit them right. The secret isn’t a fancy mop — it’s order and water control. You want soft light gliding across a floor that looks matte-clean, not streaky.
Start by sweeping or vacuuming with a hard-floor attachment to capture grit (that dry, sandy feel under bare feet is your cue to keep going). Edge along baseboards where flour and pet hair drift. Then mop with the correct cleaner: hardwood gets a barely damp mop and a wood-safe cleaner like Bona; tile can handle a stronger solution like Mr. Clean diluted in warm water; vinyl or laminate prefer a gentle, low-water approach to avoid swelling. Rinse the mop head midway — dirty water equals dull floors. Open a window or run a fan so the air feels fresh, not humid.
Budget and renter-friendly picks:
- Microfiber mop with washable pads from Amazon — low cost, high performance
- DIY tile cleaner: warm water + a few drops of dish soap; follow with a clean-water pass
- Swiffer WetJet as a quick option for apartments; use wood-safe pads on wood or laminate
- Best overall: Microfiber mop with separate clean-water rinse bucket
- Worth the splurge: Cordless stick vac with a soft roller — pulls fine dust without scattering
- Skip this one: Steam on unsealed floors — moisture can seep into seams
The 15-Minute Reset: Daily Habits That Keep Everything Cleaner Longer

Small, consistent moves beat weekend marathons — and protect your peace.
We’ve all blown a Saturday cleaning the kitchen top to bottom. It’s exhausting and, a week later, it looks the same. Here’s why a reset works: you interrupt mess at the source. Heat, grease, moisture, and crumbs stop accumulating, so the space feels lighter day after day — like stepping into a cool, orderly café first thing in the morning.
Nightly, set a 15-minute timer. Load or run the dishwasher, wipe the stove around burners, clear and spray counters, and buff the sink dry. Do a quick crumb sweep or a 90-second vacuum pass. On Mondays, wipe handles. Wednesdays, microwave steam. Fridays, fridge scan for leftovers. Each task is tiny; together, they keep that subtle citrus-clean scent and glossy-metal sparkle alive all week.
Renter- and budget-friendly rhythms:
- Keep a small caddy under the sink with a spray, sponge, and cloths so you never hunt for supplies
- Use affordable, reusable cloths — they grip more, cost less long-term, and feel soft in the hand
- Set recurring phone reminders until the habit feels automatic
- Best for beginners: The nightly sink dry — fastest wins build momentum
- Worth the splurge: A countertop spray you love the scent of — you’ll use it more
- Skip this one: Leaving wet sponges in the sink — they breed odor
Micro-moment: Tomorrow morning, you’ll pad in barefoot, touch the cool edge of the counter, and realize nothing’s sticky. That quiet “ahh” is the whole point.
Quick Checklist
- Trash and recycling out, non-kitchen items in a basket
- Sink filled with hot soapy water; small parts soaking
- Disposal fizz: baking soda + vinegar, then boiling water
- Stainless sink scrubbed and oiled/buffed
- Counters degreased near stove, then cleaned with surface-safe spray
- Microwave steamed and wiped; turntable washed
- Stovetop grates soaked; glass top scraped and polished
- Oven paste applied and wiped or gentle cleaner used with ventilation
- Fridge shelves wiped; drawers lined; temp restored
- Cabinet fronts and handles cleaned; backsplash degreased and dried
- Floors vacuumed/swept, then mopped with appropriate cleaner
- Daily 15-minute reset planned (sink dry, quick wipe, crumb sweep)
Frequently Asked Questions
What’s the fastest way to clean a kitchen when I only have 20 minutes?
Do the power trio: clear and load dishes, wipe counters and stove zone with a degreaser, then dry the sink and do a quick floor sweep. That sequence removes visual clutter, grease, and crumbs — the three things that make a kitchen feel dirty.
How do I clean granite counters without damaging the seal?
Use a pH-balanced stone cleaner or mild dish soap and water, then dry immediately. Skip vinegar, lemon, and abrasives — they dull the finish and can degrade the sealer over time. Re-seal annually if water no longer beads.
My small apartment kitchen gets greasy fast. Any simple routine that actually sticks?
Wipe the stove surround nightly with a degreaser, then hit cabinet pulls and backsplash once a week. Keep a spray and cloth on the counter so you can do 60-second wipes after cooking — visibility makes it automatic.
Can I use vinegar on everything for a natural clean?
No. Vinegar works on glass, microwave steam, and many tiles, but avoid it on natural stone, some grout sealers, and aluminum. When in doubt, test on a hidden spot or use a surface-specific cleaner.
How do I keep my stainless steel appliances streak-free?
Clean with a mild dish soap solution, rinse, then buff dry with a microfiber cloth. Finish with a tiny dot of mineral oil in the direction of the grain. Spray the cloth, not the appliance, to control streaks.
Bring It Home
A clean kitchen isn’t a personality trait; it’s a rhythm. Start with one small win today — clear the counters and dry the sink until it gleams. That tiny moment of order changes how the whole room feels, like opening the curtains on a sunny morning.
Tomorrow, add the appliance you’ve been avoiding. Next week, give the floors the attention they deserve. This guide is your roadmap — practical, affordable, and absolutely doable. One pass at a time, you’ll build a space that smells fresh, looks bright, and quietly supports your life.
You’ve got this. Hit play on your favorite playlist, turn the water hot, and let your kitchen become a place you’re proud to live in — and excited to show off.