How to Clean Your Washing Machine Properly: Extend Its Lifespan and Efficiency Now
You want fresh, fluffy laundry that smells like clean air and sunshine. You hate the sour funk, lint sludge, and mystery stains that pop up when your washer isn’t actually clean. The good news: a proper washing machine deep-clean takes under an hour of active time and can save you real money by extending its lifespan. This step-by-step guide is beautiful-in-the-details, wildly practical, and absolutely bookmark-worthy.
Start Here: Why Your Washing Machine Smells (And How to Fix It Fast)
A simple reset clears odor, residue, and hidden grime so your laundry smells truly clean again.
We’ve all been there: you open the washer and the air hits you with that damp, sour smell. You run another rinse and hope for the best, but the funk lingers. The truth is, your washing machine needs care like any hard-working appliance. Detergent residue, body oils, hard water minerals, and lint build up in warm, shadowy corners where air doesn’t circulate.
Here’s why this works: heat and time loosen grime, while acid or oxygen-based cleaners dissolve residue and kill odor-causing bacteria. Think of it like a spa day for your machine. The stainless or enamel tub gets a steamy cleanse, rubber gaskets release trapped moisture, and the drum spins free of sticky film. You’ll notice a difference in scent and even sound — a cleaner machine hums more smoothly.
On a budget or in a rental? No problem. You don’t need fancy products. Use pantry staples and renter-friendly habits to get pro-level results without risking your security deposit.
- Budget-friendly: White vinegar + baking soda combo for a monthly deep clean
- Renter-friendly: Leave the door or lid open between washes to air-dry the drum
- Upgrade option: Oxygen bleach (sodium percarbonate) for moldy or severely musty washers
- Water-softening add-on: A spoonful of washing soda if you have hard water
The Monthly Deep Clean: Step-by-Step Routine for Front- and Top-Loaders

This is the part most people get wrong: they clean the drum but skip the parts that actually hold onto grime.
We’ll keep this simple and consistent. Once a month, give your washing machine a full reset. Plan for 45–60 minutes of combined run-time, but only 15–20 minutes of hands-on work. Hot water does most of the heavy lifting, and your nose will tell you when it’s working — that sharp, clean steam smell beats the musty odor you started with.
Step 1: Empty and Inspect
Remove laundry, check the drum for coins, hair ties, or sand. Feel the inside of the drum — if it’s slick or gummy, residue is present. That’s your cue for a stronger cleaning agent like oxygen bleach.
Step 2: Clean the Gasket and Lid Area (Front-Loaders Especially)
Run your fingers under the rubber door seal. You’ll often find lint sludge and trapped water. Wipe with a microfiber cloth dipped in a mix of warm water and a splash of mild dish soap. For mold spots, use diluted bleach on a cloth and rinse well. The gasket should feel dry and springy, not damp and gritty.
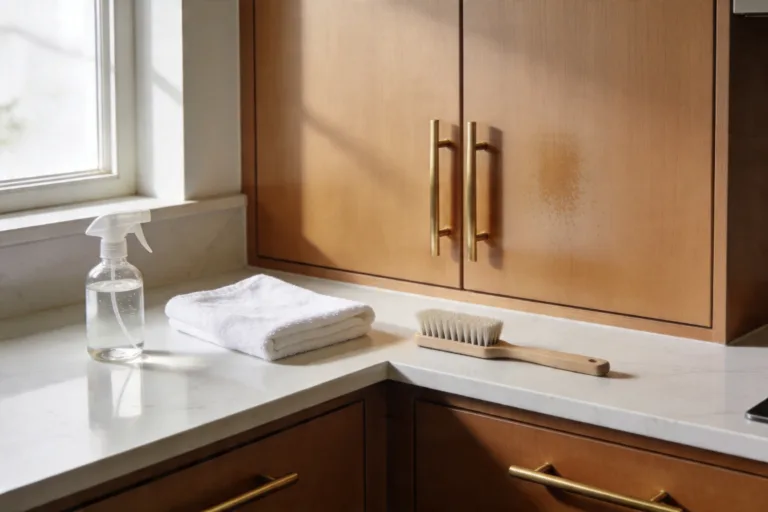
Step 3: Clean the Detergent Drawer and Dispenser
Slide the drawer out. Soak it in hot water with a little dish soap. Use a soft brush to scrub away chalky residue and that filmy layer that feels like soap scum. Rinse and dry before replacing. A clean drawer prevents goopy streaks and keeps detergent flowing evenly.
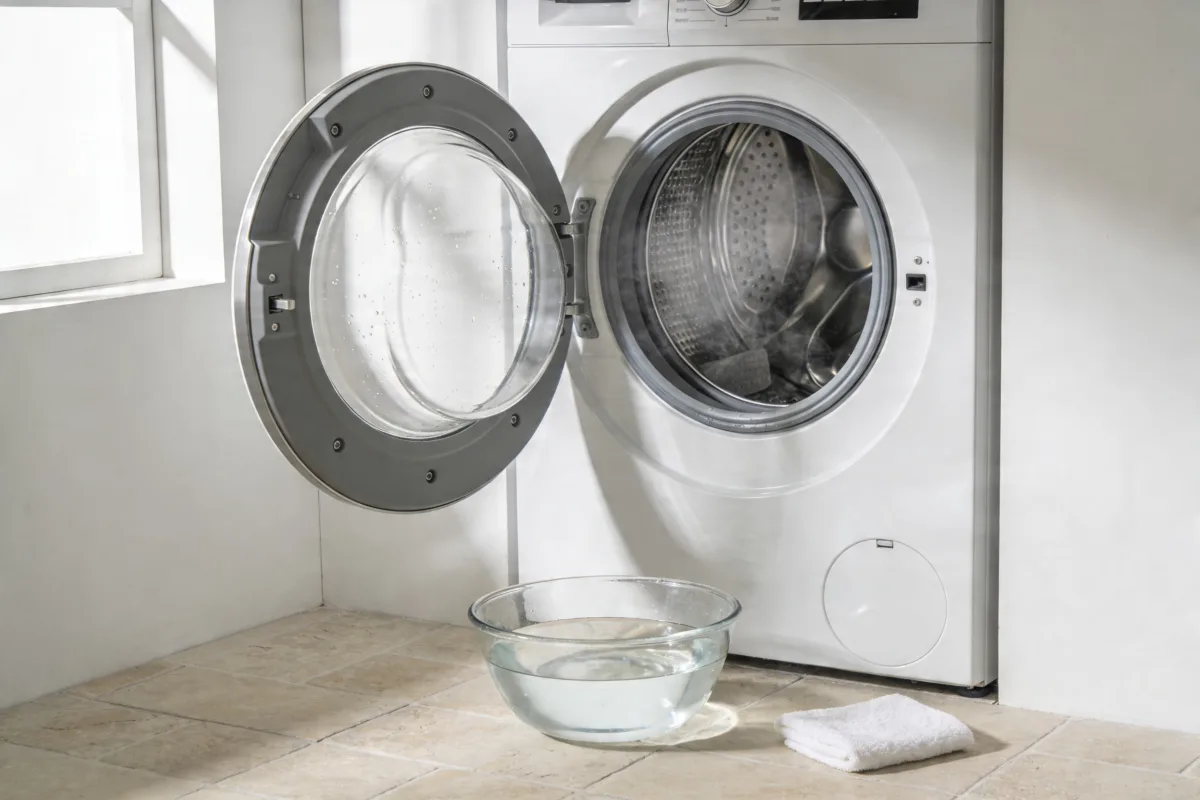
Step 4: Run a Hot Cleaning Cycle
Choose one: 2 cups of white vinegar in the drum or dispenser for a natural descale and deodorize, or 1–2 tablespoons of oxygen bleach (sodium percarbonate) in the drum for a deeper clean against mildew. Select the hottest, longest cycle. Listen to the water fill and notice the warmth rising — that heat plus your cleaner is breaking down weeks of residue.
Step 5: Optional Rinse with Baking Soda
Run a second short hot cycle with 1/2 cup baking soda sprinkled in the drum to neutralize lingering odors and polish the interior. It leaves a softly alkaline, neutral scent — think cool linen instead of pungent chemical notes.
Step 6: Dry Everything
Wipe the drum, door, glass, and gasket with a dry cloth to catch stray droplets. Leave the door or lid open until fully dry. You should feel a gentle coolness rather than dampness when you come back later.
- Budget-friendly: Use a dollar-store bottle brush to reach dispenser corners and gasket folds
- Renter-friendly: If you can’t use bleach, stick with oxygen bleach or vinegar-based cycles
- Eco swap: Microfiber cloths reduce paper waste and grab more lint
- Fragrance-free option: Skip scented pods during cleaning; they can mask, not solve, odor
This isn’t about having a magazine-perfect laundry room. It’s about reclaiming that fresh-laundry confidence and protecting a machine you use weekly. If you miss a month, no guilt — just pick it back up. Your washer will forgive you.
Detergent Truths: Right Amount, Right Type, Real Results
It sounds obvious, but here’s where it usually falls apart: more detergent does not mean cleaner clothes.
Too much detergent creates a cushiony film that feels slick to the touch, like a soapy glaze on the drum. That film traps lint and bacteria, and suddenly your washing machine smells damp even when it’s empty. The secret isn’t buying pricier pods — it’s using less and rinsing better. High-efficiency (HE) washers need HE detergent, and they need much less of it than traditional machines.
Here’s why this actually works: less suds equals more friction and better rinsing. Clothes rub against each other, soils release, and your washer doesn’t hold on to unnecessary bubbles. The result? Softer towels, crisper tees, and a drum that stays cleaner between deep cleans.
- Budget-friendly: Buy concentrated HE liquid and use half the recommended line
- Renter-friendly: If your building has hard water, add a tablespoon of washing soda to boost performance
- Sensitive skin: Choose fragrance-free options to minimize residue and skin reactions
- Alternative: Try laundry strips or powdered detergents; they often rinse cleaner than gels
Front-Loader vs. Top-Loader: Targeted Cleaning That Actually Works

Different designs trap grime differently, so tailoring your routine pays off big time.
Front-loaders: That iconic rubber gasket is both hero and villain. It seals water in, but it also creates a cozy, dark fold where moisture lingers. The fix is simple: wipe it dry, lift the folds, and clean underneath with a soft brush and diluted bleach or oxygen bleach solution. Also, remove the drain filter (usually at the bottom front) every few months — it often hides lint, coins, and the occasional earring back.
Top-loaders: The agitator and the rim under the lid collect splashed detergent and lint. Wipe the underside of the lid, the top rim, and any crevices around the agitator. If your model has a removable fabric softener cup, pull it out and soak it in hot water — that slippery film you feel is built-up softener. Rinse until it squeaks clean.
- Budget-friendly: A cheap toothbrush designated for the gasket or rim edges
- Renter-friendly: Keep a small caddy with vinegar, brush, and cloth so you can stash it out of sight in tight laundry nooks
- Upgrade: Use oxygen bleach tabs for deeper soaks on particularly musty machines
- Gentle option: Diluted hydrogen peroxide for mildew spots if you prefer to avoid chlorine bleach
Your routine doesn’t have to be perfect. Consistency beats intensity. A quick wipe and an open door after each wash add up to a machine that smells neutral and works harder for you.
Hidden Spots You Can’t Ignore: Filters, Hoses, and the Drawer Cavity
You’ve tried running cleaning cycles, but it still smells off? This is where the gremlins hide.
The drain filter on front-loaders collects micro-lint, pet hair, and the occasional tiny sock fuzz. Place a shallow tray or towel underneath, twist it open slowly, and prepare for a small rush of gray water that smells like a damp basement. Clean the filter screen until the mesh feels smooth, not gritty. Wipe the cavity where the detergent drawer slides in — that shadowy tunnel often holds soap scum and mildew.
Hoses matter too. If your inlet hoses are older than five years, consider replacing them with braided stainless options for safety and pressure stability. While you’re back there, check for damp dust and wipe the floor; that stale scent sometimes isn’t the drum at all, but the area behind the machine.
- Budget-friendly: Replace rubber hoses with mid-range braided stainless every 5 years to prevent leaks
- Renter-friendly: Ask your landlord before swapping hoses; offer to store the originals for move-out
- Tool-light option: Use a turkey baster to carefully remove standing water from the drain filter cavity before cleaning
- Time-saver: Keep a low tray dedicated to filter clean-outs to avoid floor messes
Hard Water, Mold, and Other Real-World Problems (Solved)
We all want a one-and-done fix, but your home’s water quality and climate shape how you maintain your washer.
Hard water leaves chalky mineral scale that dulls stainless steel and clings to plastic. Counter with a monthly vinegar cycle or add a water softener product — you’ll see fewer white spots and your drum will look brighter. In humid climates, mold grows faster; use oxygen bleach for the deep clean and keep air moving afterward. If your laundry room is a windowless closet, think airflow: a small dehumidifier can keep the air dry and the scents neutral.
Got pets or sports gear? Increase cleaning frequency and skip fabric softener on towels — it leaves a slick coating that holds onto funk. For front-loaders, wipe the glass and gasket right after washing gym clothes. That quick touchpoint makes a surprising difference in scent over time.
- Budget-friendly: Baking soda in the wash to buffer odor; vinegar in the rinse for mineral control
- Renter-friendly: Over-the-door hook for airing damp gym gear before washing to reduce odor load
- Upgrade: Compact dehumidifier for closed laundry closets
- Alternative: Reusable wool dryer balls instead of softener to avoid residue
Perfection isn’t the goal; prevention is. Little habits stacked together keep your washer clean without big weekend projects. Miss a step? Just circle back next time. You’re building a rhythm that fits your actual life.
Daily and Weekly Habits That Extend Lifespan and Efficiency
Here’s the low-lift routine that makes deep cleans easier and your machine last longer.
After every load, leave the door or lid open. That single habit is the difference between a neutral-smelling machine and a musty one. Wipe the gasket and glass if you washed heavily soiled items; a 10-second swipe removes the dampness that feeds mold. Once a week, run a short hot rinse (empty) if you did several cold loads — hot water clears the film cold cycles leave behind.
Once a month, run the deep clean cycle you learned above. Every three months, inspect hoses, check for tiny leaks, and vacuum behind/under the machine to remove dust bunnies that trap moisture. You’ll hear a cleaner, steadier spin, and you’ll notice towels drying faster because they’re not coated in residue.
- Budget-friendly: Keep a small microfiber cloth clipped to the washer with a magnet for quick wipe-downs
- Renter-friendly: Use a slim rolling cart to store cleaners and slide it away in tight spaces
- Time-saver: Combine weekly wipe-down with folding time so it doesn’t feel like “extra” chores
- Eco swap: Choose cooler cycles for daily laundry and reserve hot water for cleaning cycles
Fabric Softeners, Pods, and Scent Boosters: What to Use (and What to Skip)

Small choices here either protect your washer or quietly sabotage it.
Liquid fabric softener leaves a smooth, almost oily finish on fibers and machine parts. It smells pleasant at first, then turns swampy when trapped in the gasket or dispenser. IMO this always wins: skip liquid softener, use wool dryer balls, and if you love scent, add a couple of drops of laundry-safe essential oil to the dryer balls only. Pods are fine, but make sure your water gets hot enough to dissolve them fully; cold water can leave a rubbery film in the drawer and drum.
Scent boosters may mask an issue rather than fix it. If your machine smells, clean it first. Then layer in fragrance if you still want that cozy, just-washed vibe. Think of it like perfume after a shower — lovely, but never a substitute for actually being clean.
- Budget-friendly: White vinegar in the rinse as a natural softener (safe for most fabrics, not for elastics every single wash)
- Renter-friendly: Store pods in a sealed jar to control humidity and prevent clumping
- Upgrade: High-quality powdered detergent for cleaner rinses in HE machines
- Sensitive nose: Fragrance-free detergent plus fresh air dry when possible
Make It Pretty: A Clean Washer That Looks and Feels Fresh
Yes, function first — but a tidy setup makes maintenance easier and oddly satisfying.
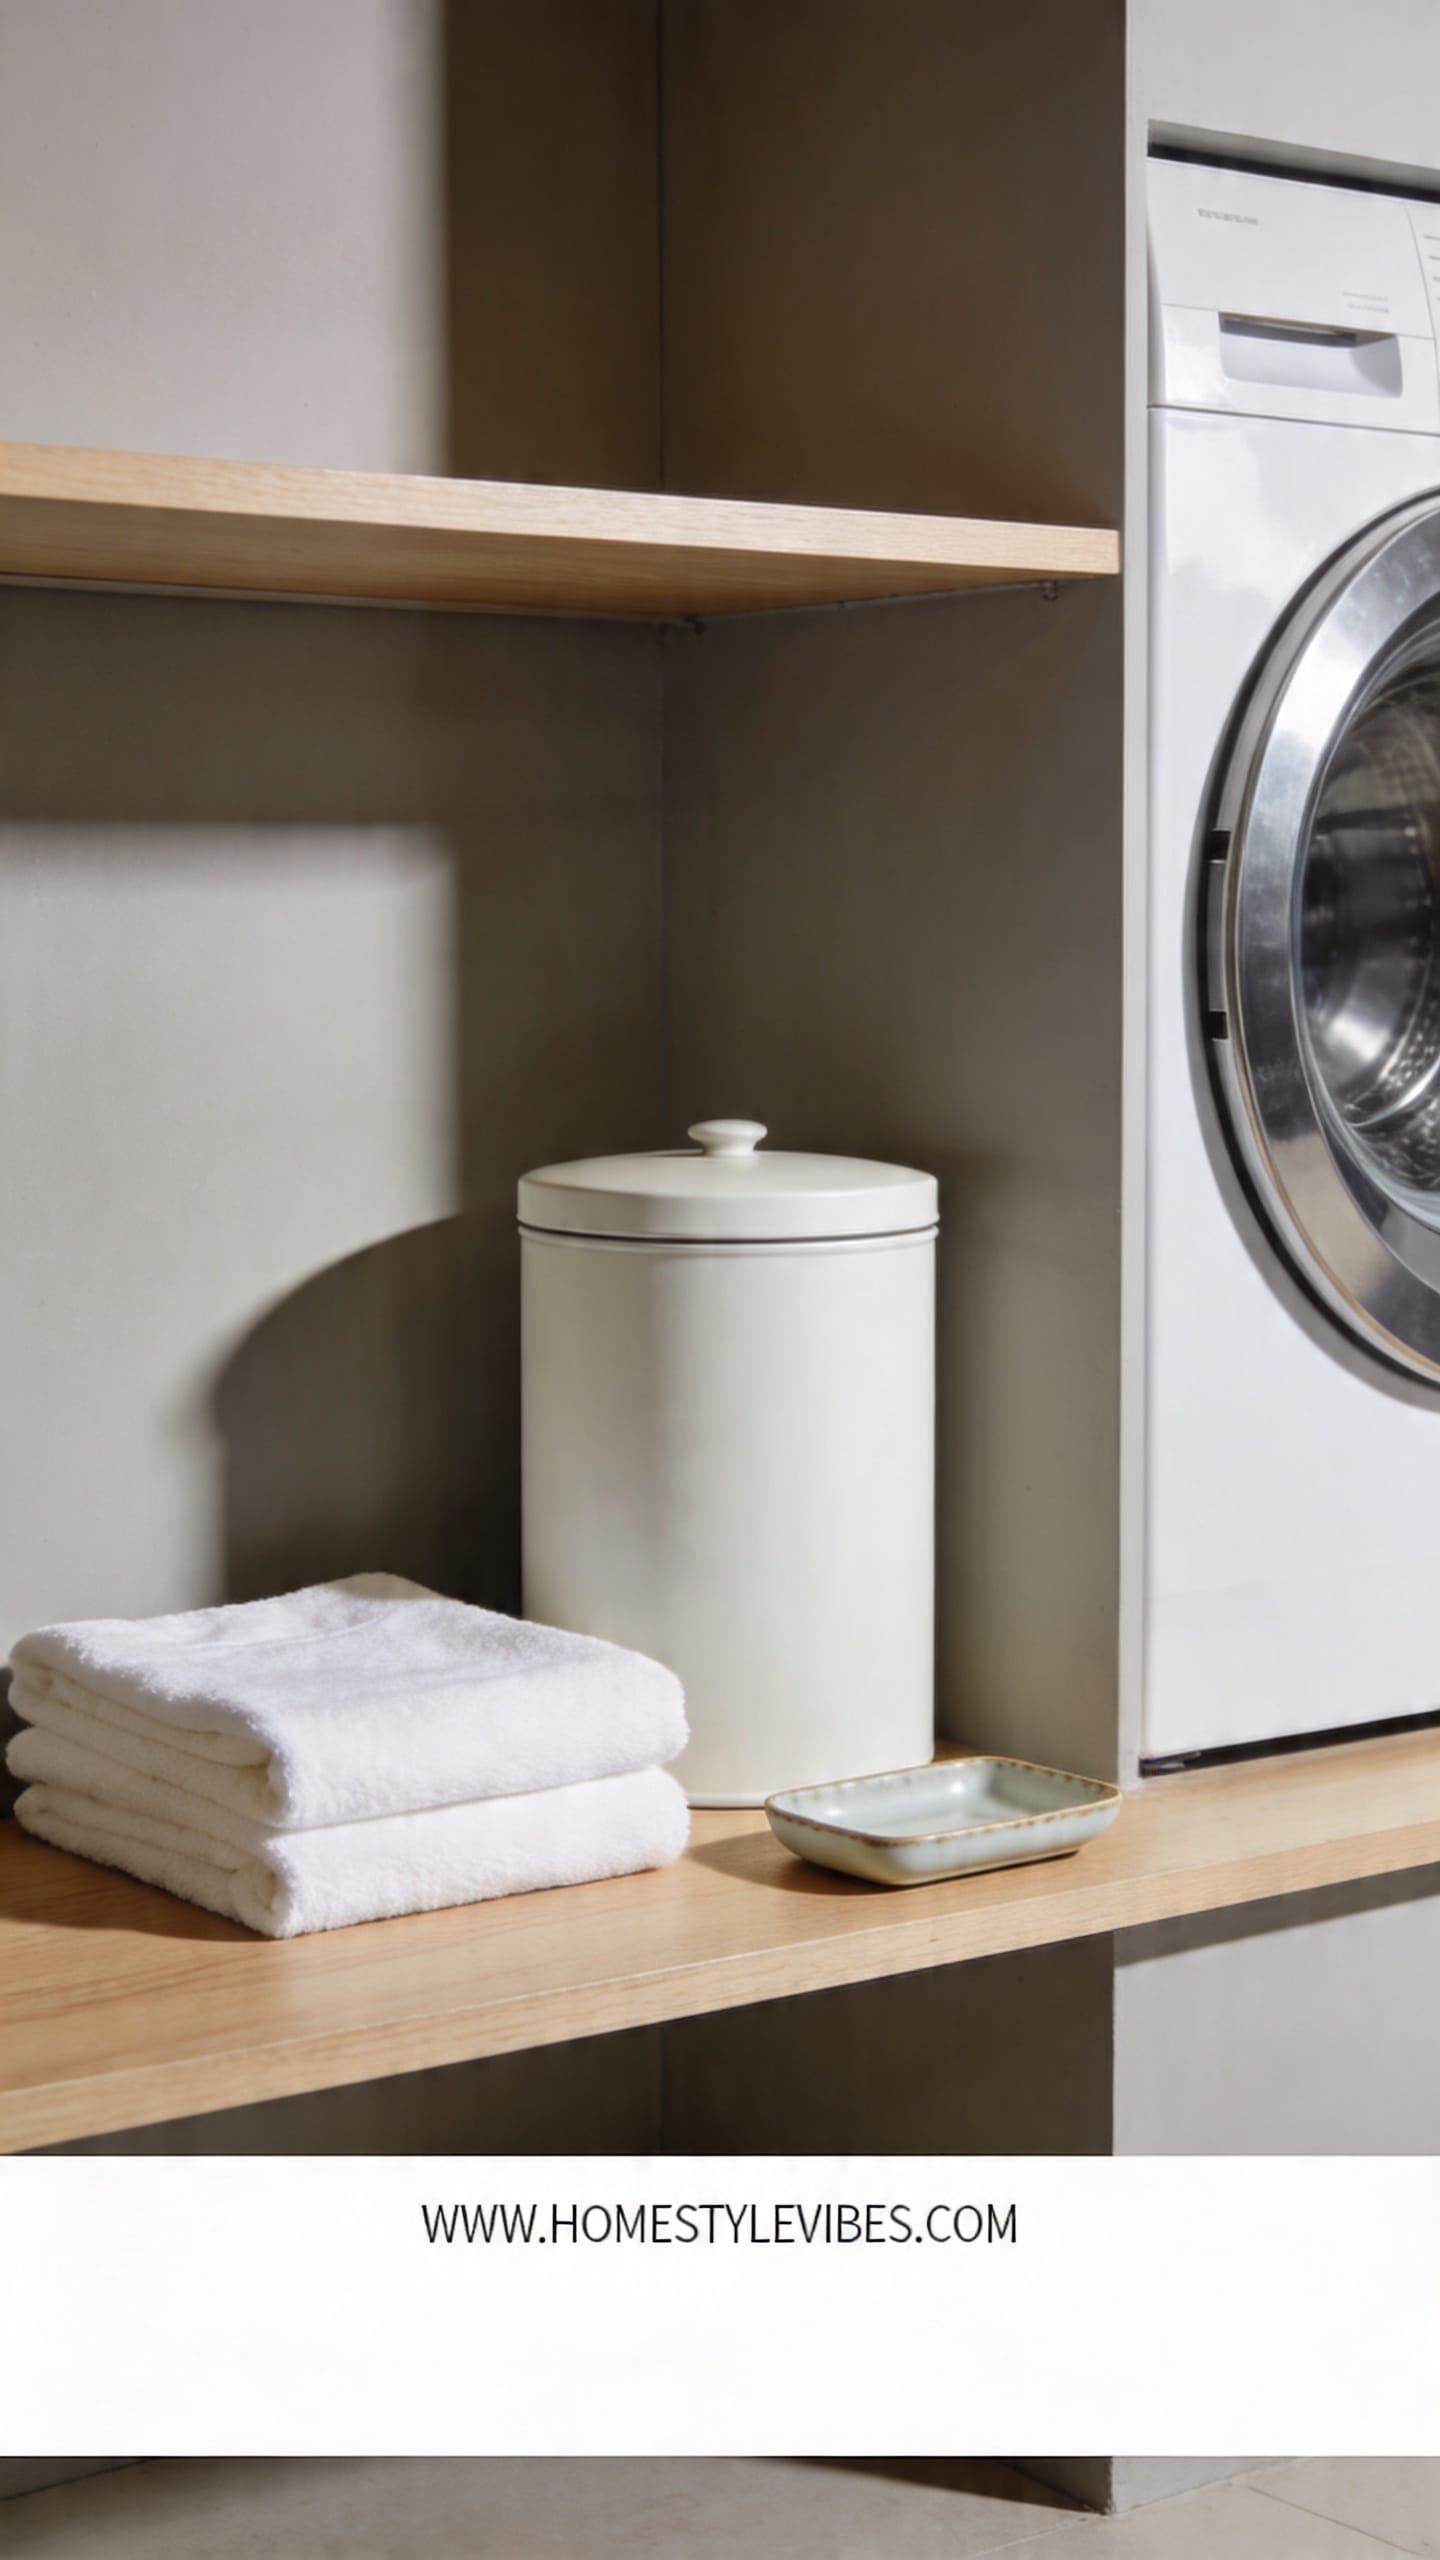
Wipe the exterior with a soft cloth and a mild all-purpose cleaner. Stainless steel? Follow the grain for a streak-free finish and that subtle satin sheen that photographs beautifully. Corral your cleaning tools in a small tray or basket so everything looks intentional, not cluttered. When your laundry zone feels cared for — light, airy, with clear surfaces — you’ll naturally keep up with the routine.
Renter-friendly win: removable hooks on the side of the machine hold a brush and microfiber cloth. It’s the kind of micro-upgrade that saves time and makes your space feel orderly. A clean machine in a calm corner turns chores into a tiny ritual instead of a mess to muscle through.
- Budget-friendly: Dollar-store tray to hold vinegar, brush, and baking soda
- Renter-friendly: Magnetic hooks for microfiber cloths to air-dry after wipe-downs
- Upgrade: A slim, lidded bin for pods and powders to keep dust and humidity out
- Quick spruce: Keep a small plant nearby for freshness and visual softness
Quick Checklist
- Leave door or lid open after every wash
- Wipe gasket, glass, and drum dry after heavy or hot loads
- Run a hot cleaning cycle monthly (vinegar or oxygen bleach)
- Clean detergent drawer and drawer cavity
- Remove and rinse front-loader drain filter
- Use HE detergent sparingly; run an extra rinse if sudsy
- Skip liquid fabric softener; use wool dryer balls
- Inspect and replace inlet hoses every 5 years
- Vacuum behind and under the machine quarterly
- Keep a microfiber cloth and brush within reach
Frequently Asked Questions
Do I really need to leave the washer door open after every load?
Yes. Airflow is the number one way to prevent mildew and odor. Even a two-inch gap lets moisture escape and keeps the drum, gasket, and dispenser dry between cycles.
Is vinegar safe for my washing machine long-term?
Used monthly and rinsed well, white vinegar is safe for most machines and helps with mineral buildup. Avoid soaking rubber parts in straight vinegar repeatedly; alternate with oxygen bleach or plain hot-water cleaning cycles.
My washer still smells after a cleaning cycle. What did I miss?
Check the drain filter (front-loaders), the detergent drawer cavity, and under the gasket folds. Also verify you’re not overdosing detergent. These hidden spots and excess soap are the usual culprits.
I’m on a tight budget. What’s the minimum I should do?
Leave the door open, wipe the gasket weekly, and run a hot cycle with 2 cups of white vinegar once a month. Add 1/2 cup baking soda for a follow-up rinse if odors linger.
Small laundry closet, no window — how do I keep moisture down?
Prop the washer door open, run the bathroom fan if nearby, and consider a small desiccant dehumidifier. Keep products sealed and avoid storing damp items in the closet.
Wrap-Up: Keep It Fresh, Keep It Simple
Caring for your washing machine isn’t about perfection. It’s about a few smart habits that make your life easier: leave the door open, clean the obvious and the hidden, and be kind with detergent. Do this and your washer will reward you with cleaner clothes, a quieter spin, and years of extra service.
Start small today. Wipe the gasket and prop the door. Tomorrow, run the hot cleaning cycle. Next week, check the filter. These micro-moments build a home that feels cared for — you’ll smell the difference and save money in the process.
Clean machine, fresh laundry, calm mind. You’ve got this, and your washer is about to prove it every time you hit start.