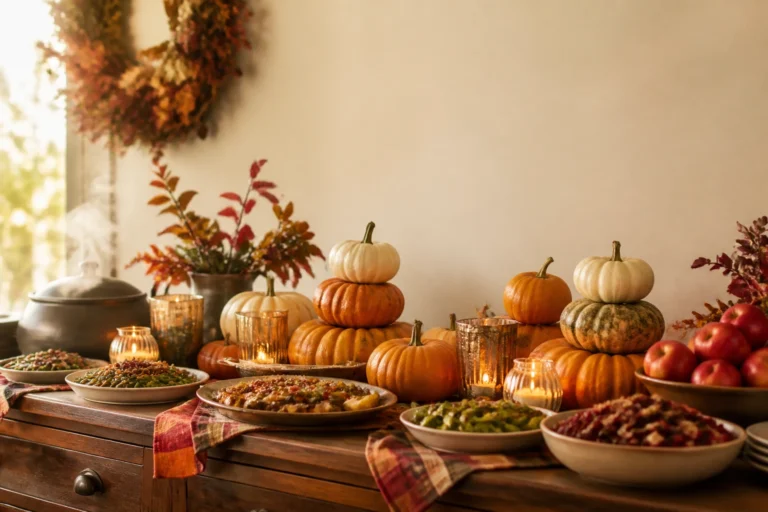
6 Fall Vegetables To Plant By Zone (Zone 5 Through 9 Planting Guide)
You want a fall garden that actually feeds your people—bowls of roasted roots, sautéed greens that taste like cozy sweater weather, and a steady stream of snip-and-cook herbs that make dinners feel effortless. But figuring out what to plant when? Total brain fog. Seed packets shout conflicting advice, first frost dates feel like a moving target, and you’re tired of guessing only to watch tender seedlings shiver at the first cold snap. This guide to 6 fall vegetables to plant by zone (Zone 5 through 9 planting guide) clears the noise, gets you planting on time, and helps you harvest longer with strategies that work in real backyards, small raised beds, and even a sunny strip along the driveway.
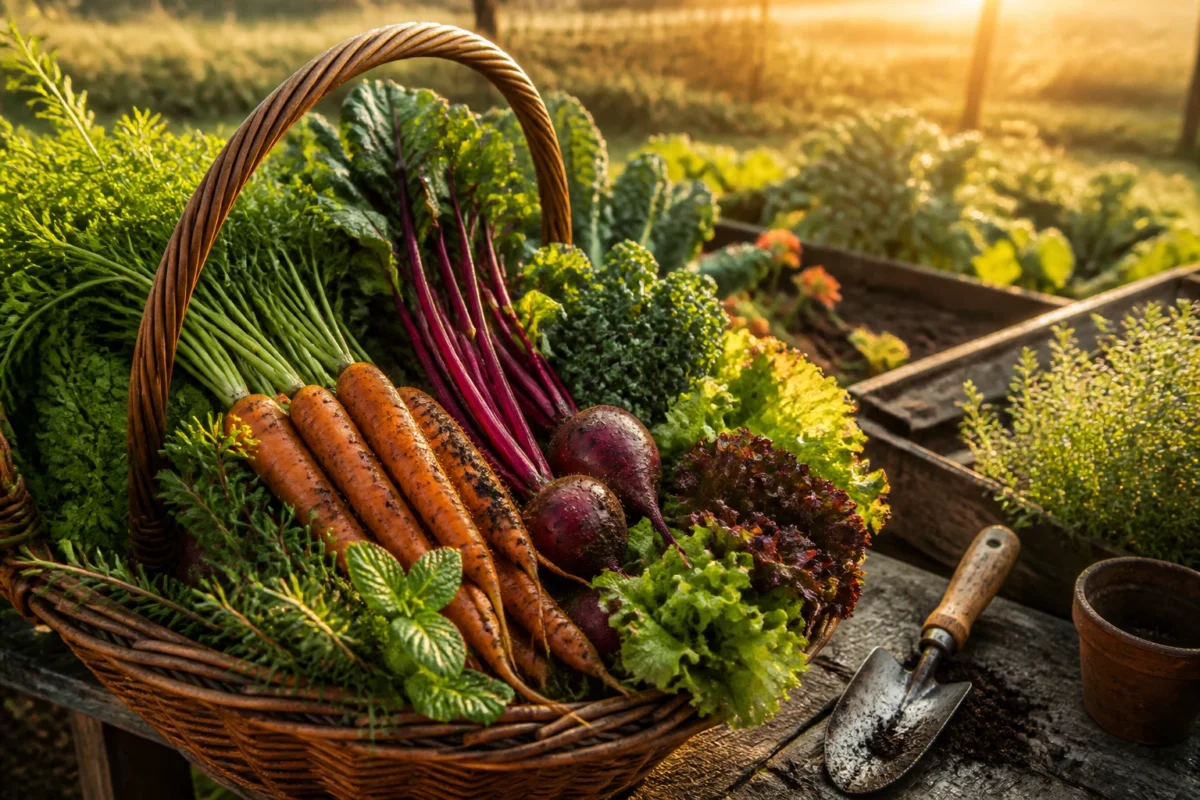
Picture this: earthy beet reds and sunset-orange carrots pulled from cool soil, butter-soft lettuces that practically melt into your dressing, and kale that gets sweeter with every crisp night. We’ll match each vegetable to exact zones, plant windows, spacing, succession schedules, and cold-protection tricks. No guesswork—just six dialed-in crops so your garden gives you photogenic, Pinterest-worthy harvest baskets and a kitchen that smells like garlic and thyme by October. Set aside one Saturday afternoon, a $60–$150 budget per crop (mostly reusable supplies), and you’ll feel that golden-hour satisfaction every time you step outside. If you love a good plan and the feeling of checking a box, this one’s going to make your whole fall season hum.
1. Carrots with Burnt Orange Sweetness for Zones 5–9: Timing, Depth, and Sugar-Boosting Frost
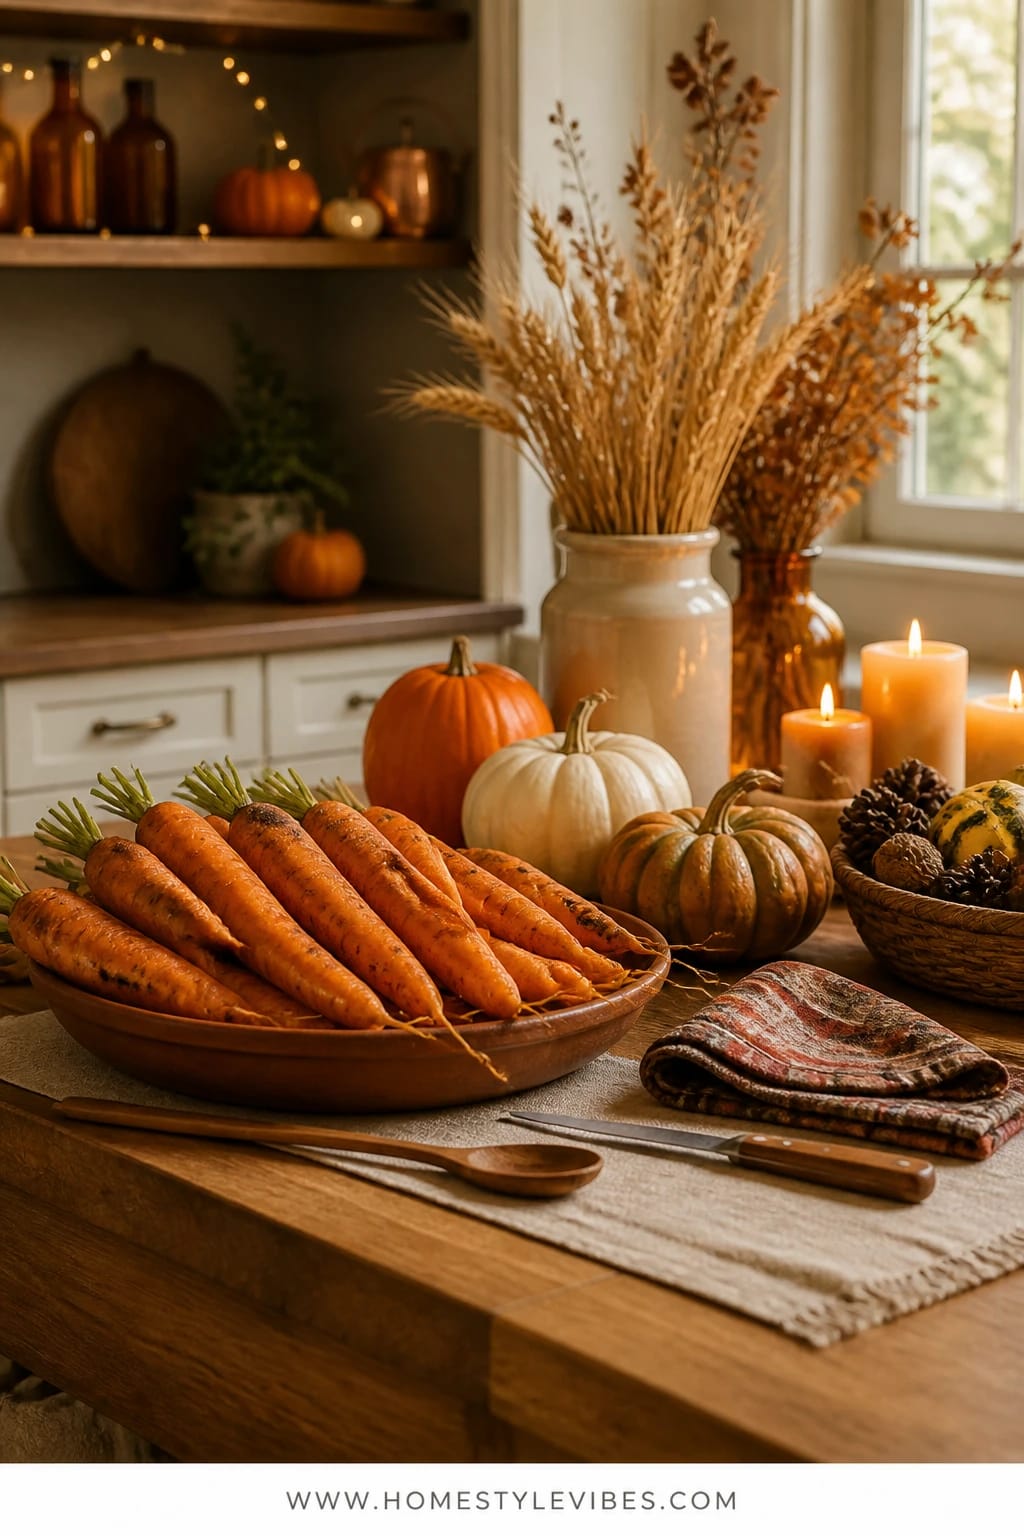
We’ve all been there: you scatter carrot seed in late summer and wind up with thread-thin roots or a sprout graveyard that never quite takes off. The truth is, carrots need the right window and a smooth, rock-free runway. Get the timing right by zone, and you’ll pull sweet, snappy carrots that taste like they were dipped in maple.
Mood-wise, carrots bring that crunchy, cool-weather optimism to the kitchen—think roasted medleys and lunchbox snacks. They thrive in real homes because they’re compact, store in-ground under light protection, and don’t demand much once they germinate. Light matters here: even, gentle sun in fall keeps tops healthy without bolting, and if you add a frost or two, the roots concentrate sugars. That’s the little secret restaurant gardens use for flavor.
What dominates this crop? Fine seed, friable soil, a touch of compost, and patience. Photograph your harvest with a tangle of ferny tops, a burlap-lined basket, and that dusty-orange vibrance that screams fall abundance. It layers beautifully with beet purples and parsnip creams later in the season.
Planting Windows by Zone:
- Zone 5: Sow late July to mid-August for fall harvest; last sow by late August for baby carrots.
- Zone 6: Sow early to late August; baby carrots as late as early September with row cover.
- Zone 7: Sow mid-August to early September; keep soil moist to germinate in heat.
- Zone 8: Sow late August to mid-September; thin aggressively.
- Zone 9: Sow mid-September to early October; use shade cloth if heat lingers.
Varieties that behave: ‘Napoli’ (early, sweet), ‘Yaya’ (reliable), ‘Bolero’ (storage), ‘Purple Haze’ (color pop). For small beds, go short types: ‘Parisian’ or ‘Atlas’ for shallower soils.
Spacing: 2 inches apart after thinning, rows 8–12 inches apart or band-sow in 6-inch strips for density.
Succession Plan: Sow every 10–14 days through your window to keep harvest steady into early winter, using row cover to hold growth.
Cold Strategy: Top with 4–6 inches of loose straw and a breathable row cover once nights dip into the 20s. Harvest as needed; the ground is your refrigerator.
Harvest Cue: Shoulders ½–¾ inch wide, tops sturdy. Twist, don’t yank; loosen with a hori-hori or fork.
Budget Breakdown:
- Seed packets: $3–$5 each
- Compost (1–2 bags): $6–$20
- Row cover + hoops: $20–$45
- Straw mulch bale: $8–$12
- Soil sifter or rake: $0–$20 (if needed)
Total Estimated Cost: $37 – $102
Best For: Raised beds and in-ground strips with at least 8–10 inches of loosened soil. Perfect for families who want steady snacks and easy roasting pans from October into December.
Key Design Elements:
- Main seasonal props: Straw mulch, burlap, harvest basket
- Color palette: Burnt orange, deep green tops, soil brown
- Lighting strategy: Afternoon sun for steady growth; frost sweetening late
- Textile layers: Burlap and twine for bundling harvests
- Natural elements: Fine compost, sand if heavy soil
- Accent details: Copper plant labels, wooden dibber
How To Recreate This Look:
- Prep 10 inches of loose, stone-free soil; blend in 1 inch of compost.
- Mark bands or rows; sow shallowly, cover lightly, firm gently.
- Keep surface moist with a board or burlap until germination.
- Thin at 1–2 inches tall to 2 inches apart for strong roots.
- Mulch lightly, then add straw and row cover after first hard frost for in-ground storage.
Why This Looks Expensive: The tidy rows, copper labels, and straw finish signal intention. A clustered harvest in a rustic basket turns an ordinary crop into a styled moment.
Watch Out: Over-fertilizing with nitrogen gives you lush tops and puny roots. Also, do not skip thinning—crowded carrots stay stunted and bitter.
Pro Styling Tip: Rinse carrots lightly but leave a whisper of soil; that contrast photographs like a farm journal cover.
Ready for a leafy, dinner-hero crop that forgives a late start? Keep scrolling.
2. Kale in Rustic Burgundy and Candlelit Resilience for Zones 5–9: Plant Once, Cut for Months
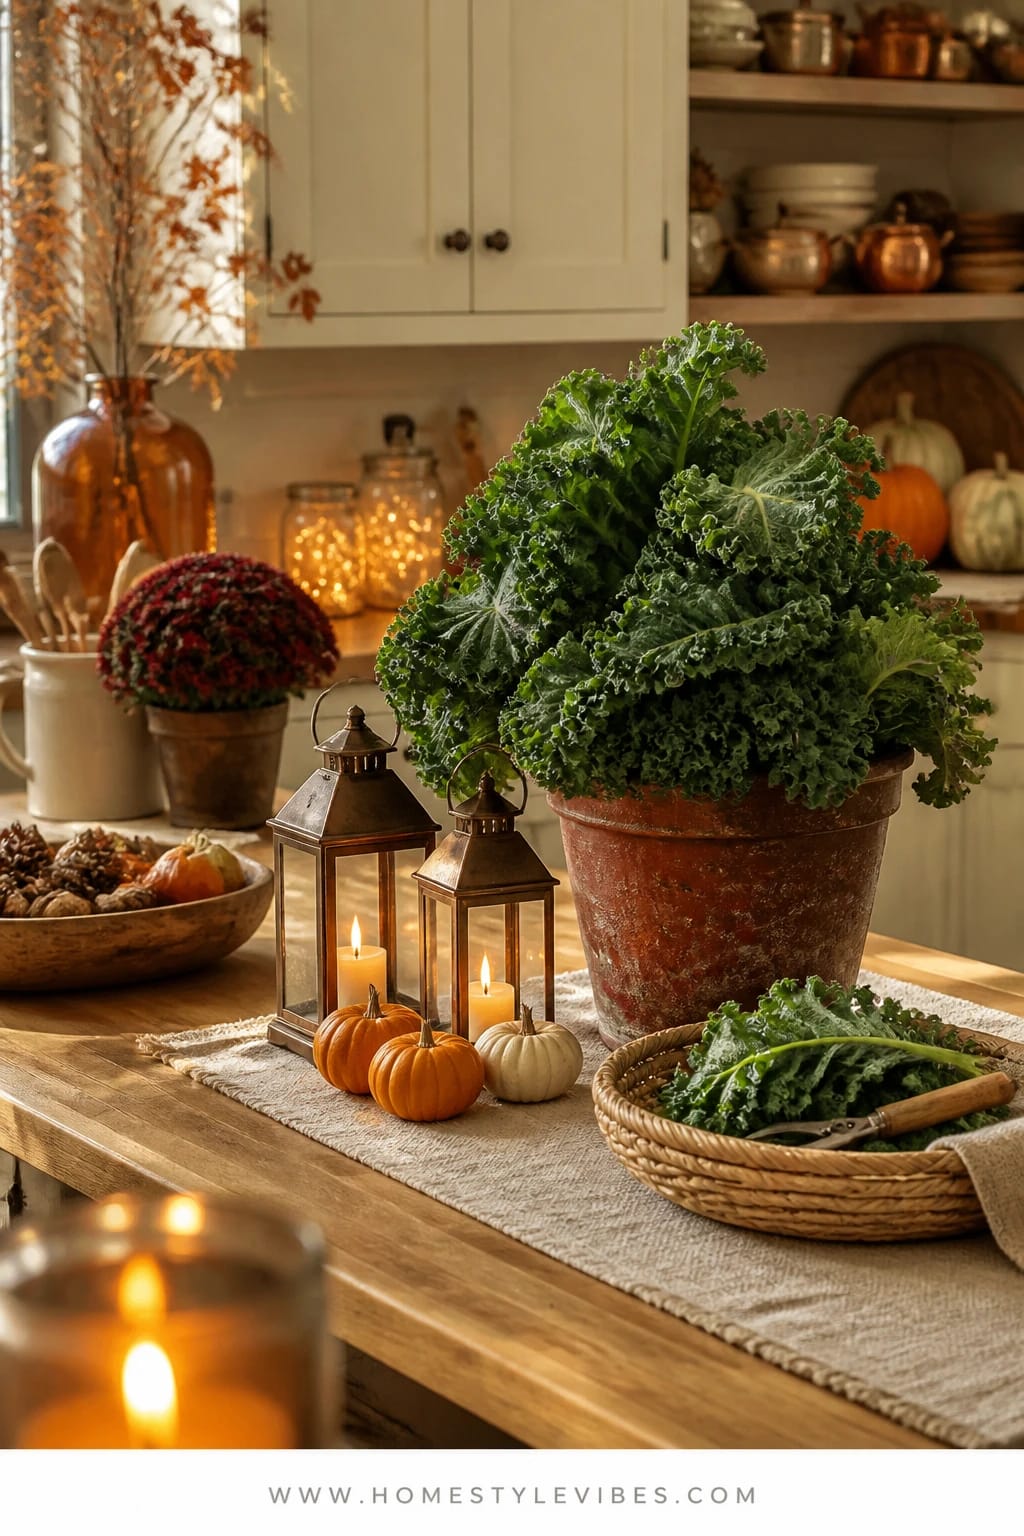
It’s that one corner of the bed that always looks tired by October. You’ve tried lettuces that bolt or limp spinach starts, but it still looks sparse right when the season begs for generous greens. Kale fixes that. It’s rugged, photogenic, and tastes better after frost.
Kale sets a cozy, cabin-kitchen mood because it thrives while everything else slows. Real-life perk: kids can harvest with scissors, it regrows after cutting, and it handles family schedules. Lighting-wise, fall sun is softer, which keeps leaves tender. If you slip lanterns or path lights around the garden, those pebbled leaves catch warm highlights at dusk—ridiculously pretty next to burgundy chard and marigolds.
Texture runs the show: curly kale for fluff, lacinato for long, inky leaves, and red Russian for color. It photographs beautifully because of the leaf structure—there’s built-in depth, and a quick water spray before a shot saturates the greens into jewel tones.
Planting Windows by Zone (Transplants):
- Zone 5: Set out transplants mid-August to early September; cover during early frosts to establish.
- Zone 6: Transplant late August to mid-September; steady harvest by October.
- Zone 7: Transplant early to late September; partial shade in heat.
- Zone 8: Transplant mid-September to early October; good through winter with cover.
- Zone 9: Transplant late September to October; light shade if temps spike.
Direct sow option: 4–6 weeks before first frost; thin to 12–18 inches per plant.
Varieties worth planting: ‘Winterbor’ (curly, cold-hardy), ‘Red Russian’ (tender, colorful), ‘Lacinato’ (Tuscan, texture star), ‘Scarlet’ (ornamental-meets-edible).
Frost Strategy: Cover with row fabric below 24°F to keep leaves pristine; uncovered kale survives even colder in many gardens, but flavor and appearance stay better under a light cover.
Budget Breakdown:
- Starter plants (6-pack): $4–$8
- Compost/top-dress: $6–$15
- Row cover + hoops: $20–$45
- Organic fertilizer (balanced): $8–$15
Total Estimated Cost: $38 – $83
Best For: Busy cooks who want reliable greens from October through spring in Zones 7–9; in Zones 5–6, expect steady fall harvest and winter survival with protection.
Key Design Elements:
- Main seasonal props: Curly and lacinato kale, straw edging, garden lanterns
- Color palette: Deep green, blue-green, burgundy midribs
- Lighting strategy: Late-afternoon sun, optional lantern glow for evening harvests
- Textile layers: Canvas harvest tote, wool gloves for frosty mornings
- Natural elements: Crushed leaves as mulch; compost dressing
- Accent details: Galvanized tub for rinsing, brass snips
How To Recreate This Look:
- Prep a 12–18-inch spacing grid with compost-rich soil.
- Transplant kale at soil level; water deeply and mulch lightly.
- Feed lightly 3–4 weeks after transplanting to push steady growth.
- Harvest outer leaves first; leave 6–8 center leaves for regrowth.
- Install row cover before hard freezes; anchor with pins or sandbags.
Why This Feels Designer: Mixing leaf shapes and colors reads like a curated bed, not a one-note crop. The consistent spacing and restrained palette feel polished, even if you’re harvesting daily.
One Thing To Avoid: Crowding. Overstuffed kale stays leggy and mildew-prone. Give it air so the leaves crisp up, not slime out.
Pro Styling Tip: For photos, swish leaves in cold water and pat dry—the sheen turns that blue-green into a depth-filled, moody hero.
Craving something crunchy and fast? The next crop is your 30-day confidence booster.
3. Radishes with Rust-Red Snap for Zones 5–9: The 28-Day Win
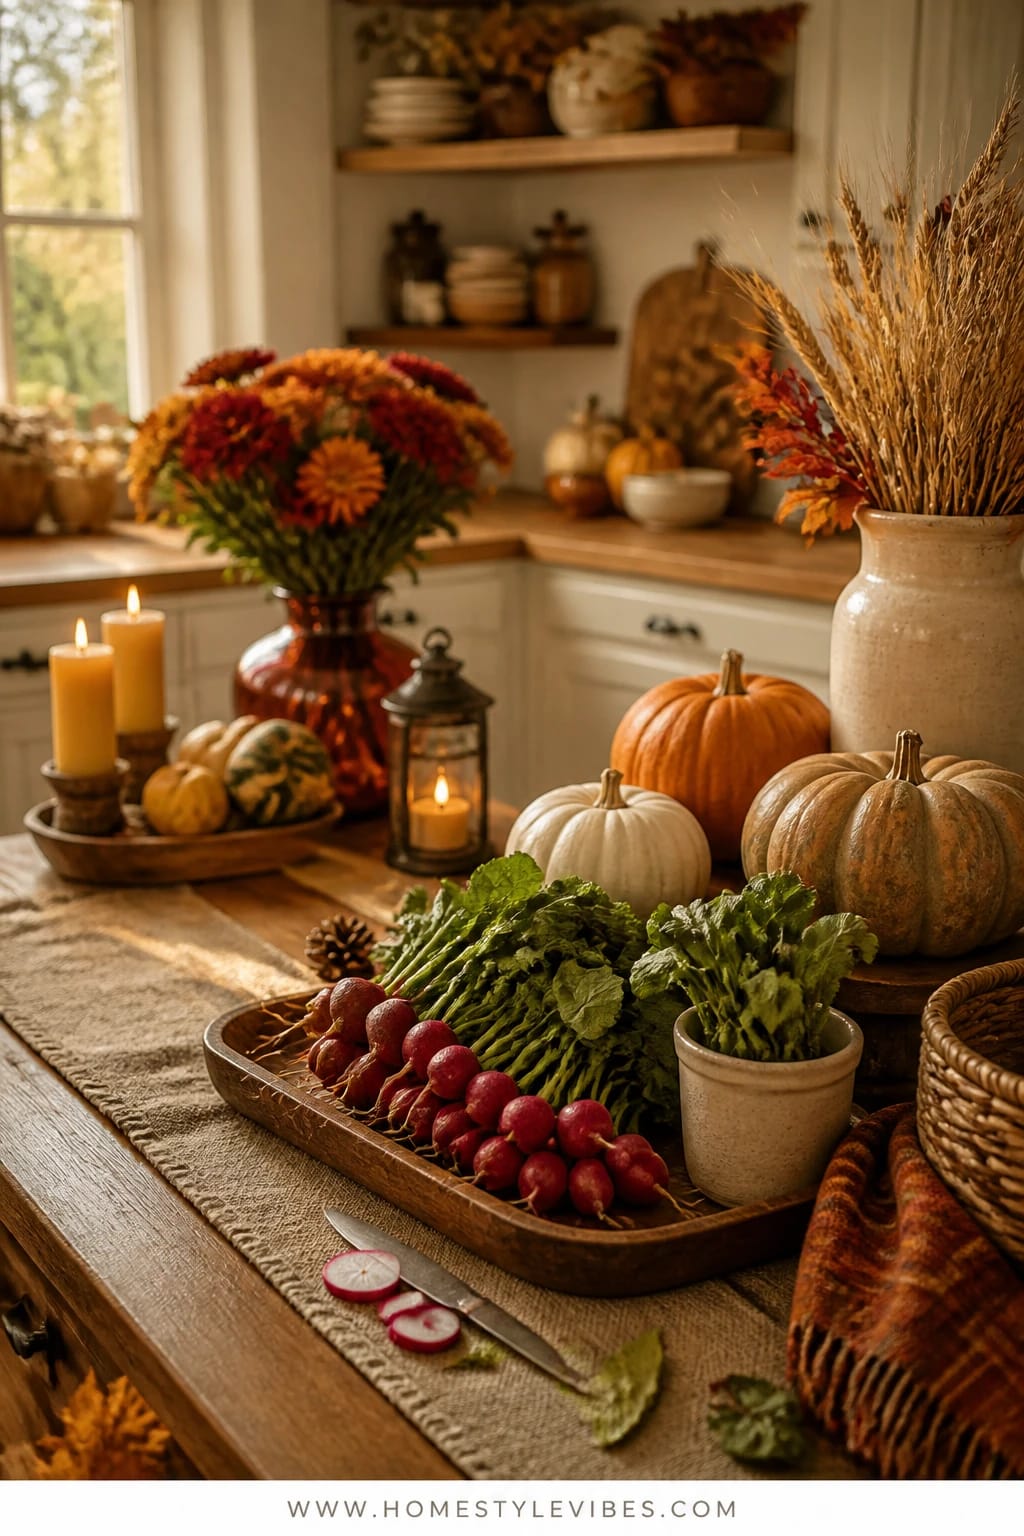
You sow a fall bed and the waiting makes you antsy. You want proof it’s working. Enter radishes—the instant-gratification vegetable that rewards you in four weeks and keeps going with quick successions. If you’ve tried them in spring and got woody pings-pong balls, fall is kinder. Cooler temps, less flea beetle pressure, sweeter roots.
Radishes bring a crisp, farmers-market vibe to the kitchen. They tuck into small spaces, work as row markers, and their tops make a scrappy pesto. Lighting affects spice: more heat equals more bite. In fall, you get peppery but not punishing. When you pair ruby globes with butter and flaky salt on a board, it photographs like the start to a perfect dinner party.
Material-wise, this is simple: seed, compost, a fine rake, and maybe a lightweight cover for pests. Pull them young for that snackable snap. Layered colors—watermelon radish interiors and French Breakfast stripes—give you that saturated autumn palette without a single gourd in sight.
Planting Windows by Zone:
- Zone 5: Sow late August to mid-September; cover in first frosts.
- Zone 6: Sow early September through late September.
- Zone 7: Sow early to mid-September; late successions into early October.
- Zone 8: Sow mid-September to October; great into November.
- Zone 9: Sow late September to November; partial shade if heat persists.
Varieties to try: ‘Cherry Belle’ (classic), ‘French Breakfast’ (striped), ‘Easter Egg’ mix (color), ‘D’Avignon’, and ‘Watermelon’ (for dramatic interiors—longer maturity, 55–60 days).
Spacing: 1–2 inches apart, rows 6–8 inches apart; keep soil evenly moist to prevent pithiness.
Succession Strategy: Sow small patches every 7–10 days until 30 days before your average first hard frost (row cover extends this).
Budget Breakdown:
- Seed packets (multiple varieties): $8–$15 total
- Compost: $6–$15
- Lightweight row cover: $15–$25
- Label stakes: $4–$8
Total Estimated Cost: $33 – $63
Best For: Small beds, path edges, and impatient gardeners who want quick wins and color on the plate within a month.
Key Design Elements:
- Main seasonal props: Mixed radish hues, wooden harvest board, pinch bowls of salt
- Color palette: Rust-red, magenta, soft white, jade tops
- Lighting strategy: Bright mornings for growth; evening harvests for crisp texture
- Textile layers: Linen tea towel for serving
- Natural elements: Fine-tilth soil, leaf mulch
- Accent details: Enamel colander, ceramic dipping bowls
Why This Reads High-End: Mixed varieties look like you shop specialty markets. The color gradient and perfect little roots suggest you know exactly what you’re doing.
How To Recreate This Look:
- Rake soil to a fine crumb; blend in a half-inch of compost.
- Sow lightly; cover with ¼ inch soil and firm gently.
- Water daily until sprouted; thin early to prevent crowding.
- Harvest promptly at maturity to avoid woody texture.
- Repeat sowing the next strip a week later for constant supply.
The Most Common Mistake: Letting them sit “one more week.” Overmature radishes go spongy and harsh. Pull on time and reseed.
Pro Styling Tip: Slice a few to reveal that crisp cross-section; layer whole and sliced for depth and color in photos.
Feeling brave enough for something bolder—and sweeter—after frost? Let’s talk beets.
4. Beets in Burgundy Glow for Zones 5–9: Roots, Greens, and a Fall Pantry Feel
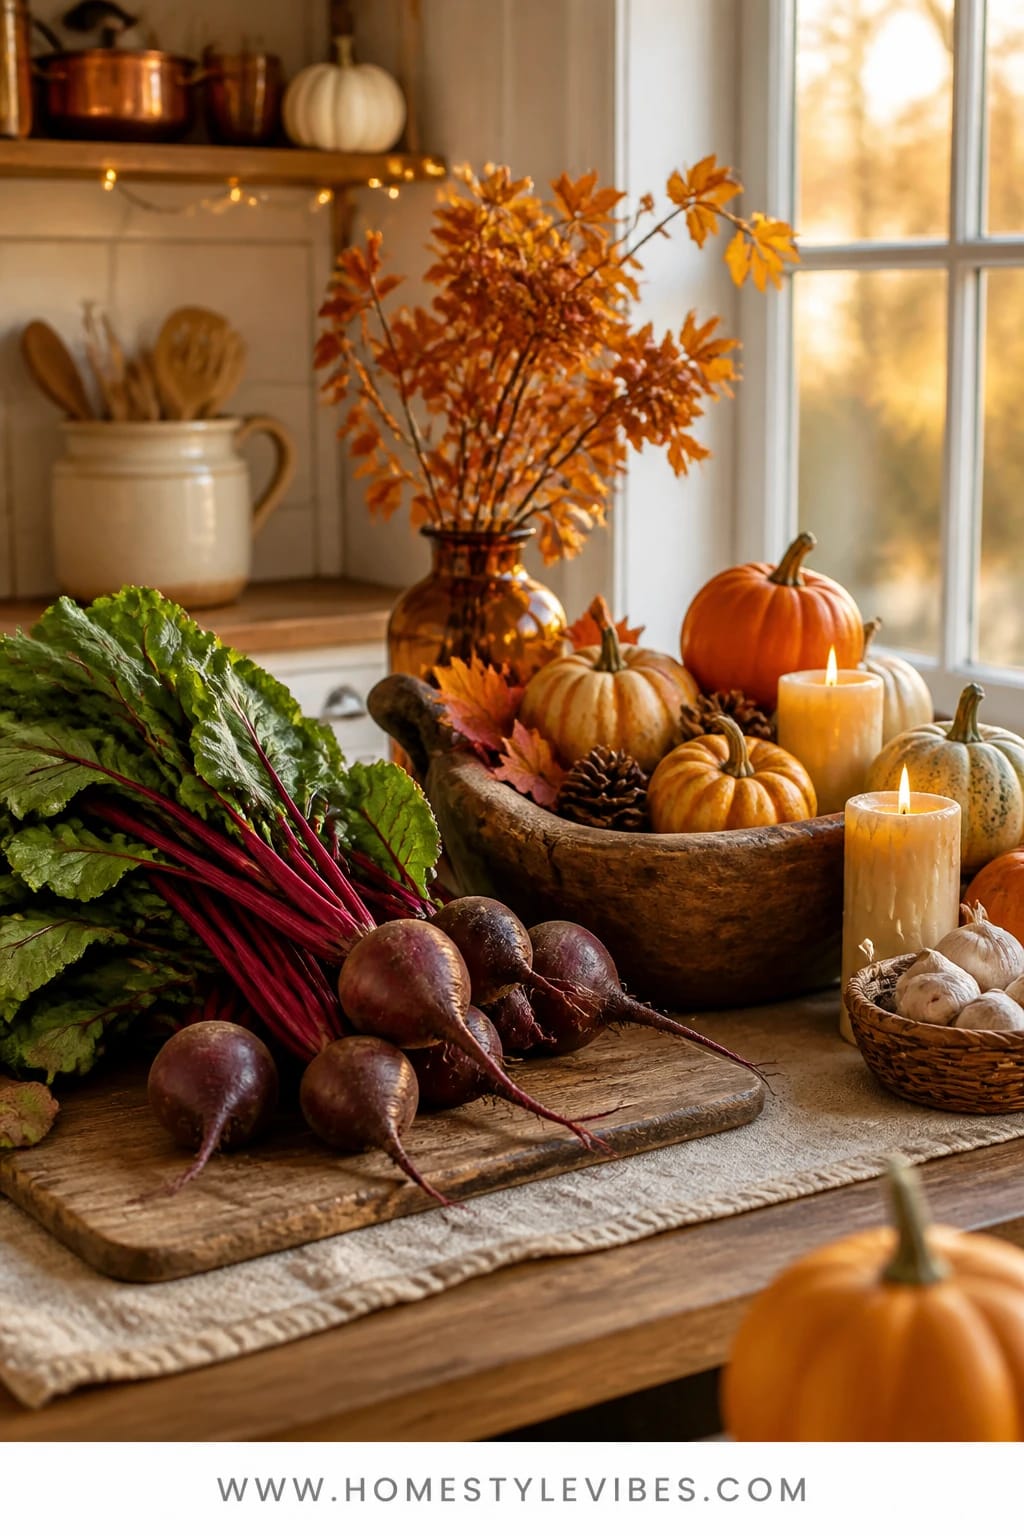
You want that moody, farm-to-table beet color, but earlier attempts gave you tops and no roots. It happens. Compacted soil, late sowing, or too much nitrogen can stall bulbs. The fix is simple: earlier seeding by zone, thinner stands, and consistent moisture—then stand back for burgundy beauties that store like champs.
Beets deliver a harvest-table mood: rich color on the cutting board, feathery greens in the pan with garlic, and golden-hour baskets that look like magazine covers. In real life, they’re easy—plant once, thin decisively, and harvest on your schedule. Light in fall keeps greens tender and roots dense. A touch of frost? Sweeter. Beet salads with goat cheese practically make themselves.
They style well because you get dual textures: bulb shine and leafy tops. Mix in a few golden beets for that amber pop, and Chioggia for a candy-striped reveal. I tried a tri-color row last October and honestly couldn’t believe how “chef-y” my weeknight dinners looked.
Planting Windows by Zone (Direct Sow):
- Zone 5: Early to mid-August for fall roots; baby beets into early September with cover.
- Zone 6: Mid-August to early September; small roots through late fall.
- Zone 7: Late August to mid-September; protect late sowings in first frosts.
- Zone 8: Early to late September; harvest into winter with mulch.
- Zone 9: Mid-September to early October; mulch lightly for steady moisture.
Varieties: ‘Detroit Dark Red’ (classic), ‘Cylindra’ (easy to slice), ‘Touchstone Gold’ (mild, colorful), ‘Chioggia’ (striped). For greens-first, ‘Bull’s Blood.’
Spacing: Beet “seeds” are clusters. Thin to one plant every 3–4 inches, rows 10–12 inches apart. Eat the thinnings.
Storage Strategy: Harvest, twist off tops, store roots in a perforated bag in the fridge. Or leave in ground under straw until the soil freezes hard.
Budget Breakdown:
- Seeds (2–3 varieties): $8–$12
- Compost: $6–$20
- Straw mulch: $8–$12
- Row cover (optional): $15–$25
Total Estimated Cost: $37 – $69
Best For: Gardeners who want a showy harvest and sturdy storage crop. Works well in raised beds with 8+ inches of loosened soil.
Key Design Elements:
- Main seasonal props: Burgundy beets, golden beets, garlic for sautéing greens
- Color palette: Burgundy, ruby, amber, forest green
- Lighting strategy: Morning sun to avoid heat stress; post-frost sweetness
- Textile layers: Dark linen napkin for plating
- Natural elements: Fine compost, straw mulch
- Accent details: Wooden board, stoneware bowl
Why This Looks Intentional: A tri-color beet lineup and consistent spacing create visual rhythm. A simple stoneware-and-wood pairing leans restaurant-level without fuss.
How To Recreate This Look:
- Work compost into 8–10 inches of soil; rake level.
- Sow thickly in rows; cover ½ inch; water in.
- Thin ruthlessly at 2 inches tall; maintain moisture.
- Mulch with straw once seedlings are hand-high.
- Harvest young for tender roots or mature for storage; twist tops to store.
Don’t Do This: Don’t overfeed with nitrogen-heavy fertilizer. You’ll get lush greens and disappointing roots.
Pro Styling Tip: Slice a Chioggia and a golden beet for the cut-surface drama; stack rounds with a sprinkle of flaky salt for that moody cookbook vibe.
Remember, this isn’t about building a flawless market garden. It’s about dinners that feel generous, flavors that show up on Tuesday nights, and a patch of soil that earns its keep. If one crop here makes your heart beat faster, that’s your starting point.
5. Lettuce with Golden Glow Crispness for Zones 5–9: Cut-and-Come-Again Bowls
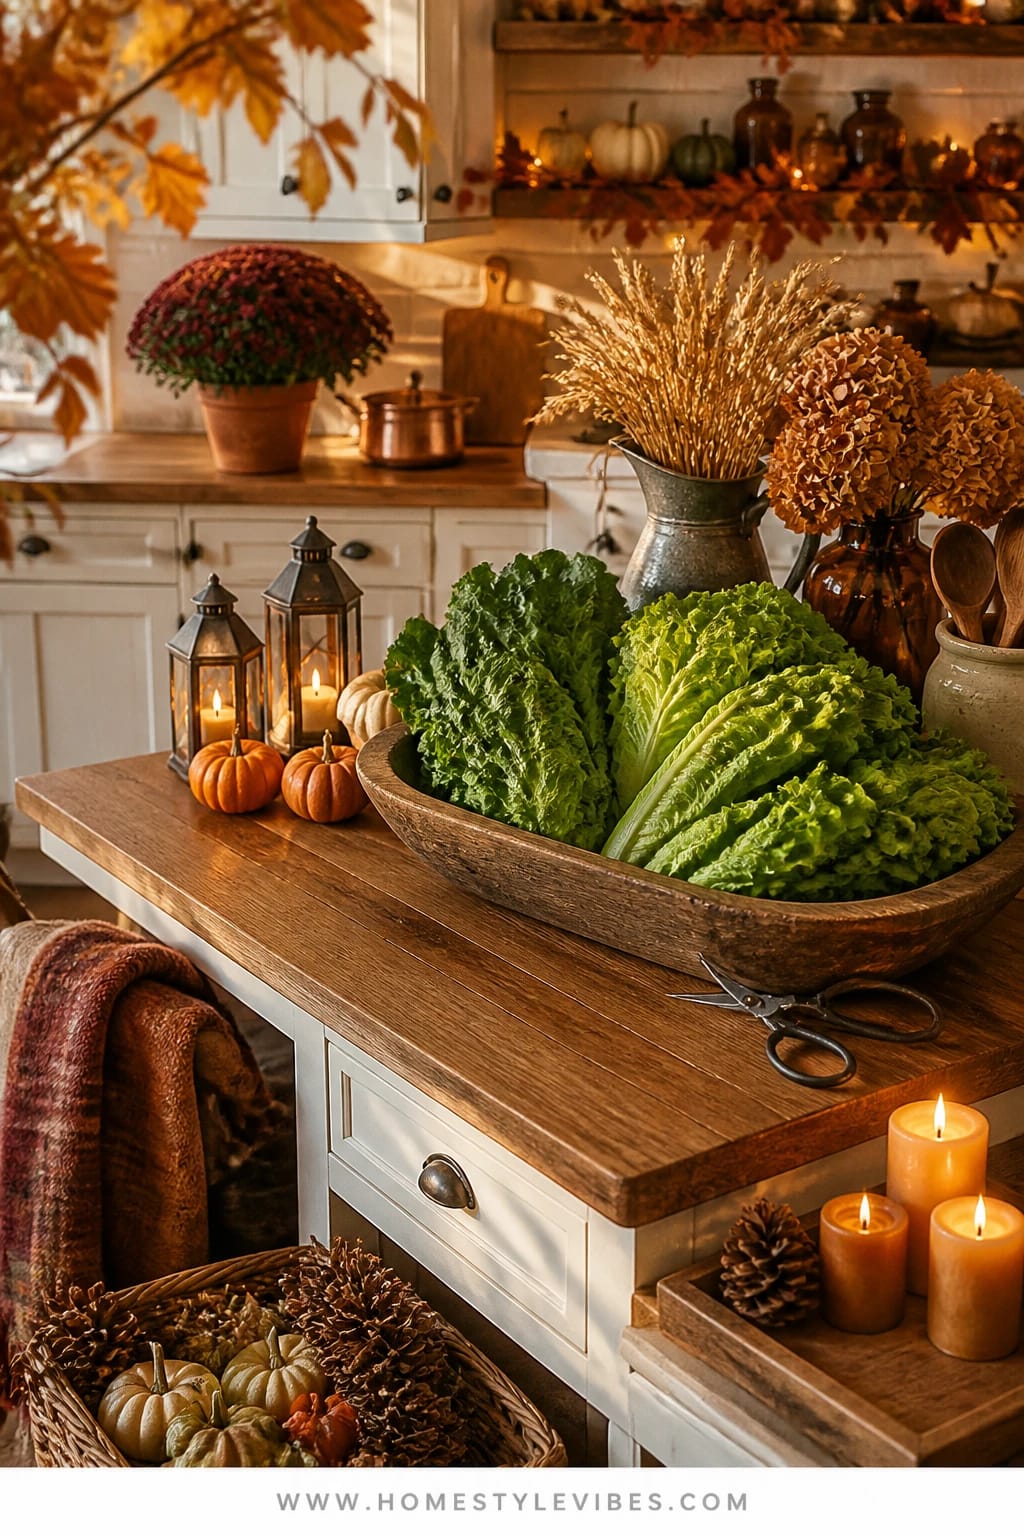
Ever buy a “harvest mix” and end up with a few sad leaves you ration like they’re truffles? The fix: fall-timed lettuces that thrive in cool weather and give you multiple cuttings. If you’ve struggled with bitter heads in spring, fall is your season—cool nights and mellow sunlight give you delicate crunch and sweet flavor.
This brings a crisp-morning mood to the kitchen—imagine rinsing just-picked leaves in cold water while the window steams slightly from a simmering soup. Real-life benefits: easy to tuck between slower crops, regrows after a haircut, and takes up very little room. Lighting-wise, low fall sun bathes greens in that tender, golden glow; add a string of bistro lights if you want to harvest at dusk and feel like you’re in a backyard café.
Texturally, mix frilly oakleaf with dense butterhead and a red romaine for color. A washed enamel bowl, a tea towel, and a scattering of nasturtium petals turn a Tuesday salad into a moment worth photographing.
Planting Windows by Zone (Transplants or Direct Sow):
- Zone 5: Transplant late August to early September; direct sow through early September.
- Zone 6: Transplant early to mid-September; sow through mid-September.
- Zone 7: Transplant mid to late September; sow mid-September to early October.
- Zone 8: Transplant late September to October; partial shade if warm.
- Zone 9: Transplant October to November; sow late September onward if heat eases.
Varieties: ‘Salad Bowl’ (oakleaf), ‘Buttercrunch’ (butterhead), ‘Rouge d’Hiver’ (red romaine), ‘Little Gem’ (mini romaine), and any reliable mesclun mix for speed.
Spacing: For heads, 8–10 inches apart. For cut-and-come-again, broadcast rows or dense bands and harvest with scissors.
Succession: Sow every two weeks until your forecast shows sustained lows below 25°F; use row cover to stretch that window.
Budget Breakdown:
- Seed packs/mix: $6–$12
- Transplants (optional, 6-pack): $4–$8
- Compost: $6–$15
- Row cover: $15–$25
- Bistro string lights (optional mood): $20–$40
Total Estimated Cost: $31 – $100
Best For: Small spaces, raised beds, and anyone who loves frequent salads. Great September-through-Thanksgiving harvests with light protection.
Key Design Elements:
- Main seasonal props: Mixed lettuces, nasturtium petals, enamel harvest bowl
- Color palette: Emerald, lime, burgundy blush
- Lighting strategy: Late-day golden glow; optional warm string lights
- Textile layers: Linen towel for drying leaves
- Natural elements: Fine compost, leaf mold for moisture
- Accent details: Herb snips, slate plant markers
Why This Looks Expensive: Mixed textures and colors look like a chef’s garden. Tight spacing in bands reads lush, not messy, when you keep clean edges.
How To Recreate This Look:
- Rake soil smooth; blend in 1 inch compost.
- Direct sow bands or transplant starts in tidy grids.
- Water deeply, then maintain consistent moisture for tender leaves.
- Harvest outer leaves or shear bands 1–2 inches above crown.
- Cover during cold snaps; keep harvesting until growth slows.
Watch Out: Bitter leaves mean stress—usually heat or drought. Shade in hot spells and keep watering even.
Pro Styling Tip: Toss rinsed leaves in a wide bowl and photograph near a window; that soft edge light brings out the curly edges and dewy freshness.
Okay, let’s get serious about the vegetable that turns five ingredients into dinner: garlic.
6. Garlic with Amber Clove Warmth for Zones 5–9: Plant in Fall, Harvest in Early Summer
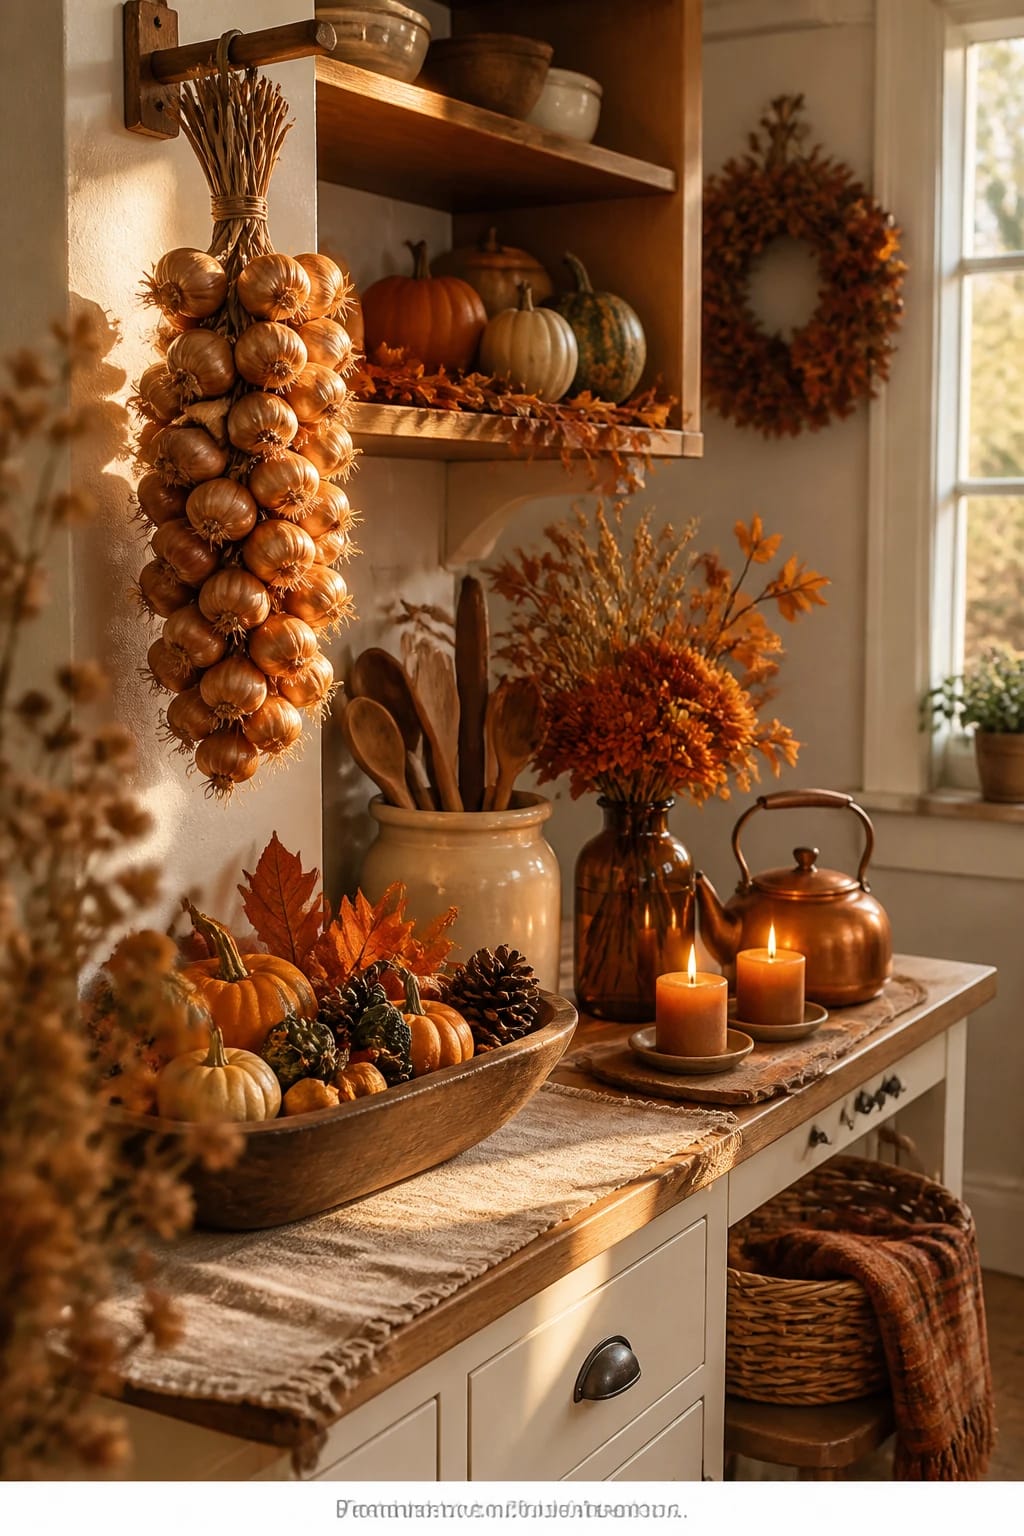
You want effortless flavor all year, but garlic at the store is either sprouting or bland. Plant your own in fall and you’ll harvest fat bulbs just as summer begins. If you’ve hesitated because it ties up space, hear me: it’s the laziest long-term payoff in the garden. Put it in once, mulch, ignore, and come June you’ll feel like a culinary wizard.
Garlic sets an old-world pantry mood—braids hanging in a cool corner, the papery rustle as you grab a head for a skillet of greens. It’s perfect for real homes because it’s drought-tolerant once established and shrugs off winter with mulch. Lighting? Full sun is ideal, but it’s astonishingly forgiving in fall and winter’s low angle. Snap a photo of cured bulbs in a woven basket and you’ve basically staged your kitchen for the season.
Hardneck types excel in colder zones and gift you scapes in late spring; softneck types braid beautifully and store longer. I planted a full bed last October, forgot about it all winter, and when the scapes curled in June I felt like I cheated the system—in a good way.
Planting Windows by Zone:
- Zone 5: Plant mid-October to late October; mulch heavily after soil cools.
- Zone 6: Plant early to mid-October; 3–4 inches deep, 6 inches apart.
- Zone 7: Plant October to early November; mulch after first frost.
- Zone 8: Plant November; avoid very early planting to reduce early sprout stress.
- Zone 9: Plant November to December; choose softneck or heat-tolerant hardneck.
Types: Hardneck (e.g., ‘Music’, ‘German Extra Hardy’) for robust flavor and scapes; Softneck (e.g., ‘Inchelium Red’, ‘California Early’) for braiding and long storage.
Spacing: 6 inches apart in rows 10–12 inches apart; plant cloves pointy side up, 2–3 inches deep (deeper in colder zones up to 4 inches).
Mulch Strategy: 3–6 inches of straw or shredded leaves after planting; top up in late winter if it compacts.
Harvest: Early to mid-summer when 3–4 lower leaves have browned. Cure 2–3 weeks in a dry, airy, shaded spot.
Budget Breakdown:
- Seed garlic (1–2 pounds for a small bed): $15–$35
- Compost: $6–$15
- Straw mulch: $8–$12
- Twine/hooks for curing: $4–$10
Total Estimated Cost: $33 – $72
Best For: Anyone who cooks often and wants reliable, high-flavor cloves. Easy to tuck along a fence line or bed edge you won’t need until summer.
Key Design Elements:
- Main seasonal props: Seed garlic heads, straw mulch, curing braids
- Color palette: Amber, cream, sage-green shoots
- Lighting strategy: Full sun; winter low-angle light is fine
- Textile layers: Jute twine, wire rack for curing
- Natural elements: Compost-rich loam, dry mulch
- Accent details: Wooden crate, kraft tags for labeling varieties
Why This Looks Expensive: A tidy grid of shoots in spring and braided bulbs later feel artisanal. Labeling varieties like a wine list doesn’t hurt either.
How To Recreate This Look:
- Prep a sunny strip with 1–2 inches of compost; rake smooth.
- Crack bulbs into cloves right before planting; discard tiny interior cloves.
- Plant point up, 2–4 inches deep based on zone; space consistently.
- Mulch generously; water once to settle.
- In spring, side-dress with compost, snap scapes to encourage bulb size, and cure harvest properly.
The Most Common Mistake: Planting too early in warm climates. You’ll get tall fall growth that winter can rough up. Wait until soil cools to sweater weather.
Pro Styling Tip: Hang braids near a window out of direct sun—the dappled light on papery skins looks like a still life.
If all this feels like a lot, breathe. You do not need every crop. Choose the two you cook with most and layer the rest later. The goal isn’t perfection—it’s dinner that tastes like fall.
7. Spinach with Golden-Morning Tenderness for Zones 5–9: Sweet Leaves into Winter
You keep buying plastic tubs of spinach that wilt in a day, and the waste makes you grumpy. Plant fall spinach and pick what you need, when you need it. If spring spinach bolted on you, fall fixes that with cooler temps and sweeter leaves after frost.
The mood here is quiet and comforting—steam rising off a skillet of garlicky spinach while a chill comes through a cracked window. In real homes, spinach is practical: it tolerates cold, fits between slower crops, and freezes well if you over-harvest. Fall’s soft light keeps leaves lush, and a simple low tunnel can carry you into winter salads, especially in Zones 6–8.
Materials stay minimal: seed, compost, and a low tunnel if you want a winter boost. Spinach photographs beautifully rinsed and piled high—dark emerald against a wood counter with beads of water catching the light.
Planting Windows by Zone (Direct Sow or Transplant):
- Zone 5: Sow late August to mid-September; protect with row cover for winter harvest.
- Zone 6: Sow early to late September; low tunnel extends to late winter.
- Zone 7: Sow mid-September to early October; excellent winter crop under cover.
- Zone 8: Sow late September to November; partial shade if hot.
- Zone 9: Sow October to December; pick bolt-resistant varieties if a warm spell hits.
Varieties: ‘Bloomsdale’ (savoyed, classic), ‘Space’ (bolt-resistant), ‘Giant Winter’ (cold-hardy), ‘Red Kitten’ (color accent, baby leaves).
Spacing: 4–6 inches apart for full leaves; tighter for baby cuts. Keep soil consistently moist for tenderness.
Cold Strategy: Row cover alone pushes you far; add a second layer on a small hoop for deep-winter harvests in Zones 5–6.
Budget Breakdown:
- Seeds: $3–$6
- Compost: $6–$15
- Row cover/low tunnel kit: $20–$60
- Clips and anchors: $6–$12
Total Estimated Cost: $35 – $93
Best For: Salad-lovers and smoothie people who want consistent, sweet greens from October into spring with minimal fuss.
Key Design Elements:
- Main seasonal props: Savoyed spinach leaves, low tunnel arcs, morning dew
- Color palette: Deep emerald, soft gray mulch, pale straw
- Lighting strategy: Gentle morning light to keep leaves crisp
- Textile layers: Cotton produce bag for storage
- Natural elements: Composted leaf mold for moisture retention
- Accent details: Narrow harvest knife, enamel bowl
Why This Looks Expensive: Dense, healthy leaves in tidy rows read like a pro grower’s plot. The low tunnel adds a purposeful, “I planned this” vibe.
How To Recreate This Look:
- Amend soil with compost and rake to a fine finish.
- Sow in rows or bands; water gently and evenly.
- Thin early; mulch lightly once established.
- Install row cover before hard frosts for baby-leaf harvests all winter.
- Pick outer leaves frequently to keep growth coming.
Watch Out: Heat spikes cause bitterness. Provide temporary shade and consistent water if a warm week sneaks in.
Pro Styling Tip: Keep a few leaves unwashed for a photo, then mist lightly—the texture pops without looking soggy.
Quick micro-story: A friend bought three different fall greens mixes and still felt underwhelmed until she realized her lighting was harsh midday sun. We shifted her planting to an area with afternoon shade, and boom—salads that tasted like they came from a farm stand. Sometimes it’s not the seed. It’s the sun.
Remember, the “6 Fall Vegetables to plant by zone (Zone 5 through 9 planting guide)” idea isn’t a to-do list you have to complete today. It’s a pantry you’re building outdoors. Pick two to start this weekend, then add one more when you feel ready.
Quick Checklist
- Know your first frost date for precise sowing
- Prep beds with 1–2 inches compost
- Have row cover and hoops ready
- Sow carrots early and keep surface moist
- Transplant kale with generous spacing
- Succession sow radishes every 7–10 days
- Thin beets to one plant per cluster
- Broadcast-cut lettuce for repeat harvests
- Plant garlic cloves point up, mulch deeply
- Direct sow spinach and protect for winter
- Label varieties and dates
- Mulch with straw or leaves to regulate moisture
- Water consistently during germination
- Harvest on time—don’t let roots overmature
- Add a low tunnel for winter insurance
Frequently Asked Questions
How can I keep the budget reasonable when starting multiple fall crops?
Share row cover and hoops across beds, buy compost in bulk if possible, and stick to seed over starts for everything but kale and lettuce if timing is tight. Prioritize two crops you’ll eat constantly (like lettuce and radishes), then add one root (carrot or beet) and garlic if you can swing it.
Should I use real seed garlic or can I plant grocery store bulbs?
Use certified seed garlic to avoid disease and ensure the right type for your zone. Grocery bulbs are often treated to prevent sprouting and can carry pathogens. Seed garlic performs more reliably and stores better.
I have a tiny raised bed—what are the best small-space picks?
Go with cut-and-come-again lettuce bands, radish successions, and a short-row of carrots (Parisian types if your soil is shallow). Tuck a border of garlic cloves around the edges. You’ll get frequent harvests without monopolizing space.
How do I store fall harvests without a root cellar?
Carrots and beets can stay in the ground under straw until the soil freezes hard. Indoors, store roots in perforated bags in the fridge crisper. Cure garlic in a dry, airy place and keep in a cool cabinet. Kale and spinach stay best on the plant—harvest as needed.
Are candles and lanterns safe to use near the garden at night when I harvest?
Use enclosed lanterns or battery-powered candles if you’re setting them near dry straw mulch. Better yet, set up warm LED string lights along a fence—plenty of glow, zero fire worry.
When should I start planting for fall in Zones 5–9?
Work backward from your average first frost: carrots and beets 8–10 weeks before; kale transplants 6–8 weeks before; radishes 4–6 weeks before; lettuce 6–8 weeks before (or ongoing successions); spinach 4–8 weeks before with cover; garlic in mid-fall when soil cools. The windows above break down by zone for easy planning.
Conclusion: Your Cozy, Productive Fall Starts Here
Pick one idea that made you nod—maybe those sweet, frost-kissed carrots or the garlic that promises early-summer bragging rights. That’s your move this weekend. Prep one bed, lay one row of seed, and set one piece of row cover nearby so you’re not scrambling when the first cold night rolls in.
The truth is, cozy doesn’t just live on mantels and in plaid throws. It lives in your garden rows—warm light on curly kale, the papery rustle of garlic skins, a handful of radishes that make a charcuterie board feel like a celebration. Layer compost like a blanket, use gentle light to your advantage, and plant with generous spacing so everything has room to thrive. That’s how the harvest looks abundant and tastes even better.
You’ve got this. One crop at a time, one Saturday at a time, and by Thanksgiving you’ll be pulling dinner from the soil with a grin. Seriously—just wait until you taste that first post-frost kale leaf. It’s the moment you realize your fall garden is working for you.
About the Author

Krisztina P.Rendes, Founder of Home Style Vibes
Founder of Home Style Vibes
Krisztina Puskásné Rendes created Home Style Vibes as a cozy-modern lifestyle space where homemaking meets inspiration. Her goal is to help women create beautiful, organized, and peaceful homes they truly love — without overwhelm. You’ll find here heart-driven content on home decor, cleaning tips, easy family recipes, organization and decluttering, DIY home projects, plants, and seasonal ideas — all designed to bring more calm, comfort, and style into everyday life.