How To Wrap Presents Like A Pro In 5 Minutes
You know that moment when you’re 10 minutes late to the party, knee-deep in wrapping paper, and your tape has vanished into the void? We’ve all been there. The good news: you can wrap a present that looks chic, clean, and totally Instagrammable in under five minutes.

No origami degree required, just a few smart moves and a bit of confidence.
Gather Your Toolkit (Fast)
You don’t need a craft store in your living room. You just need the essentials in arm’s reach so you don’t waste time hunting for scissors under the cat.
- Wrapping paper (medium weight, not the ultra-thin stuff that tears if you breathe)
- Sharp scissors (dull blades fray paper and your soul)
- Clear tape or double-sided tape (DS tape = magic)
- Ribbon or twine (optional, but it hides minor sins)
- Gift tags (or a marker if you live dangerously)
Pro Tip
Keep everything in a small bin or caddy. You’ll shave a minute off your time just by not playing hide-and-seek with your tape.
Like You Mean It
The number-one speed killer?
Too much paper. The number-two speed killer? Too little paper.
Measure once, cut once, and your folds will behave.
- Place the box face down on the paper.
- Pull paper over the box until it overlaps halfway across the top. That’s your width.
- Rotate the box and make sure you have enough paper to cover the sides plus a small overlap—about 2 inches.
Quick Visual Cue
If the paper goes more than two-thirds up the side on the short ends, trim it. Excess paper turns into lumpy corners.
We don’t do lumps here.
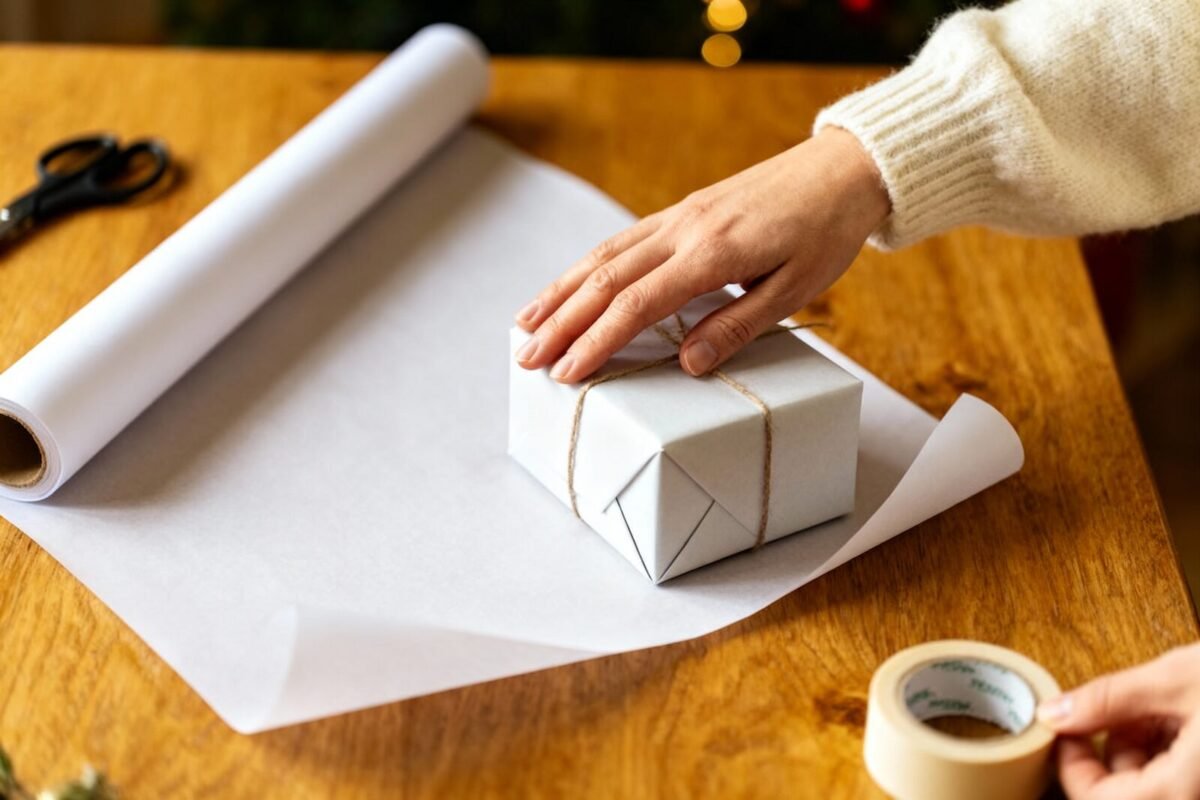
The Seamless Wrap Method (Your 2-Minute Core)
This is the method that makes your gift look store-wrapped with minimal effort. It works on most boxes and takes almost no brainpower once you practice it once.
- Anchor the first edge. Place the box upside down, pull one long edge up and tape it to the box. Use one piece of tape—be brave.
- Pull tight, then fold. Bring the other long edge over the top, pull it snug (but don’t crush the box), and fold a clean hem of about half an inch.Tape along the seam. FYI, double-sided tape here looks extra polished.
- Create crisp sides. Turn the box so an open end faces you. Press the left and right paper panels in to form triangles.Fold the top flap down so it’s flush, then fold the bottom flap up and tape. Repeat on the other side.
The Hem Trick
Always fold a small hem before your final tape. It hides uneven cuts and sets you up for a straight seam.
It’s the difference between “homemade” and “Who wrapped this at the department store?”
Corner Perfection (Without Tears)
Corners are where wrapping jobs go to die—unless you use these tiny adjustments.
- Trim heavy paper at the corners slightly if it bunches.
- Pinch along the box edge before you fold. Those pre-creases give you laser-sharp lines.
- Use one small piece of tape per step. Less tape = cleaner look and faster work.
What If the Box Isn’t Perfect?
If the box has dents or rounded edges, reinforce with a small piece of tape under the paper first. The paper hugs better and doesn’t sag.
IMO, this hack saves even fragile paper from misbehaving.
Dress It Up in 30 Seconds
You’ve got the clean wrap. Now make it look intentional—like you meant for it to be a moment.
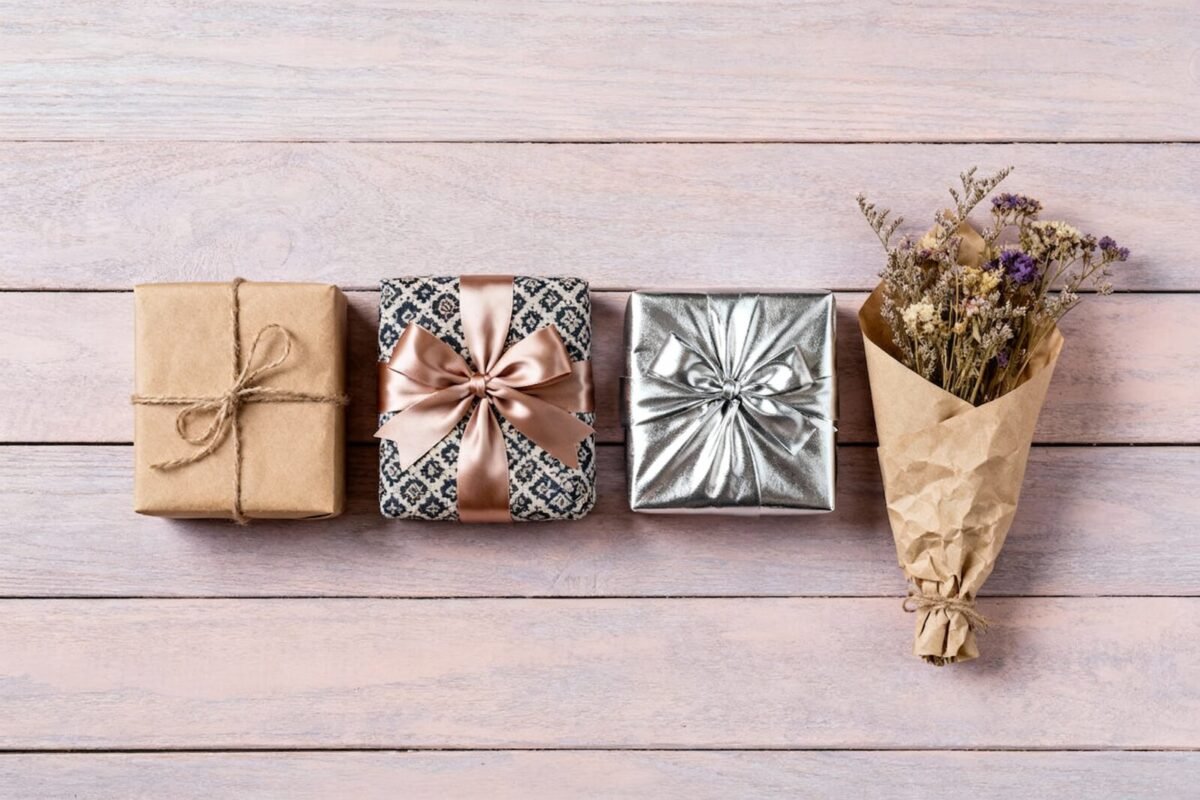
- Minimalist move: One piece of satin ribbon tied flat across the box, gift tag tucked under the knot.
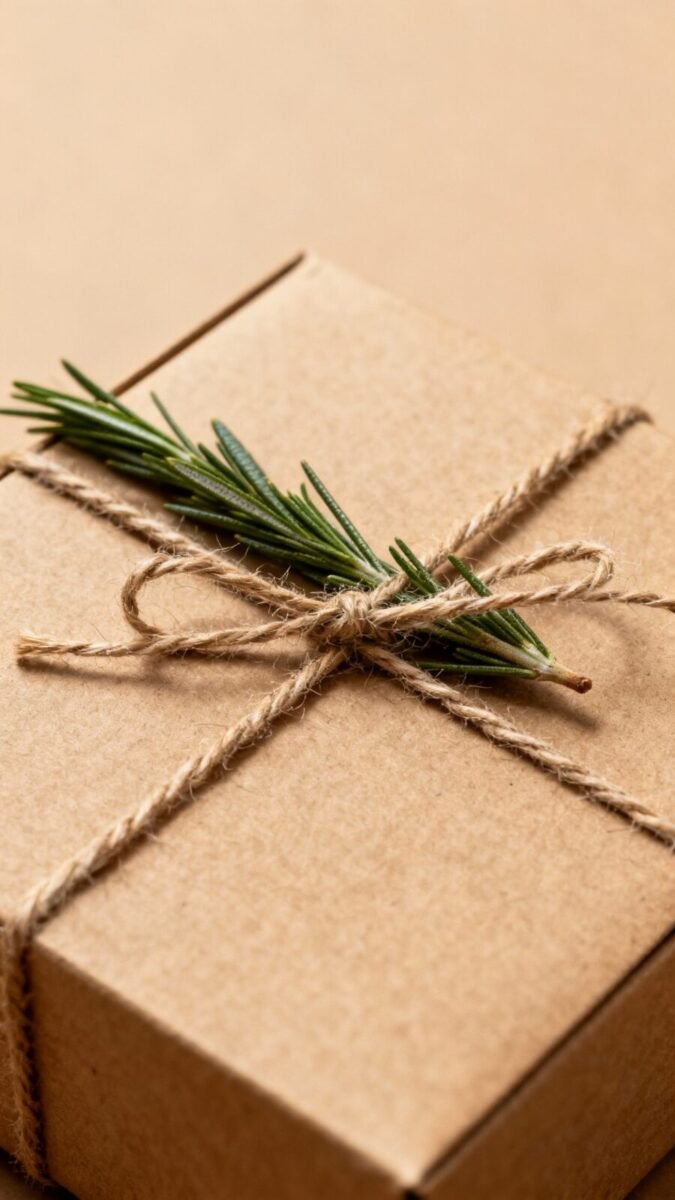
- Rustic vibe: Twine with a sprig of rosemary or a cinnamon stick. Yes, it smells nice.Yes, you’re extra.
- Graphic pop: Washi tape in a contrasting color along the seam. Simple, bold, fun.
- Last-minute cheat: Pre-made bow stuck dead-center. Done in five seconds, zero shame.
Bow That Behaves
Cut ribbon long, then trim when tied.
Loop, cross, pull tight, then fluff the loops by tugging gently. Angle the ribbon tails for a cleaner finish.
Weird Shapes: Bag It, Roll It, Or Burrito It
Not everything comes in a neat box. When it doesn’t, pick your fastest hack and run with it.
The Gift Bag Shortcut
Bag + tissue paper = five-star disguise.
Place the item, add two sheets of tissue, crumple gently at the base, and let the tops pouf. Done.
The Burrito Wrap
For clothing or plush items: lay the item on paper, roll it up snug like a burrito, hem and tape the seam, then twist the ends and tie with ribbon. It looks whimsical and takes a minute.
The Cylinder Roll
For candles or bottles: stand it in the center of a circle of paper, pull sides up, and twist neatly at the top.
Or lay it sideways, roll, and pleat the ends like a candy wrapper. Choose your vibe.
Speed Fixes for Common Wrapping Fails
You cut too short. You tore the paper.
The box shows. We salvage everything around here.
- Paper too short? Add a contrasting strip as a “belt” right across the shortage. Looks intentional.Promise.
- Paper ripped? Patch under the tear with a small piece and hide with ribbon or a bow. No one inspects gifts with a magnifying glass.
- Edges messy? Hem them. Hem everything.Hem like your reputation depends on it.
- Seam won’t stay flat? Use a line of double-sided tape under the seam. It vanishes and holds like a champ.
Level-Up Extras (Optional but Awesome)
Want that pro look with almost zero extra time? Try one or two of these.
- Coordinate colors: Stick to a simple palette—two colors plus a metallic.Cohesive looks pro with minimal effort.
- Monogram tags: Write a big initial in marker. Fast, bold, and cleaner than tiny handwriting.
- Pattern play: Stripes? Line up the pattern at the seam.It’s a tiny flex that people notice.
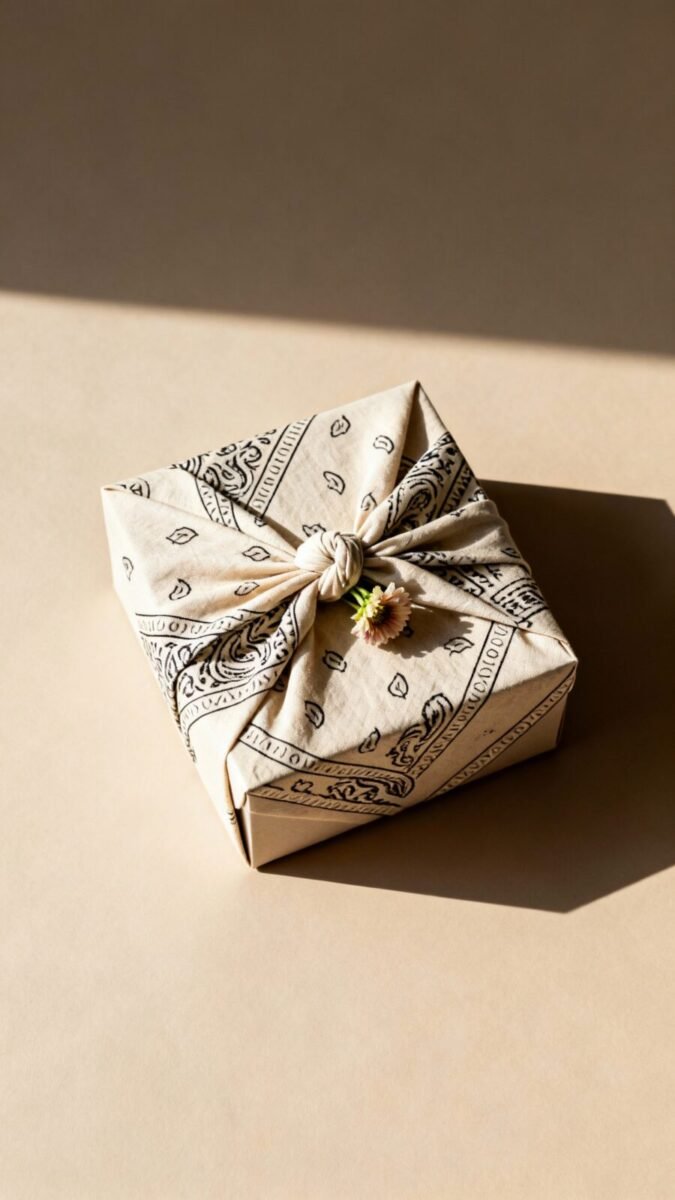
- Reusable fabric wrap: A quick knot with a square of fabric (furoshiki-style) looks stunning and eco-friendly, FYI.
FAQ
How do I wrap a gift without visible tape?
Use double-sided tape under your hems and seams. Anchor the first edge with a hidden strip, fold a clean hem on the second edge, and press it down. Do the same on the ends.
It takes the same amount of time, but it looks boutique-level polished.
What paper weight works best for quick wrapping?
Choose medium-weight paper. Thin paper tears when you tighten the fold, and heavy paper fights you at the corners. Medium holds a crease, cuts cleanly, and speeds everything up, IMO.
How can I wrap fast if I’m doing multiple gifts?
Batch the steps.
Cut all your paper pieces first, then wrap all boxes assembly-line style, then ribbon, then tags. Set a timer for each stage. You’ll move faster with fewer mental gear shifts.
My ribbon keeps slipping—what now?
Flip the gift and place a tiny piece of double-sided tape under the ribbon at the back.
It locks the ribbon in place without ruining the look. Also, pull the ribbon snug before you tie the bow—tight foundations, tidy finish.
Any tricks for wrapping without a box?
Use the burrito wrap for soft items and the cylinder roll for round things. If it’s oddly shaped, wrap it in tissue first to smooth the edges, then use regular paper.
Or skip the chaos and use a gift bag—no one gets a medal for boxing a soccer ball.
How do I keep the paper from cracking on corners?
Lightly score a crease with your fingernail along the edge before folding, then fold slowly. If the paper feels stiff, warm it by rubbing the corner with your hand. It softens just enough to prevent cracking, FYI.
Conclusion
You don’t need fancy tools or an afternoon to nail gift wrapping.
Measure smart, hem your edges, keep those corners crisp, and add one sharp detail—ribbon, washi, or a tidy tag. Do it twice and you’ll hit the five-minute mark easy. Now go wrap something and accept the compliments like you didn’t finish it in your car five minutes before the party.