15 Diy Christmas Wreaths Anyone Can Make (beginner-friendly)
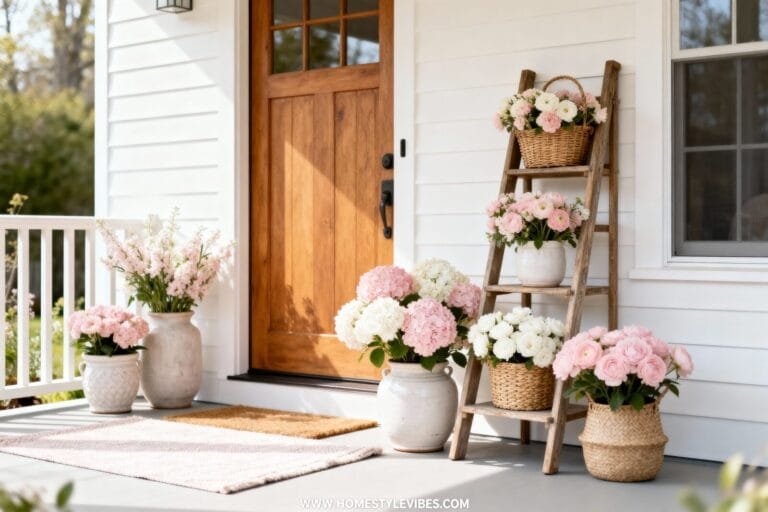
You want a festive front door without spending half your holiday budget on something that sheds glitter for months? Same. The good news: you can absolutely make a gorgeous Christmas wreath with zero fancy skills.

These ideas use easy-to-find supplies, quick methods, and a little creativity. Grab hot glue, put on a playlist, and let’s make your porch look like pure holiday magic.
Start with a foolproof base

You need a base that makes everything else simpler. Choose what you like and build from there.
- Grapevine wreath: Rustic, sturdy, and easy to poke stems through.
No rules here.
- Wire form: Great for lush greenery and ribbon—super classic holiday vibes.
- Foam ring: Lightweight and perfect for pinned or glued decorations.
- Embroidery hoop: Minimalist and chic—FYI, it looks way fancier than it is.
Basic supplies you’ll use a lot
- Green floral wire and wire cutters
- Hot glue gun + glue sticks
- Pruning shears for real greenery
- Ribbon (wired ribbon makes life easier)
- Hooks or twine for hanging
15 beginner-friendly wreath ideas
Yes, fifteen. Mix, match, and modify. You can’t mess this up—IMO the “imperfections” make them charming.
- Classic evergreen with a big bow: Wrap a wire form with faux pine garland.
Fluff as you go. Add a bold wired bow at the bottom and tuck in a few ornaments. Done in 20 minutes and looks store-bought.
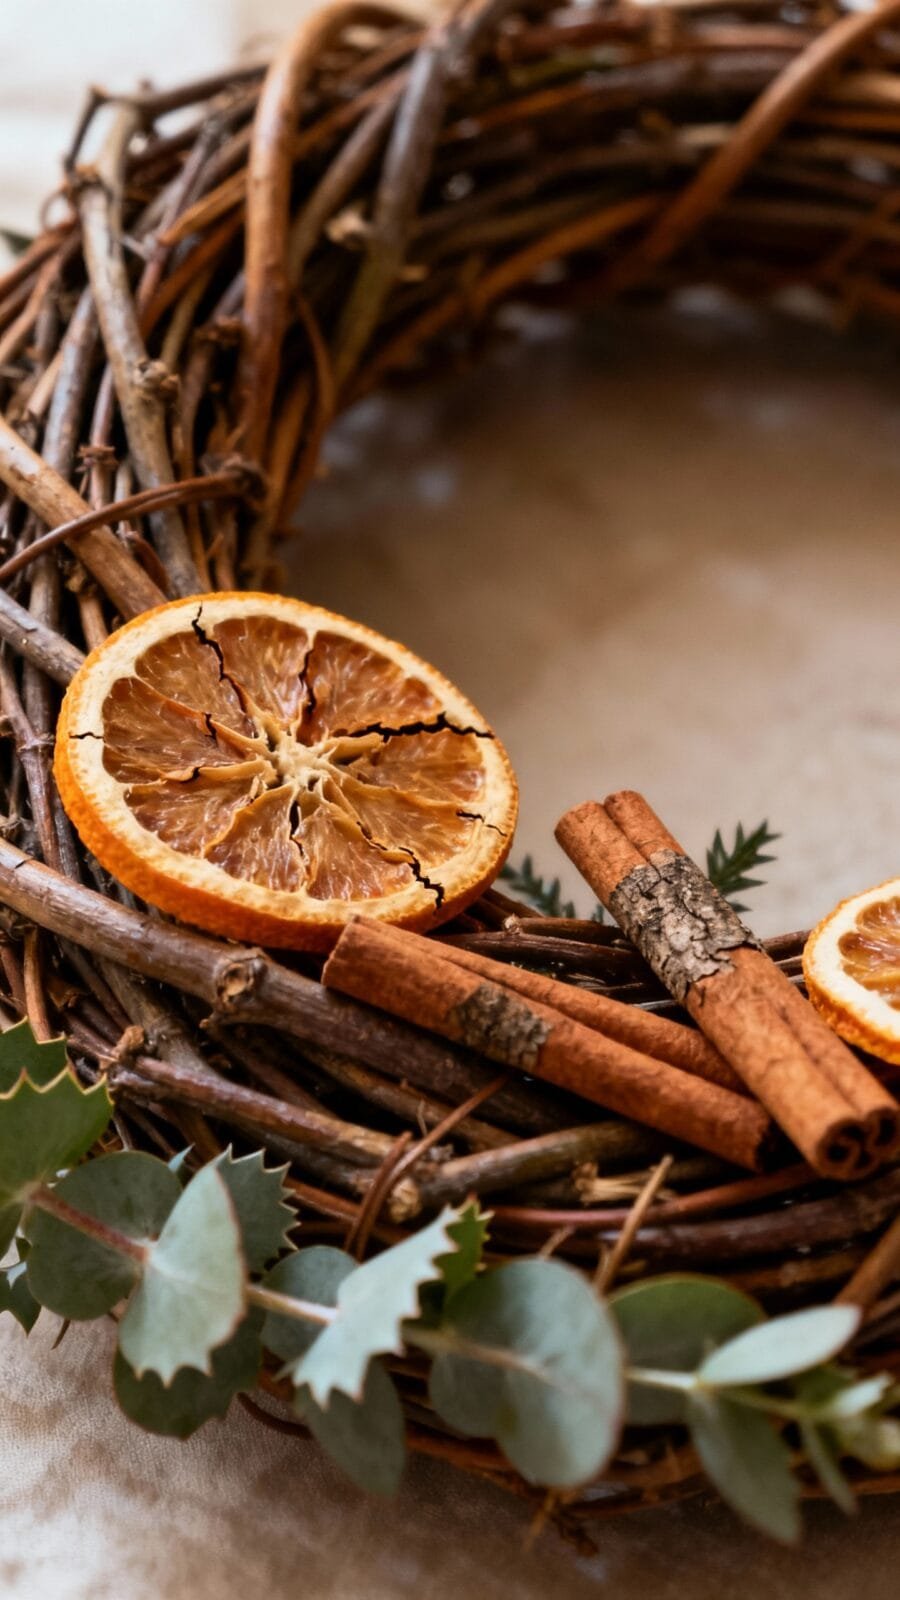
- Dried orange and cinnamon: On a grapevine base, string dried orange slices and cinnamon sticks with twine.
Add sprigs of eucalyptus. It smells like Christmas and looks artsy without trying.
- Minimalist hoop wreath: Use an embroidery hoop. Wire a small cluster of greenery (cedar or eucalyptus) on one side.
Finish with a silk ribbon tail for that soft, Pinteresty vibe.
- Ornament overload: Hot glue a mix of shiny, matte, and glitter ball ornaments onto a foam ring. Start with larger ones, fill gaps with mini ornaments. Pro tip: stick to two to three colors for a polished look.
- Buffalo plaid farmhouse: Wrap burlap or plaid ribbon around a wire frame.
Add faux berries, pinecones, and a simple bow. Cozy and easy to pull off.
- Snow-dusted pinecone: Glue pinecones around a foam ring. Brush tips with white acrylic paint for a frosty effect.
Add a few tiny ornaments to catch light.
- Candy cane stripe: Wrap a foam ring with red and white ribbon diagonally. Add a small greenery cluster and a mini sign that says “Joy.” Cute and fast.
- Scandinavian felt: Cut felt leaves (olive shapes) and glue them overlapping around a foam ring. Keep it simple in white or soft green.
Top with wooden beads on twine for a clean, modern look.
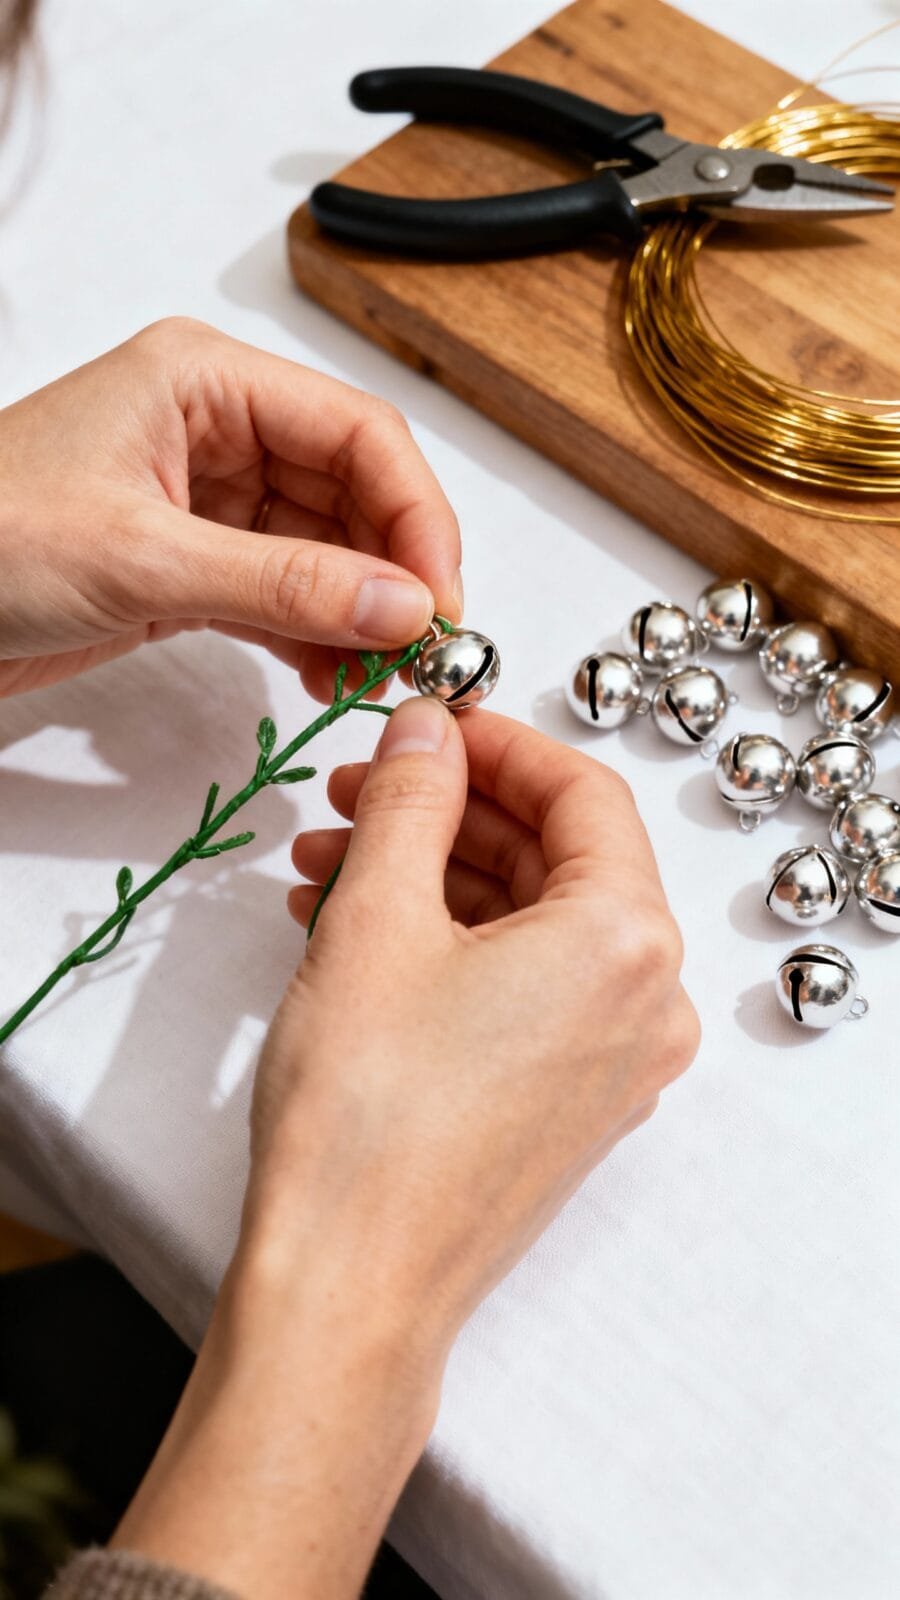
- Jingle bell wreath: Thread bells onto floral wire and wrap around a small wire form. It jingles every time the door moves—festive, slightly chaotic, and delightful.
- Flocked faux greenery: Take faux pine stems and spray lightly with faux snow. Arrange on a grapevine base and add silver ribbon.
Looks luxe, costs very little.
- Gingerbread theme: Add mini gingerbread cookie ornaments, candy canes, and a red-and-white ribbon to a greenery base. Sweet without being sticky. Literally.
- Wood slice rustic: Glue thin wood slices (craft store sells these) around a foam ring.
Add greenery and a plaid bow. If you own a cabin, this one just moved in.
- Monogram wreath: Attach a large wooden letter to a grapevine base. Decorate around it with berries and pine.
It says “Hi, yes, this is our house.”
- Paper star burst: Fold cardstock into 3D stars (or buy pre-made). Glue to a foam ring, mixing sizes. Keep to neutrals or go metallic for drama.
- Cozy yarn pom-pom: Make pom-poms (use a pom-pom maker or wrap yarn around your fingers), then glue them to a foam ring.
Mix whites and creams for a winter wonderland, or do bold reds and greens.
Fast techniques that make a big difference
You don’t need fancy tools. You just need a couple tricks.
- Wire first, glue second: Wire heavy items (pinecones, ornaments) to the base, then add a dot of hot glue to stop wobble.
- Work in odd numbers: Group elements in 3s or 5s for a balanced, natural look.
- Stick to a color story: Pick one primary color and one or two accents. Example: green + gold + white.
Easy win.
- Fluff and fan: If you use faux greenery, fluff branches and fan them outward for fullness.
- Layer textures: Combine shiny ornaments, matte ribbon, rough pinecones, and soft greenery. Texture makes it look “designer.”
How to tie a bow that behaves
– Use wired ribbon. It holds shape and saves frustration. – Make two loops, cross, pull tight, then create long tails. – Fluff the loops and curl the tails with your fingers.
Instant drama, zero stress.
Real greenery 101 (if you want that fresh look)
Fresh greens smell amazing and look lush. You can scavenge a bit from your yard or grab a mixed bundle from a garden center.
- Best picks: Cedar for drape, fir for fullness, eucalyptus for scent, holly for shine.
- Assembly tip: Start with the longest pieces, layer shorter ones, and wire them in a circular direction.
- Hydration hacks: Soak stems in water for an hour before assembling. Mist your finished wreath every few days.
Keep out of direct sun for longevity.
Make it last longer
– Use an anti-desiccant spray on fresh greenery. – Avoid hanging between a storm door and main door—it turns into a greenhouse. – If it starts shedding, tuck in a few new sprigs. No one will know. Promise.
Budget tips that don’t look budget
You can create something stunning without spending much.
Here’s how.
- Shop your stash: Ornaments, ribbon ends, last year’s broken garland—these become wreath gold.
- Thrift stores: Grab old wreaths and strip them for bases and decorations.
- Dollar store wins: Bells, faux berries, mini ornaments, and foam rings. Mix with one or two nicer elements for a balanced finish.
- Forage responsibly: Clip small amounts of pine or cedar from your yard. Ask neighbors.
They probably have a tree that needs “a haircut.”
Display and storage (so it survives the season)

You made a masterpiece—now hang it proudly and keep it safe later.
- Hanging: Use an over-the-door hook or Command hooks for renters. Secure with a ribbon loop.
- Weather: If your porch gets windy, add extra wire to anchor heavy decor so it doesn’t fly away mid-snowstorm.
- Storage: Slip it into a wreath storage bag or a large trash bag with a cardboard circle to protect the front. Store flat and cool.
Quick how-to walkthrough
Sometimes a step-by-step helps, especially if hot glue stresses you out.
- Choose your base and your theme (classic, rustic, minimal, glam).
- Lay out components on a table first.
Arrange roughly how you want it to look.
- Attach greenery with wire, moving in one direction around the circle.
- Add focal points like a bow, monogram, or ornament cluster.
- Fill gaps with berries, small ornaments, or extra leaves.
- Fluff, trim, and tweak until everything looks balanced. Step back and squint—works every time.
FAQ
How big should my wreath be for a standard door?
Aim for 18 to 24 inches across. That size looks substantial without swallowing the door.
If you have double doors, go smaller—around 16 to 18 inches each.
Can I make a wreath without hot glue?
Yes. Use floral wire for most attachments and twist ties for ornaments. Grapevine bases hold stems snugly, and you can pin items into foam.
Glue just speeds things up.
How do I keep an ornament wreath from falling apart?
Start by attaching ornaments with hot glue to the foam ring, then run a bead of glue where they touch each other. Fill gaps with mini ornaments. Finish with a hidden wire loop for hanging so the weight distributes evenly.
What’s the easiest wreath for total beginners?
A grapevine base + mixed faux greenery + big bow.
Tuck the greenery into the vines, secure with a few wires, and add one statement bow. It looks polished with almost no precision required—IMO the best starter.
How long does a fresh greenery wreath last?
Usually 2 to 4 weeks outdoors in cool weather. Mist it every few days, keep it out of direct sun, and avoid squeezing it between doors.
Indoors, expect 1 to 2 weeks.
Any kid-friendly wreath ideas?
Try the yarn pom-pom wreath or a paper star wreath. Use school glue instead of hot glue, and let kids pick colors. Add a jingle bell or two for fun—just supervise so bells don’t become snack time.
Wrap-up: make it festive, make it yours
You don’t need floristry skills to nail a Christmas wreath—just a good base, a simple color palette, and a few clever tricks.
Start with one of the 15 ideas, then swap in what you already have. FYI, the best wreath is the one that makes you smile every time you open the door. Now go make something merry and slightly sparkly.